An NYC Apartment Renovation - Phase 1 Complete!
June 16, 2015
Now that the post move-in chaos has subsided and the punch list has been adequately worked, we're finally ready to share some photos of the apartment post-renovation. Phase 1 is complete! Our goal was to do just enough of the entire project to allow us to move in, and complete subsequent stages over time (budget permitting, of course). We still intend to redo both bathrooms, replace the kitchen and install a number of millwork pieces. But for now, we're putting our pencils down, drawing our breath and tabulating the bills.
Editor's note: the only remaining item from phase 1 is a refrigerator; these days we're living out of a dorm fridge. The dishwasher works, but may not survive until a subsequent phase. Also, we've not yet furnished the place so don't mind the IKEA furniture.
All in, we're very happy with how the project turned out. There were a few bumps along the way, but most of the surprises went our way. We finished about three weeks ahead of schedule, but about 30% over our original budget. Most of the cost overruns were upgrades and scope changes on our part, but a few due to conditions found on site (it is a 100-year-old building, afterall). Big shout out to Billy, Mike and the whole crew at All Dimension Construction for keeping everything running smoothly, and tolerating my late-night emails, texts and twice-a-day on-site critiques. The photo tour below is only for the renovated spaces. For your reference, I recommend you refer back to the original photo survey before the renovations started in March. You can click on each photo to view it full-size, and if you get bored with my commentary, you can click on a photo to enlarge and then scroll through all of the nearly 40 photos. Enjoy!
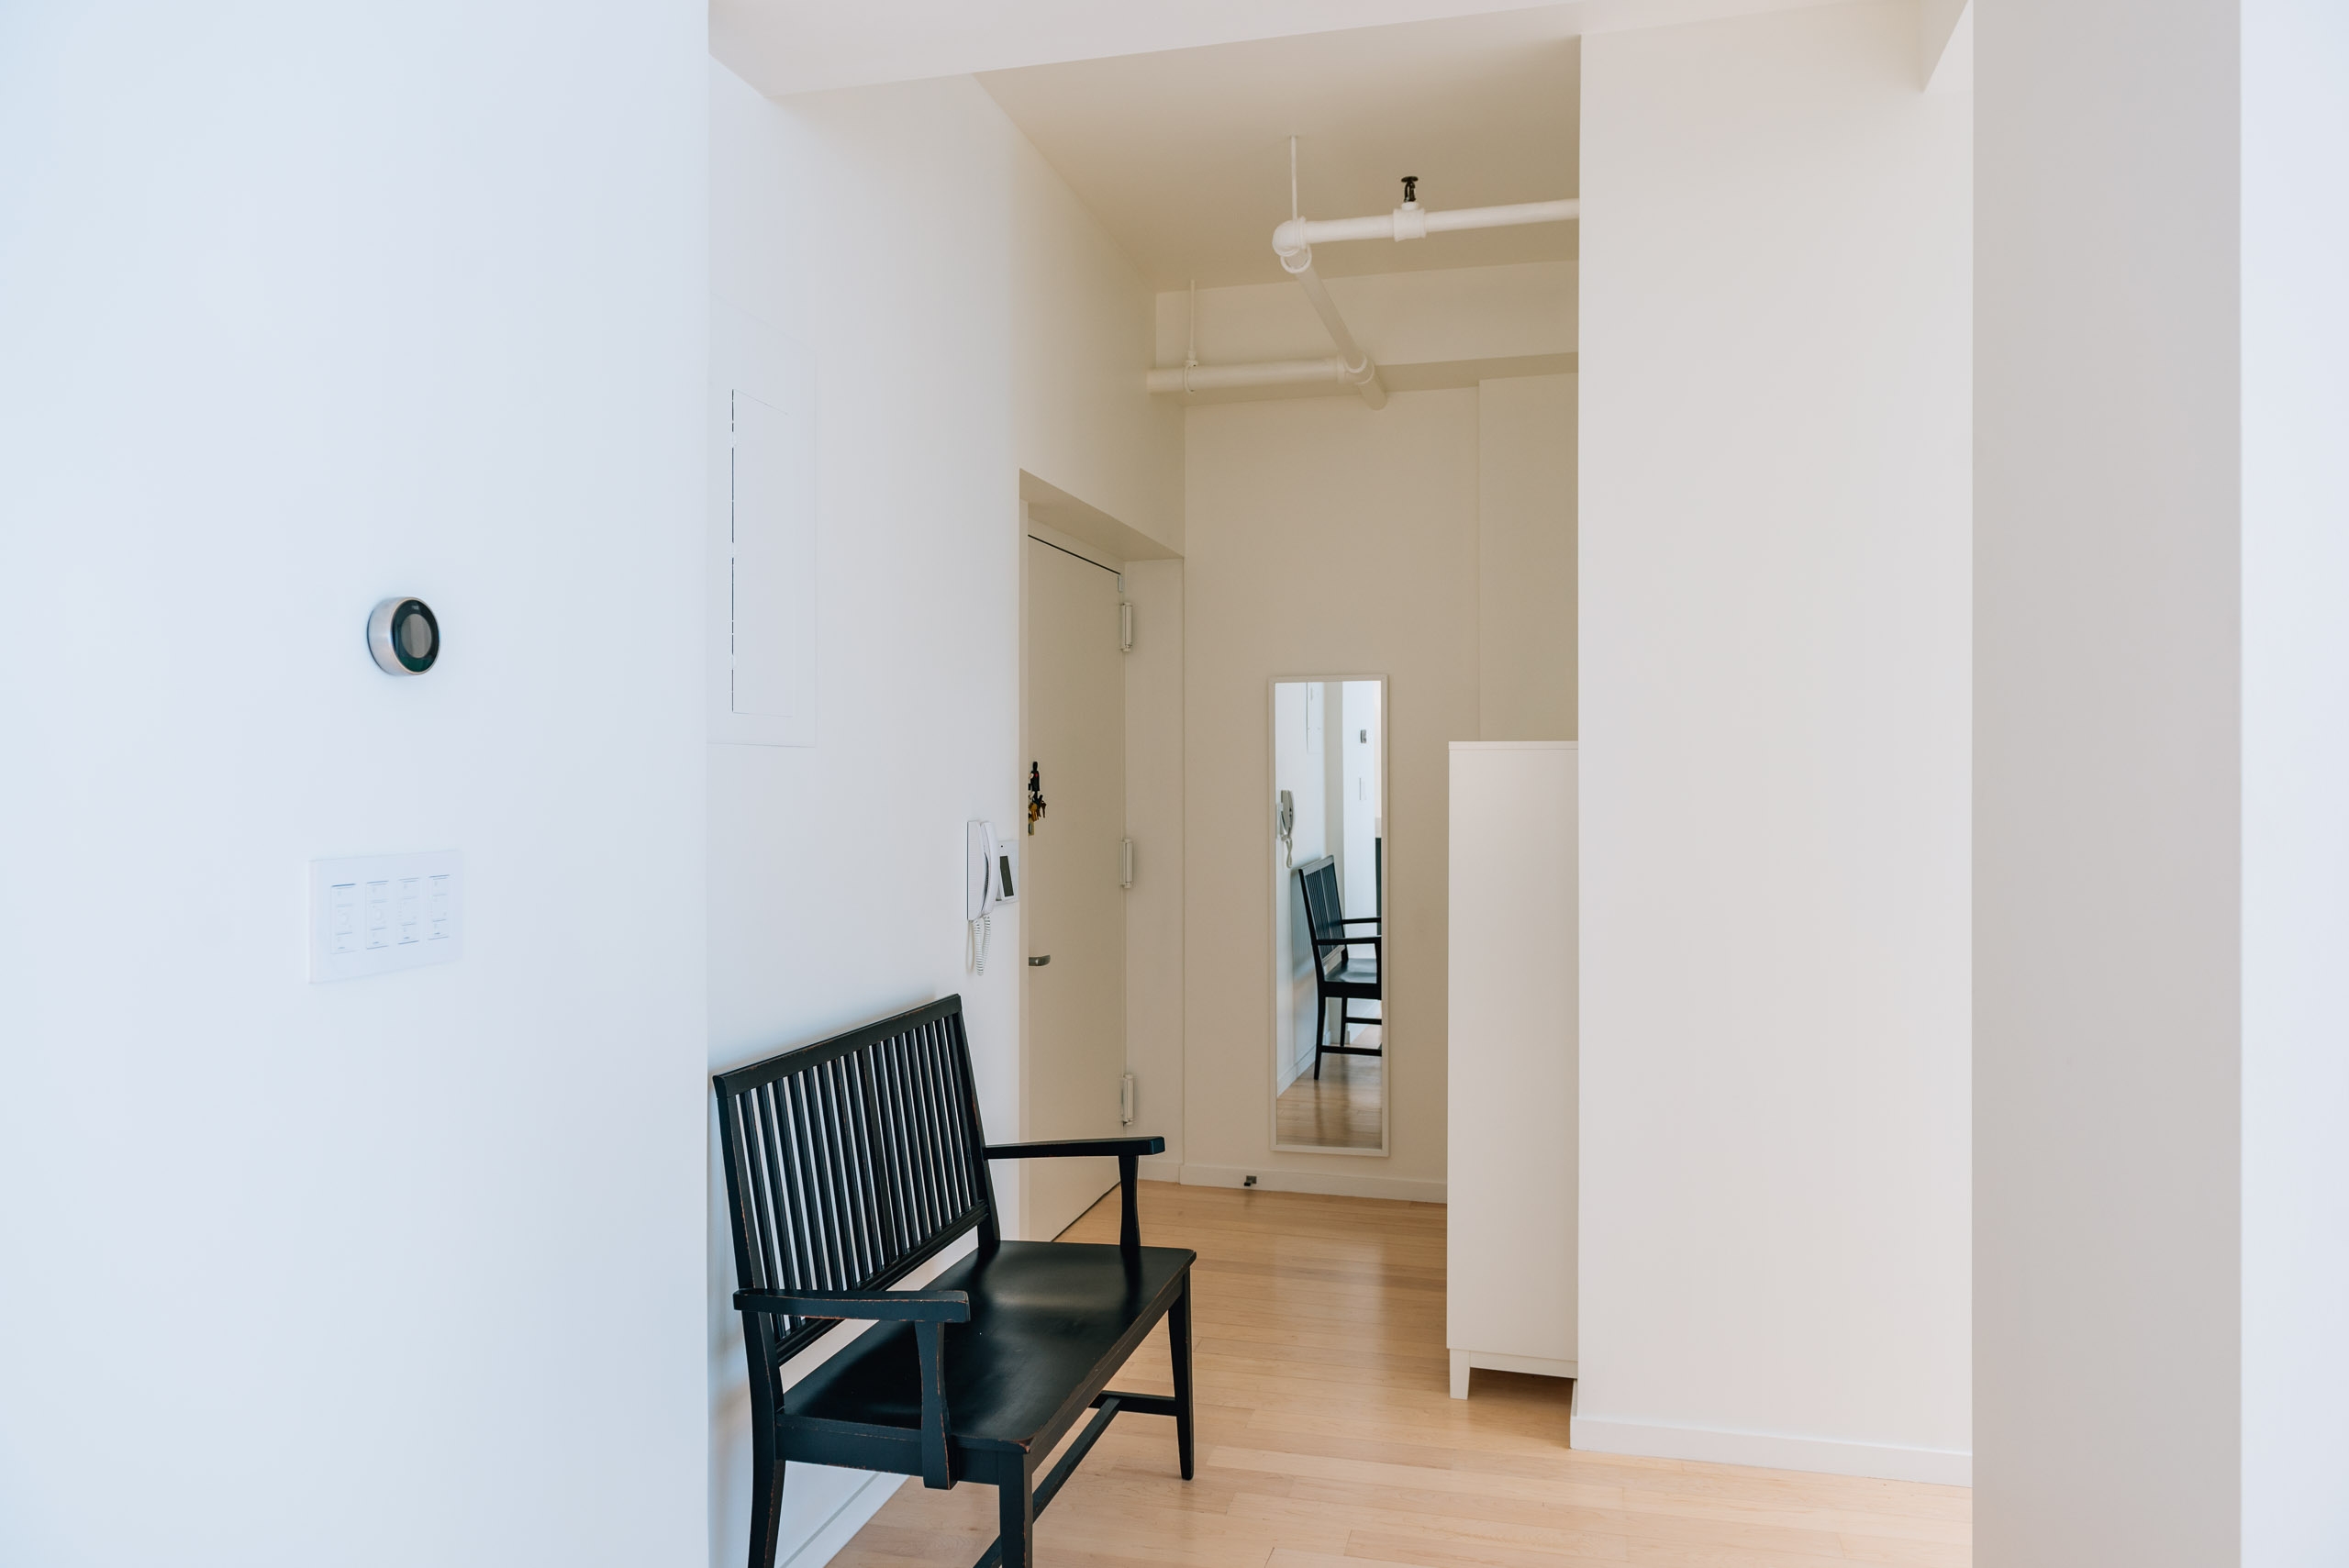 Looking toward the front door from the living rom
 We opened up the entry to include a broom closet, a coat closet and an entry into the office/guest room
 The view into the office/guest room. The full bathroom on the left has not yet been renovated.
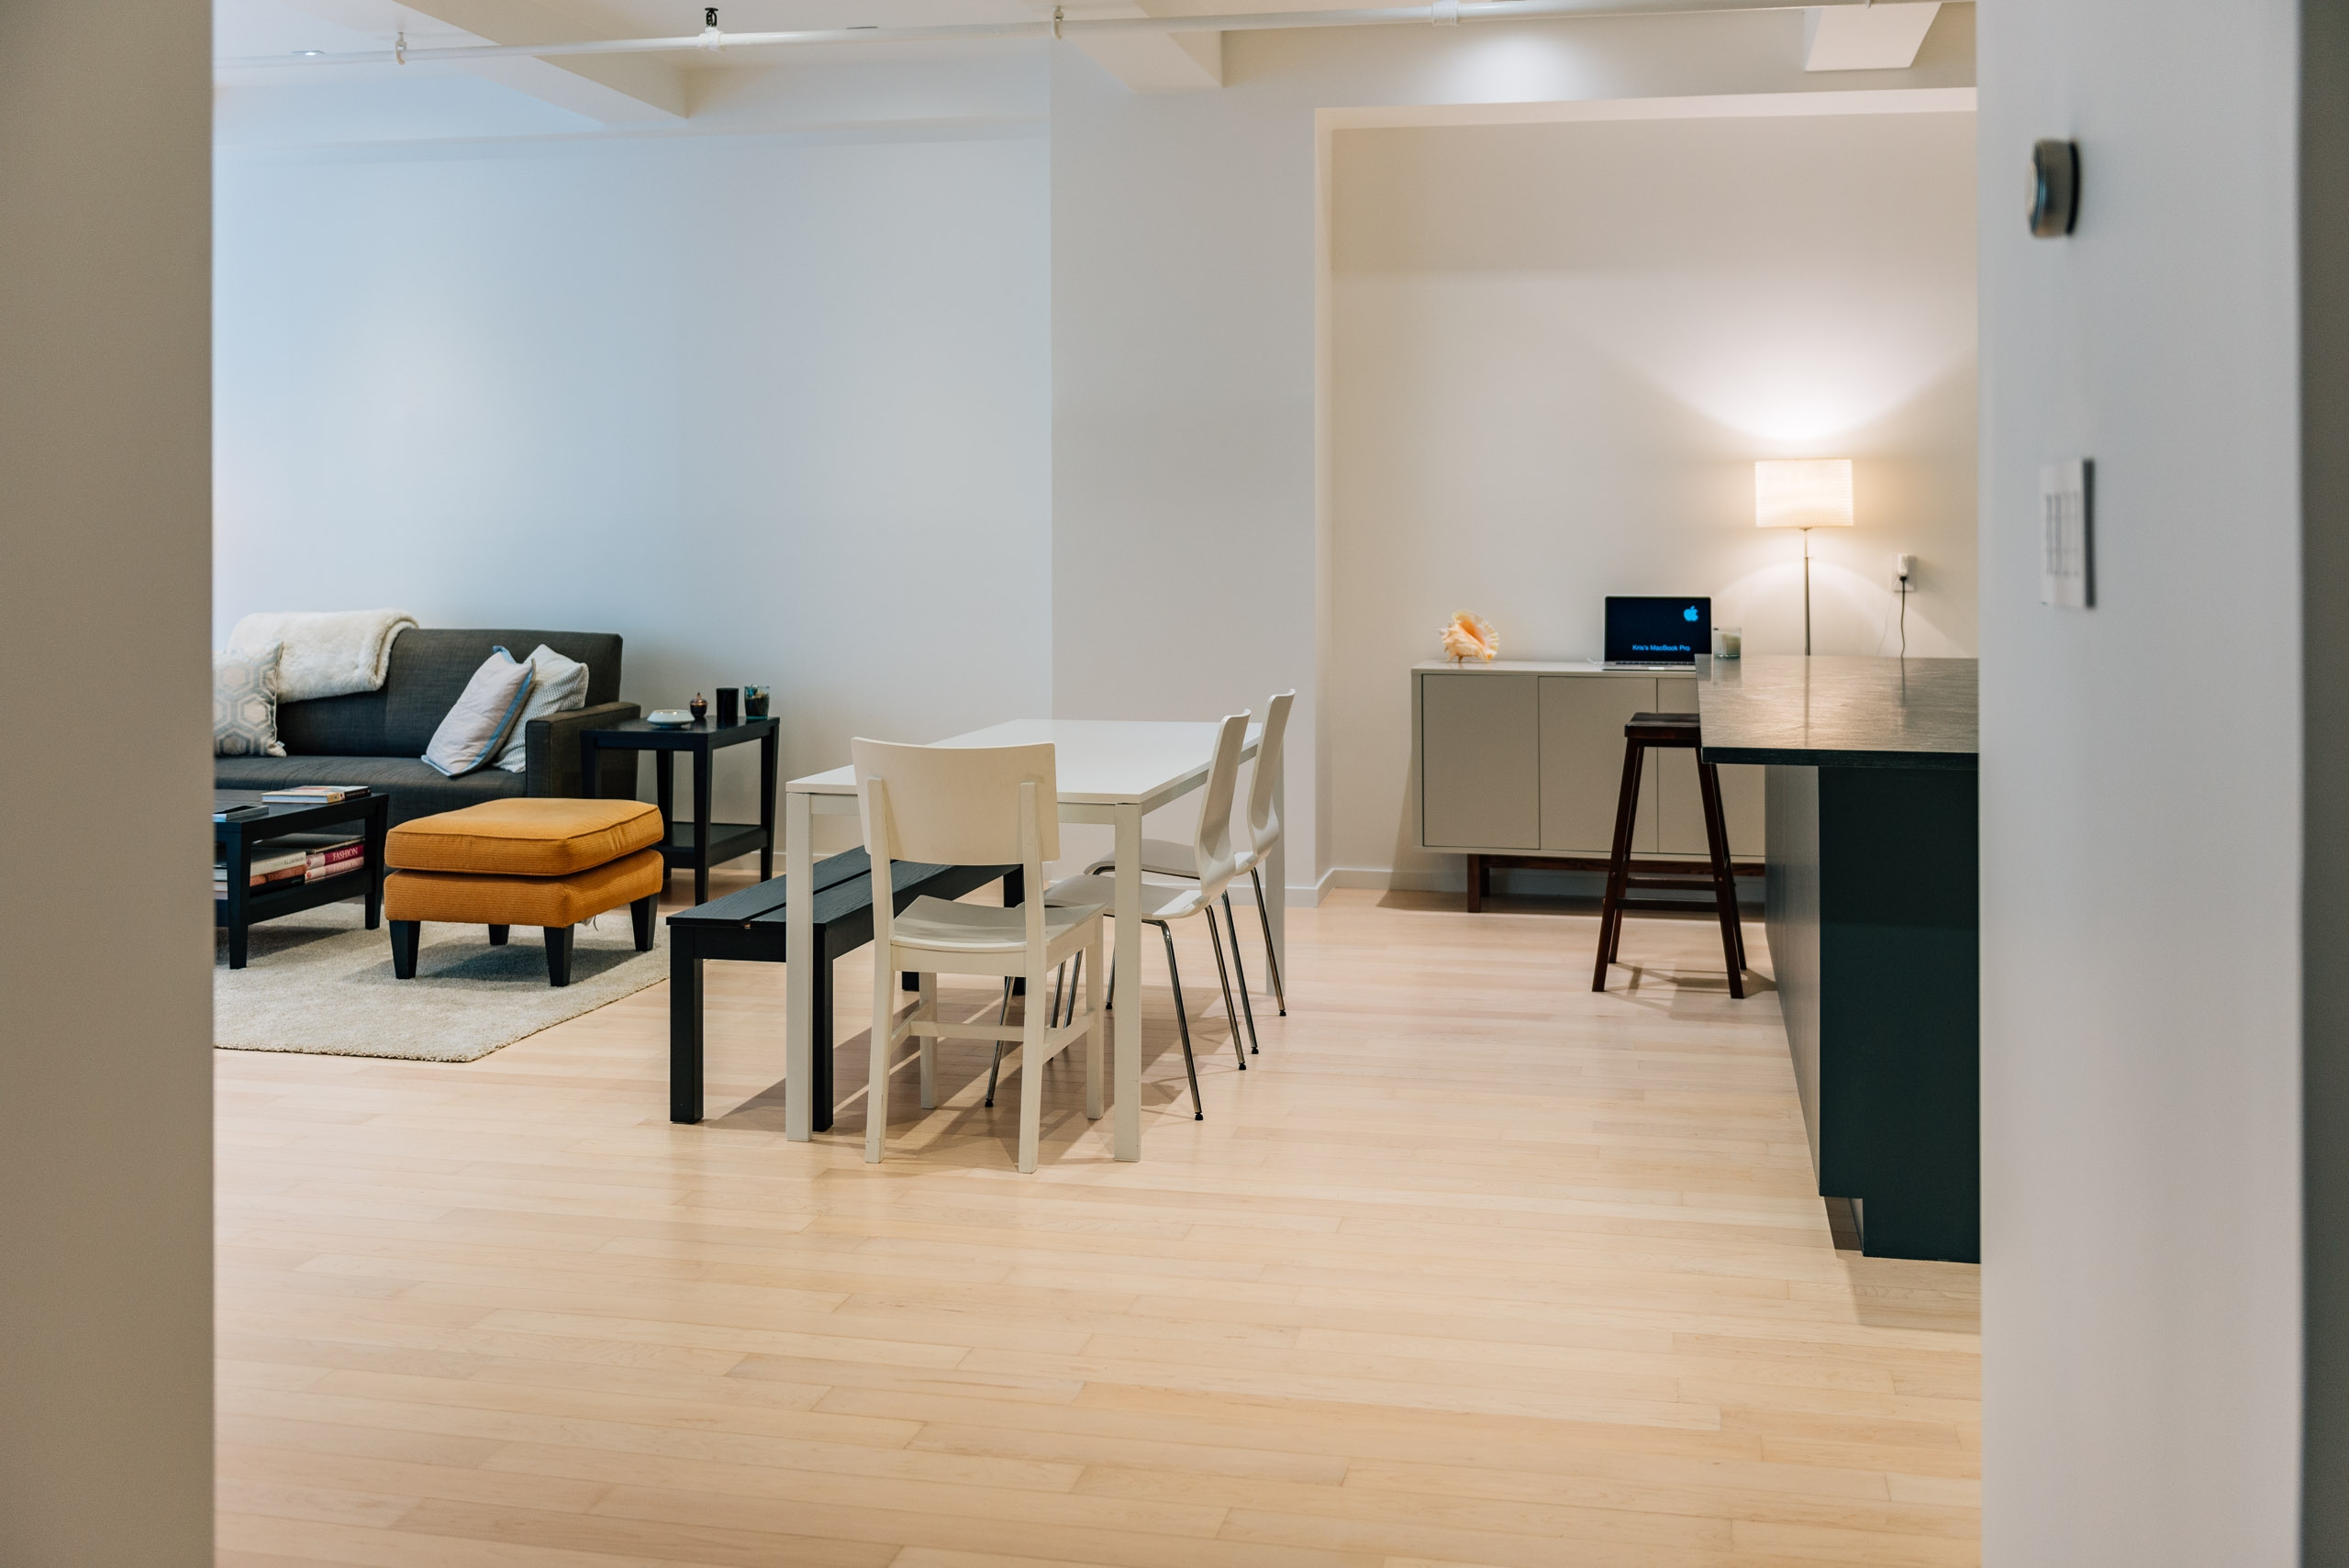 Approaching the living room and dining room from the entry.
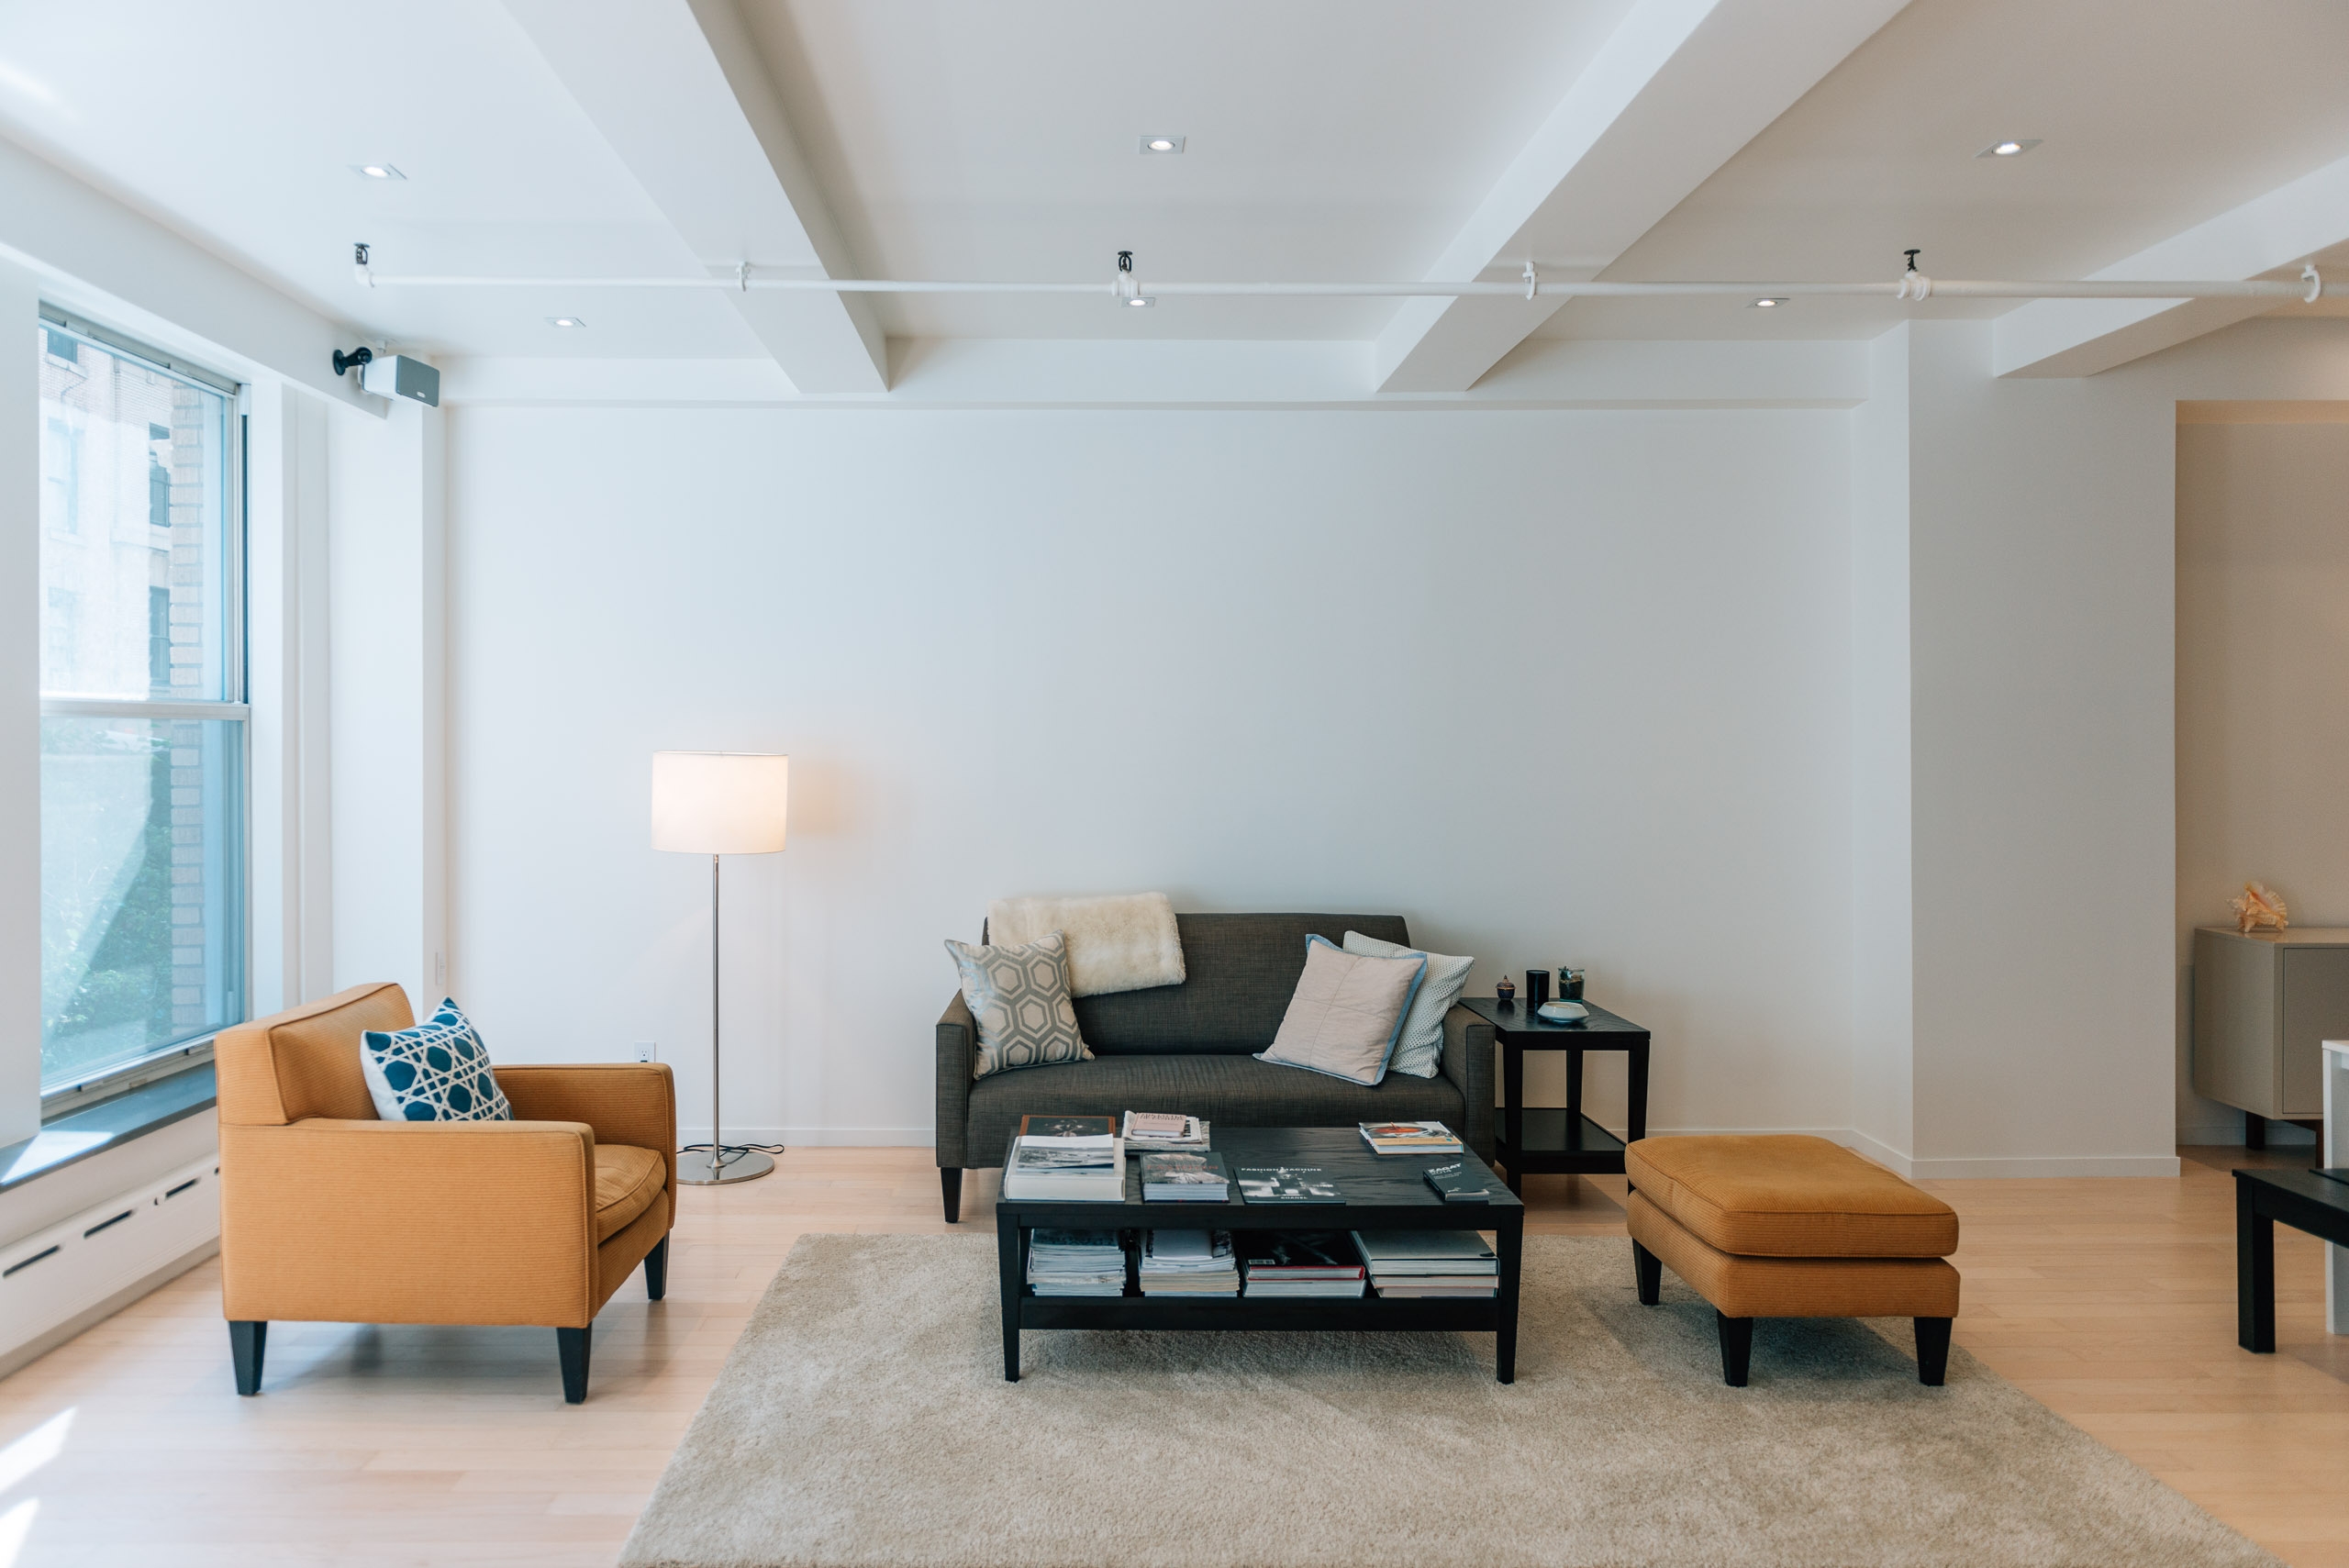
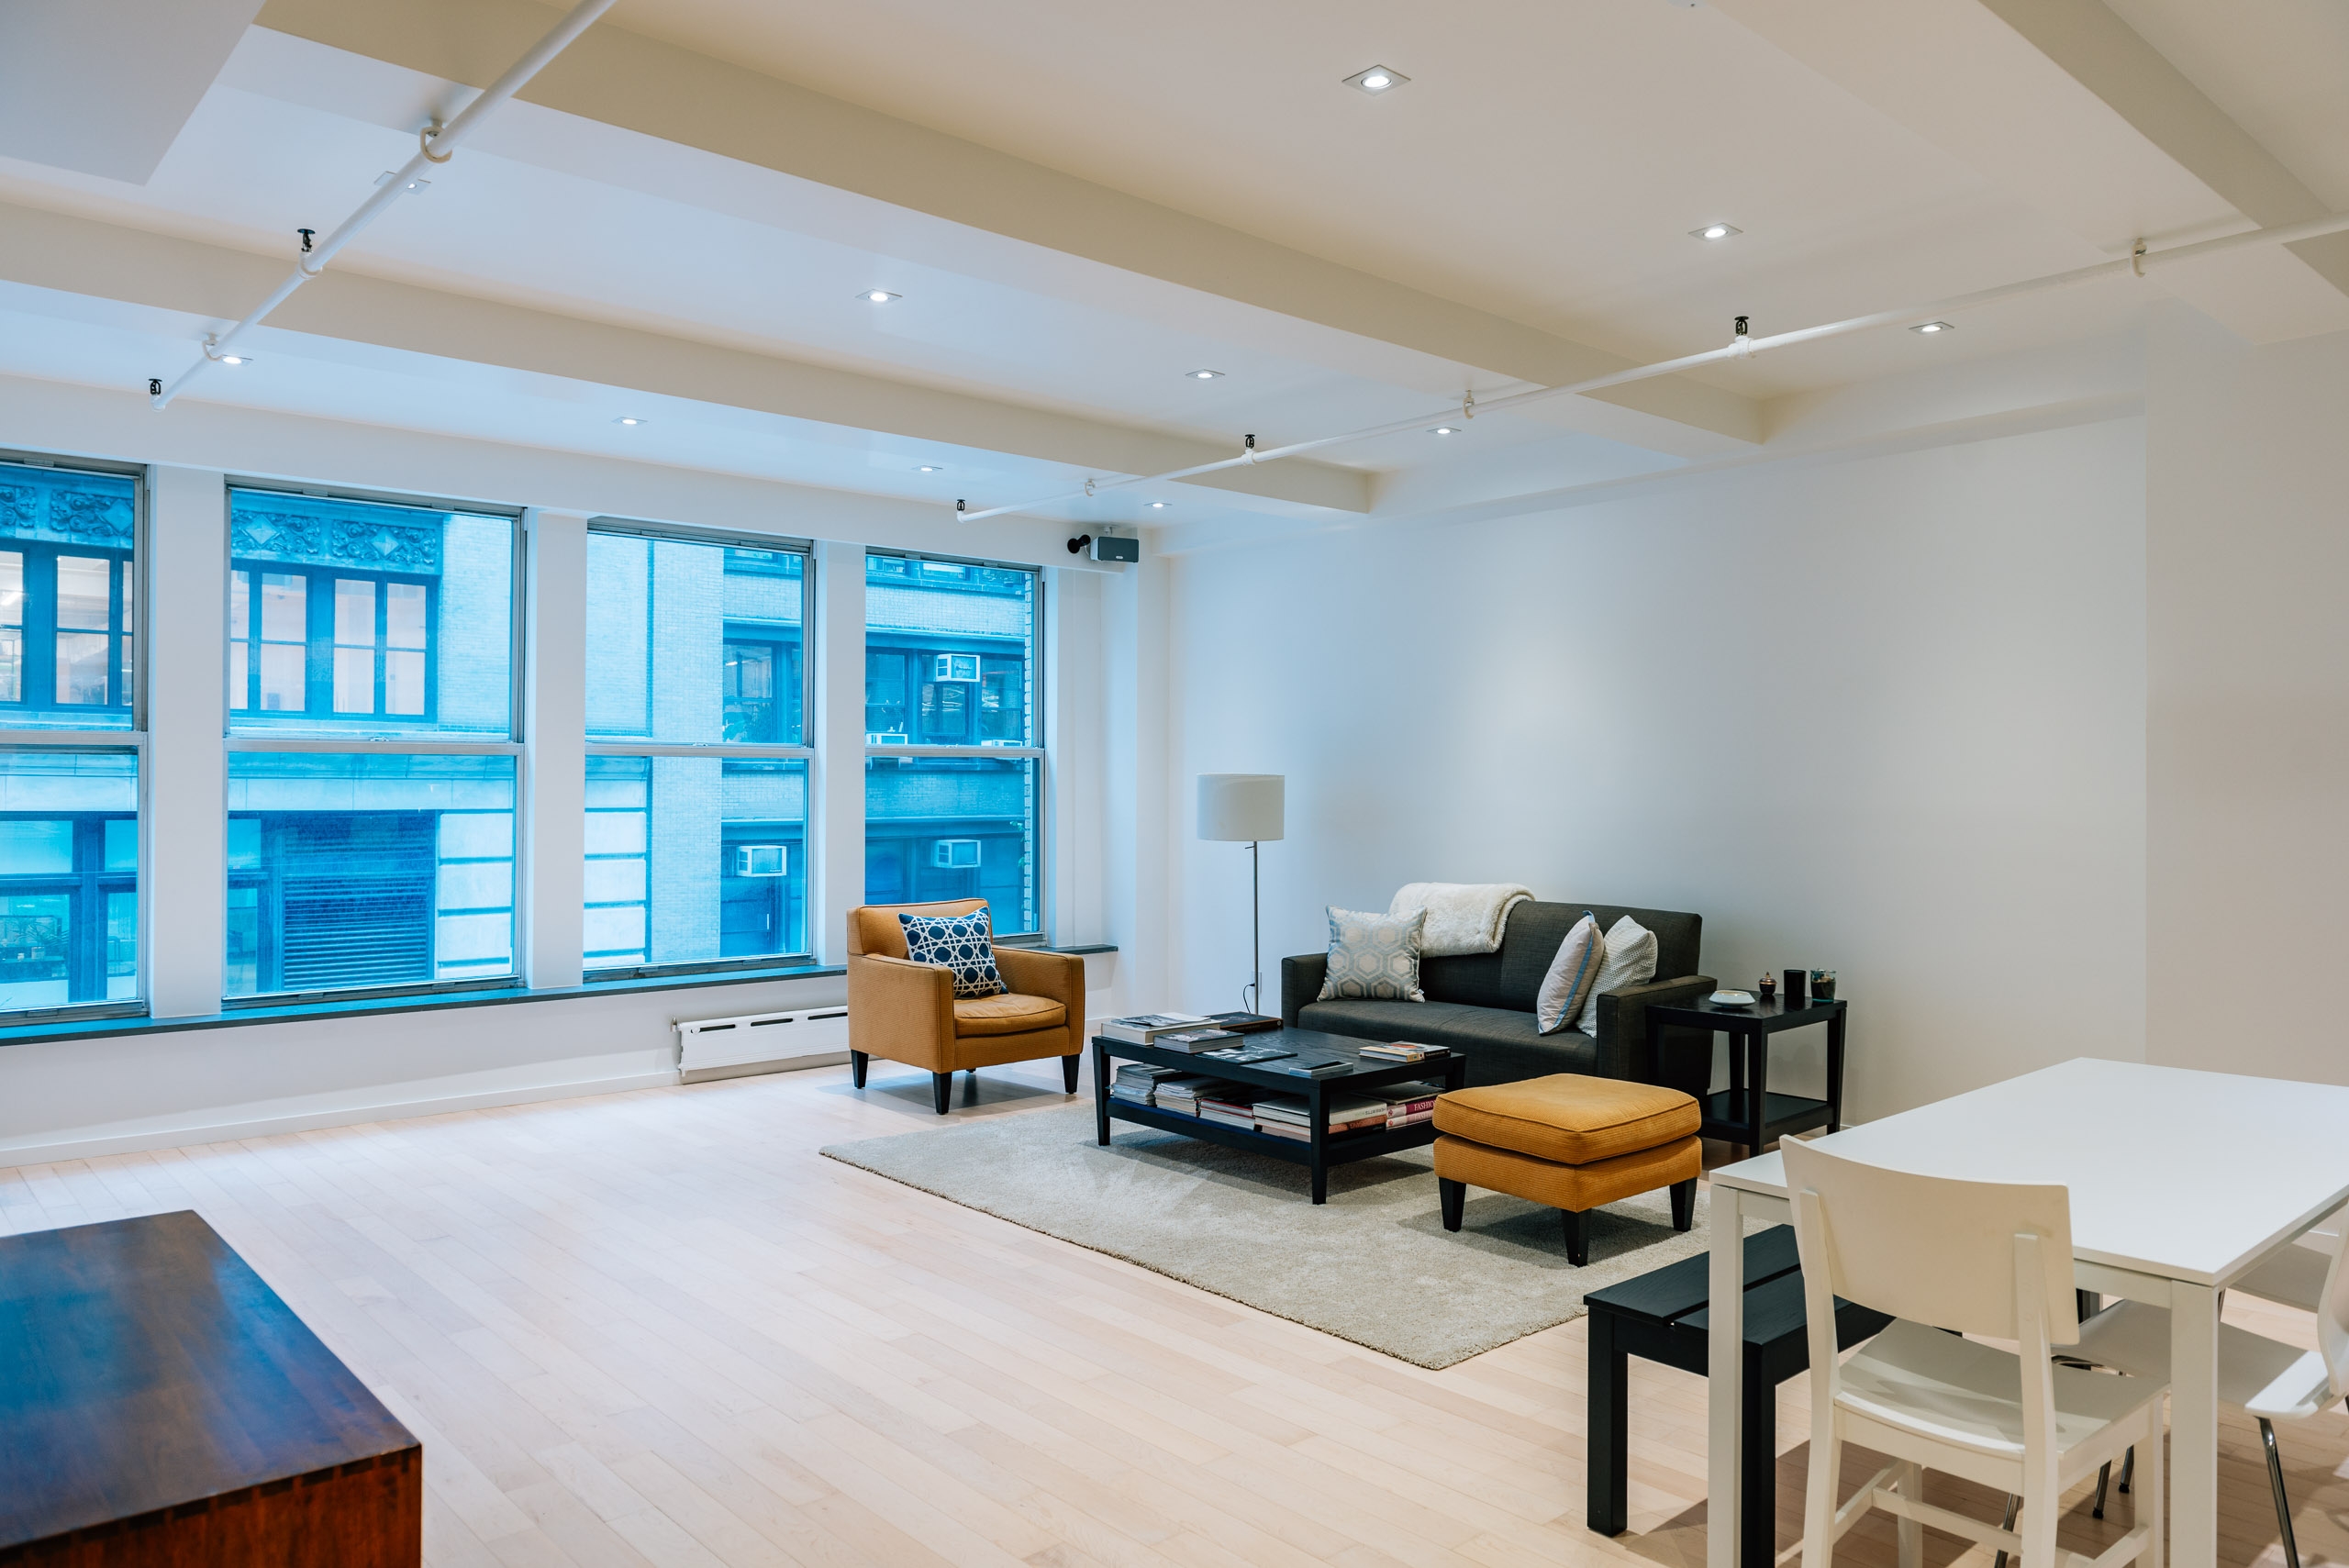 The furniture from our prior much-smaller apartment looks out of place and out of scale.
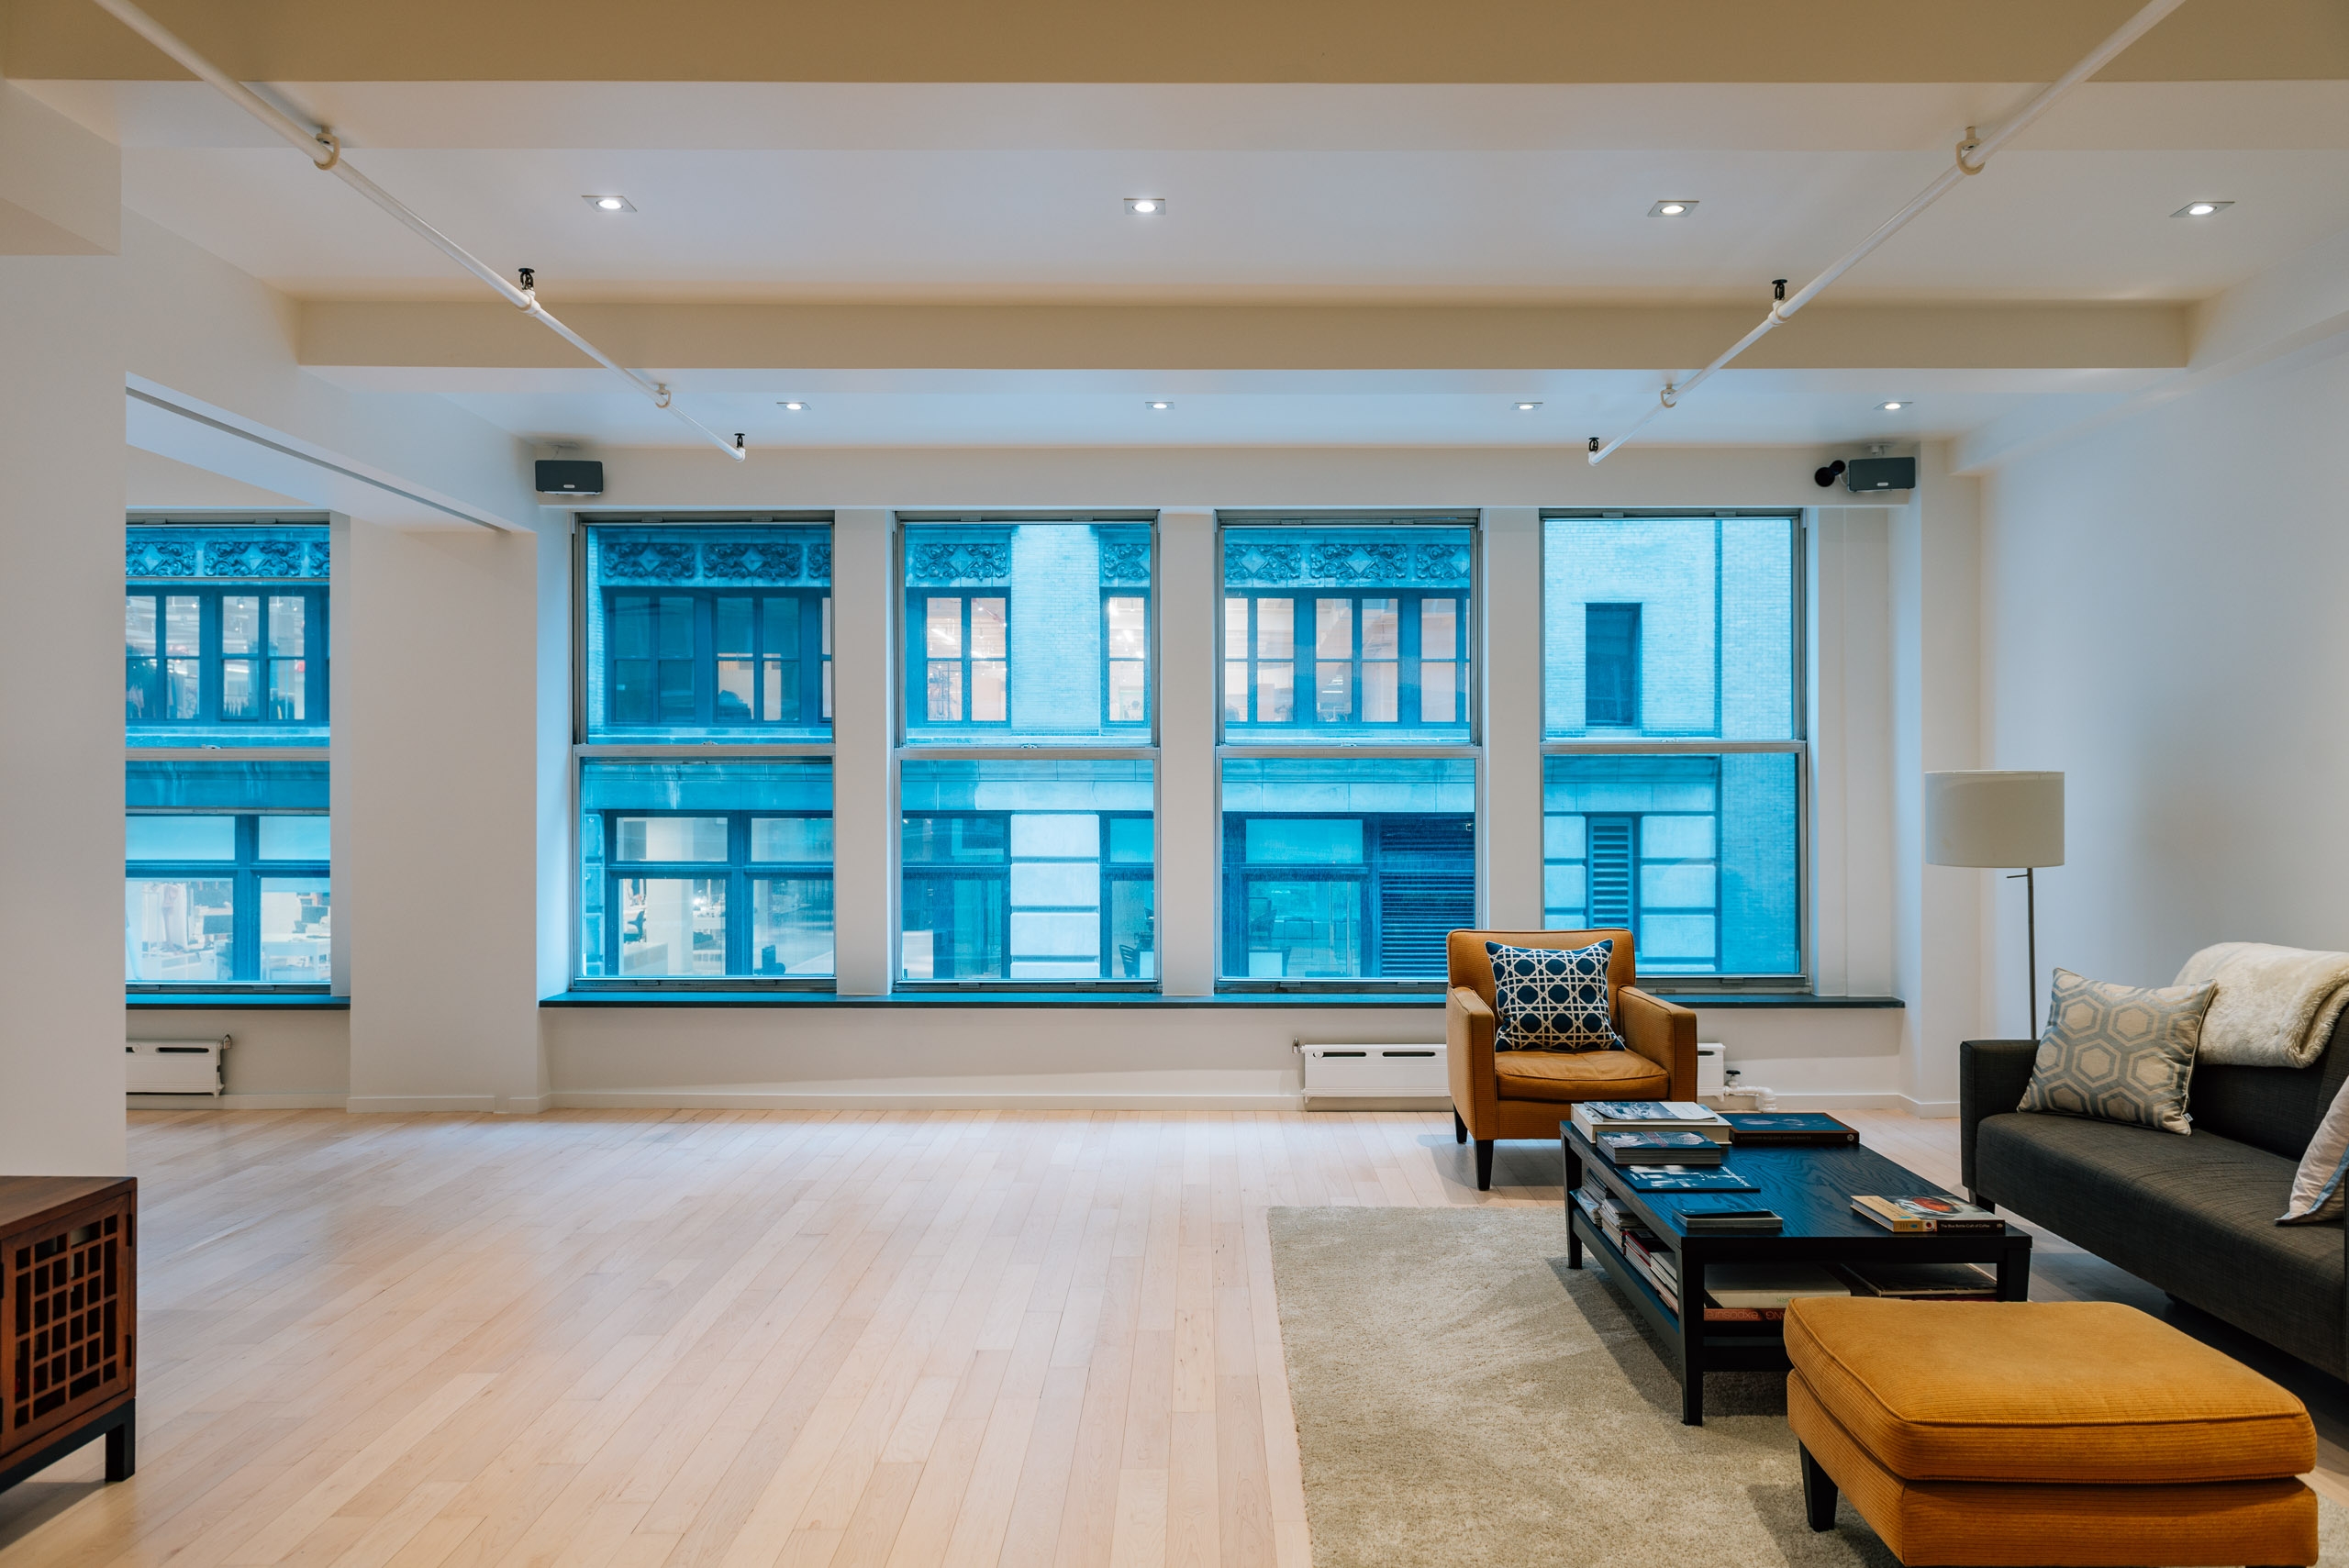 Facing north toward 26th street. The vast ballroom is mostly used for Xbox dance games.
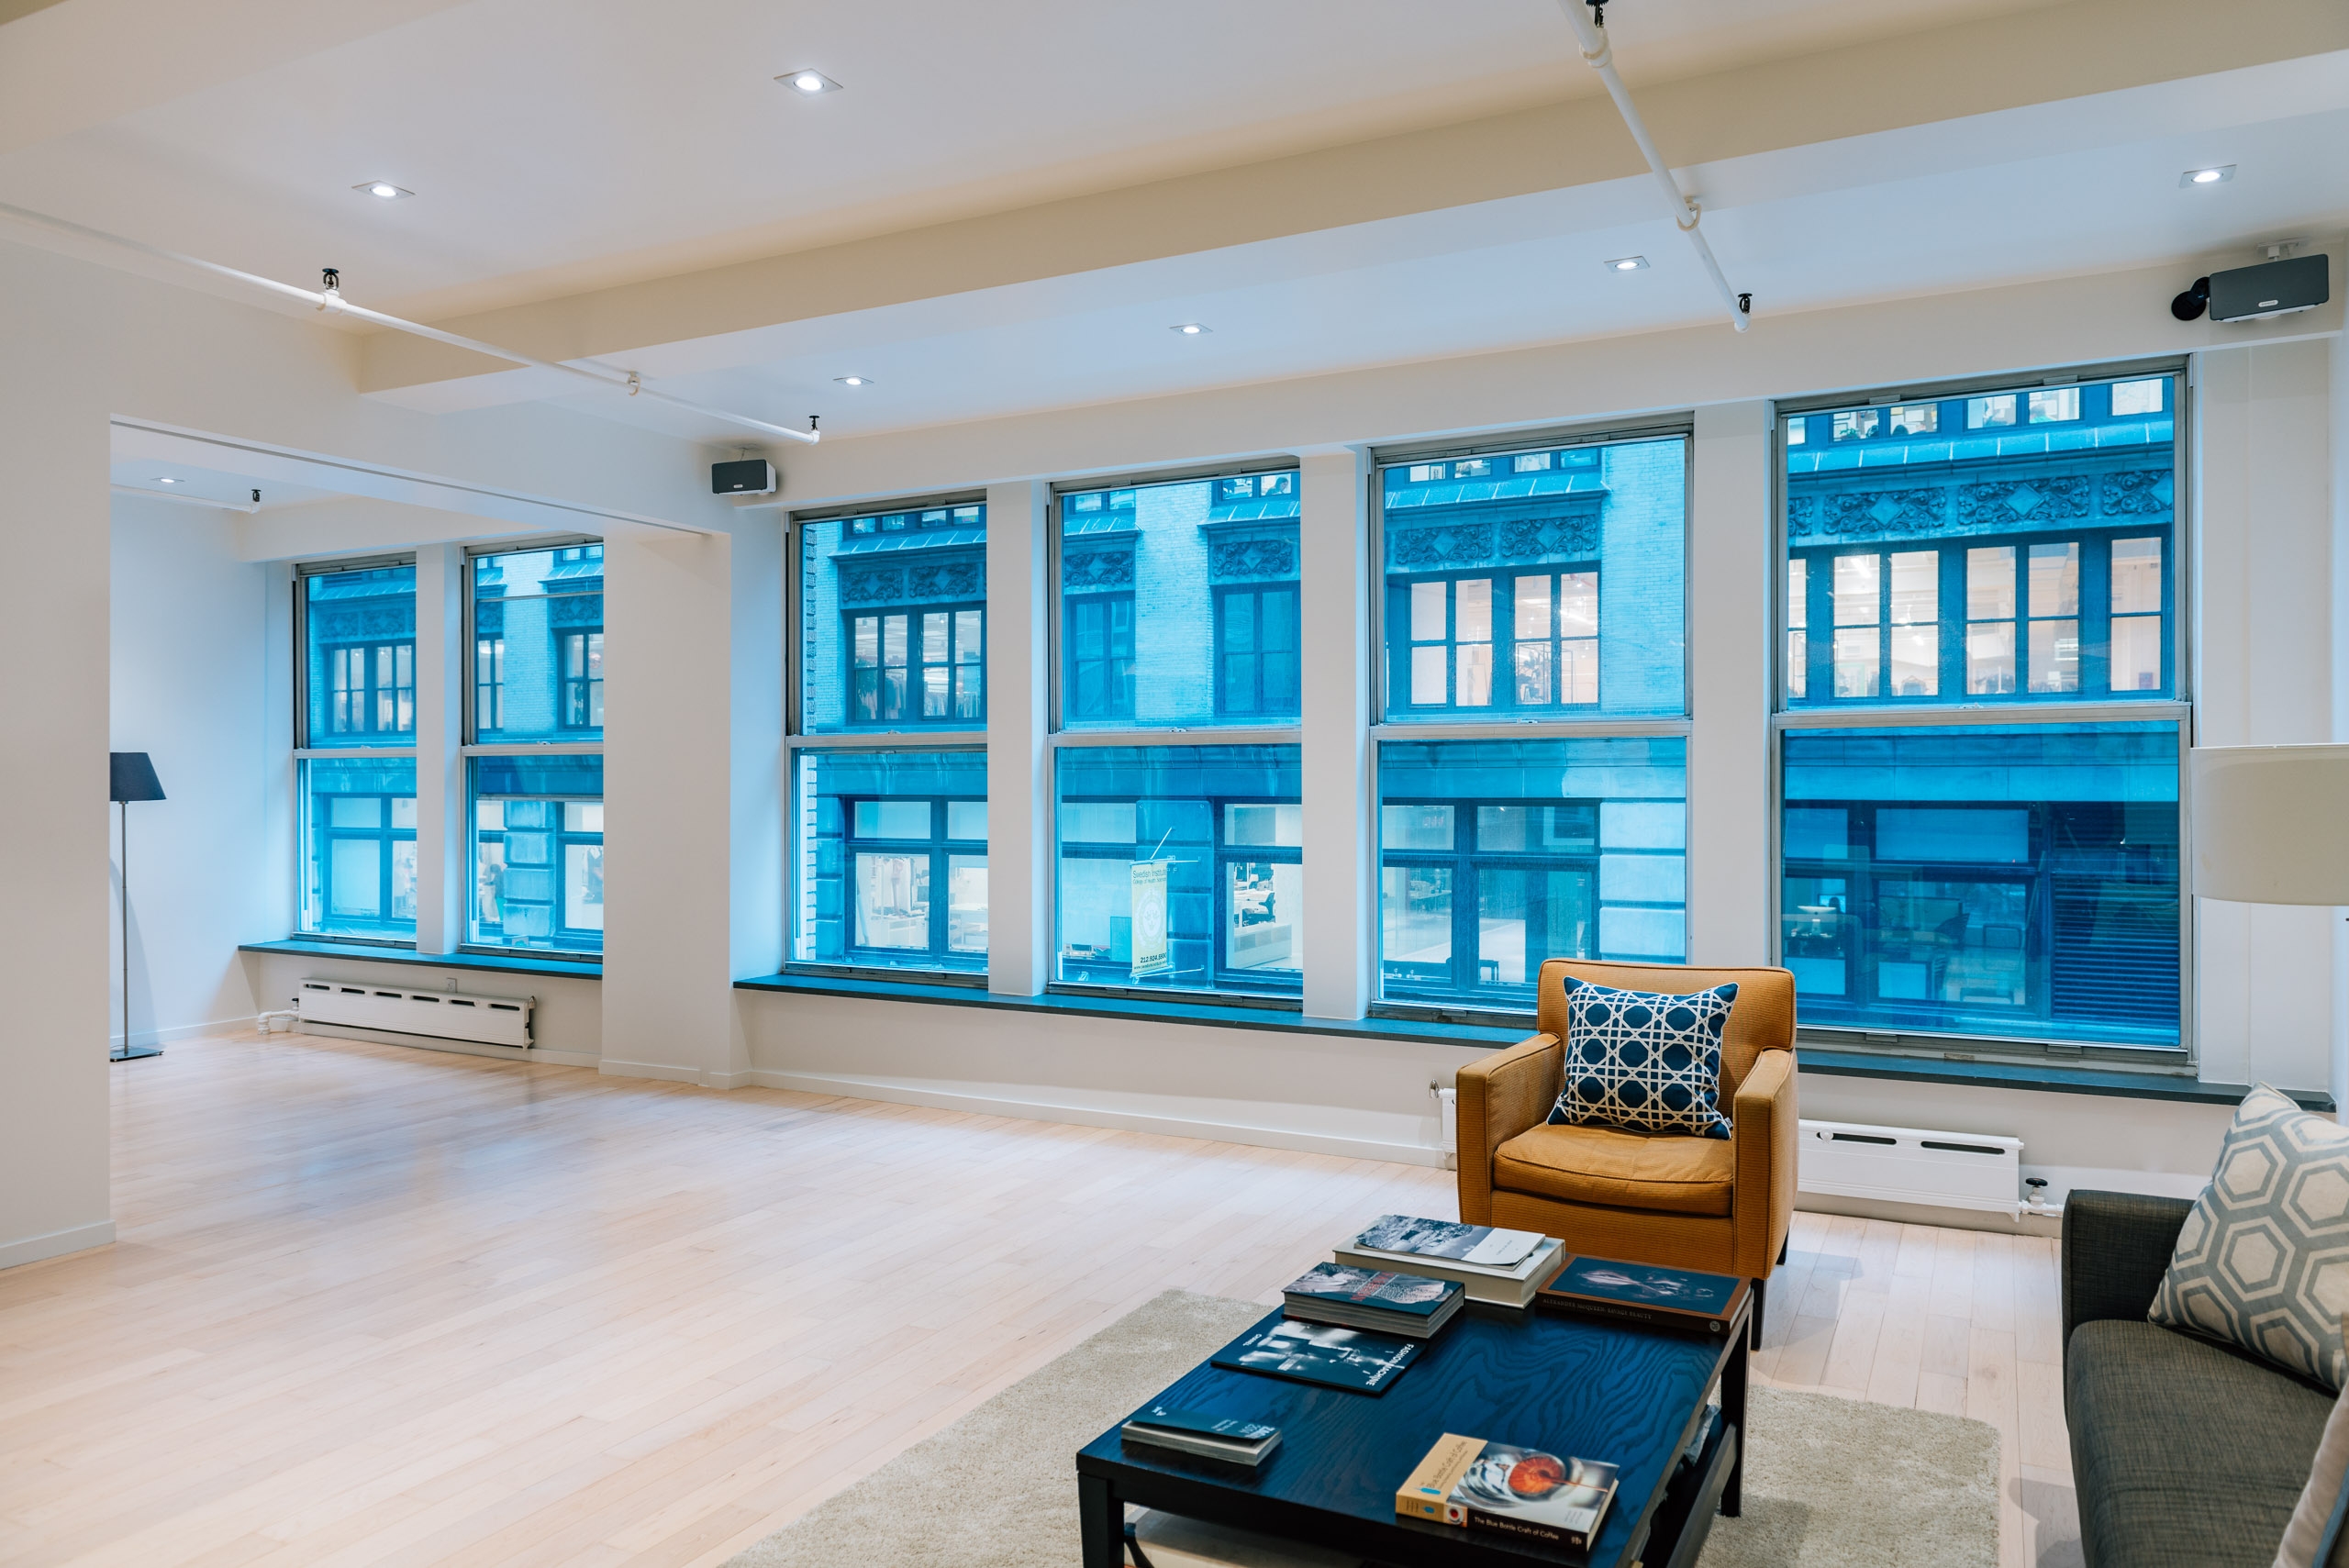 Here you can see all 6 north-facing windows and the opening into the office/guest room.
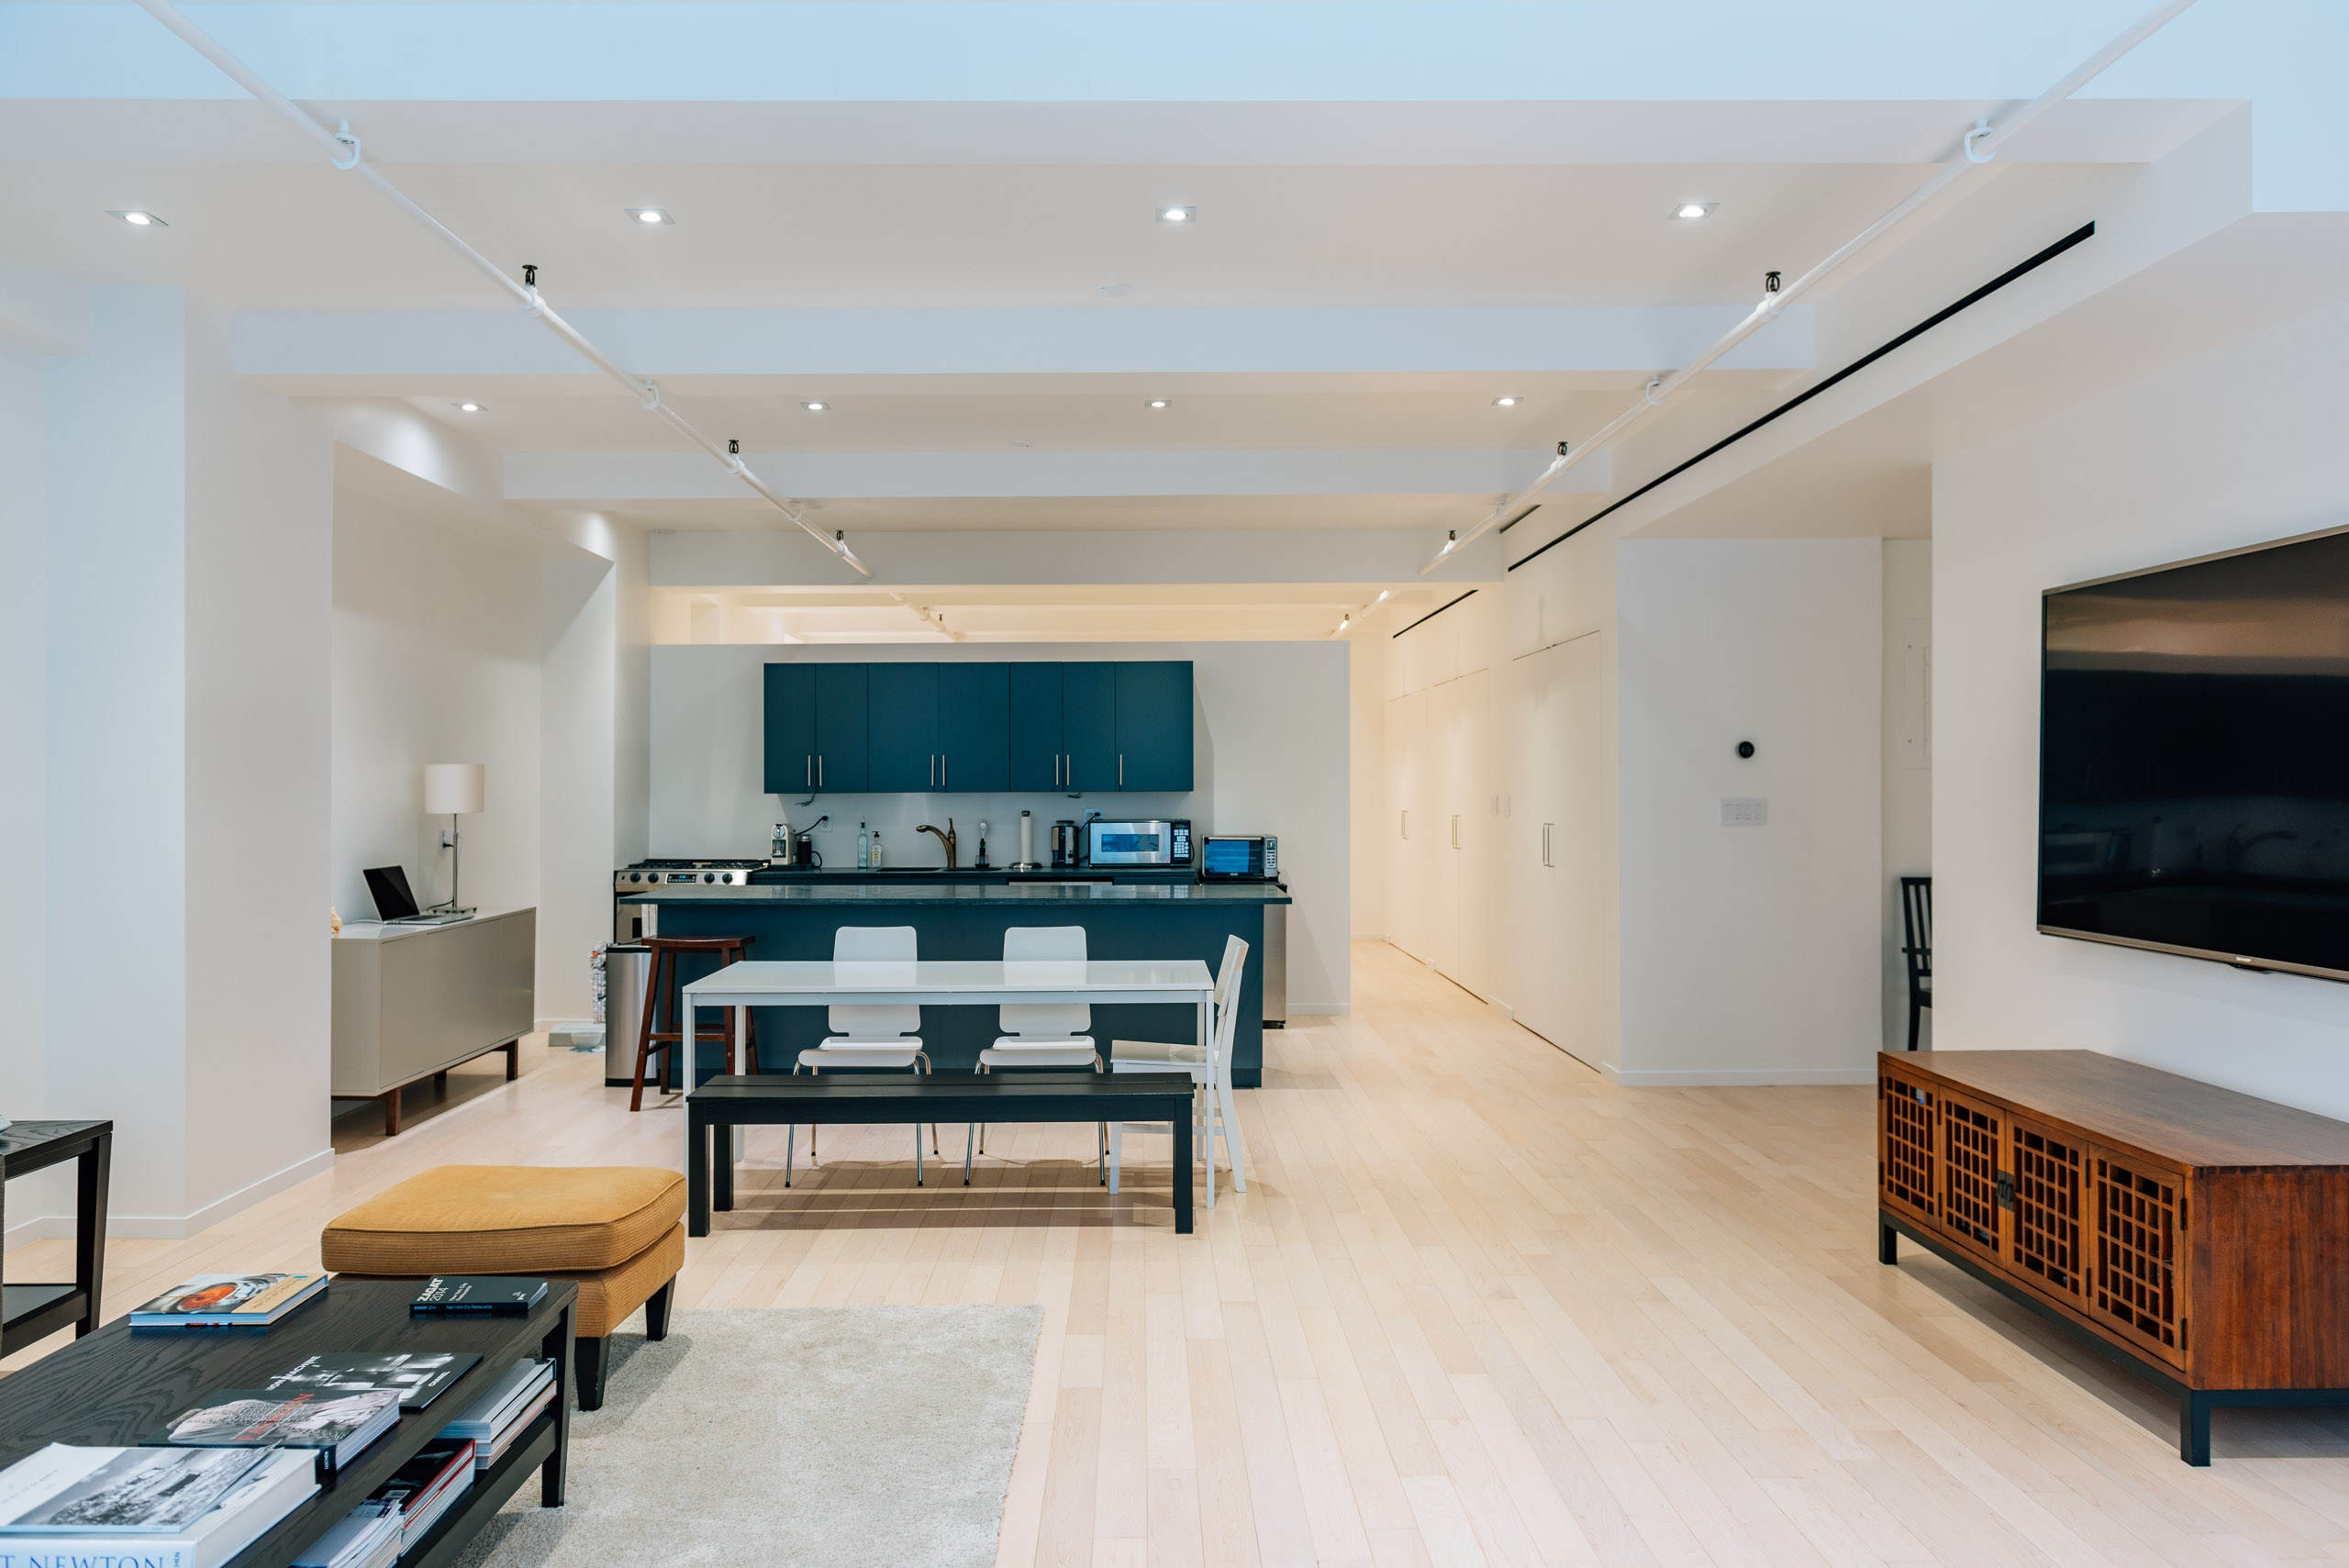
 We've placed our temporary dining table here, and you can begin to see the massive TV.
 The view from the dining table includes all 6 windows, the TV and into the office/guest room.
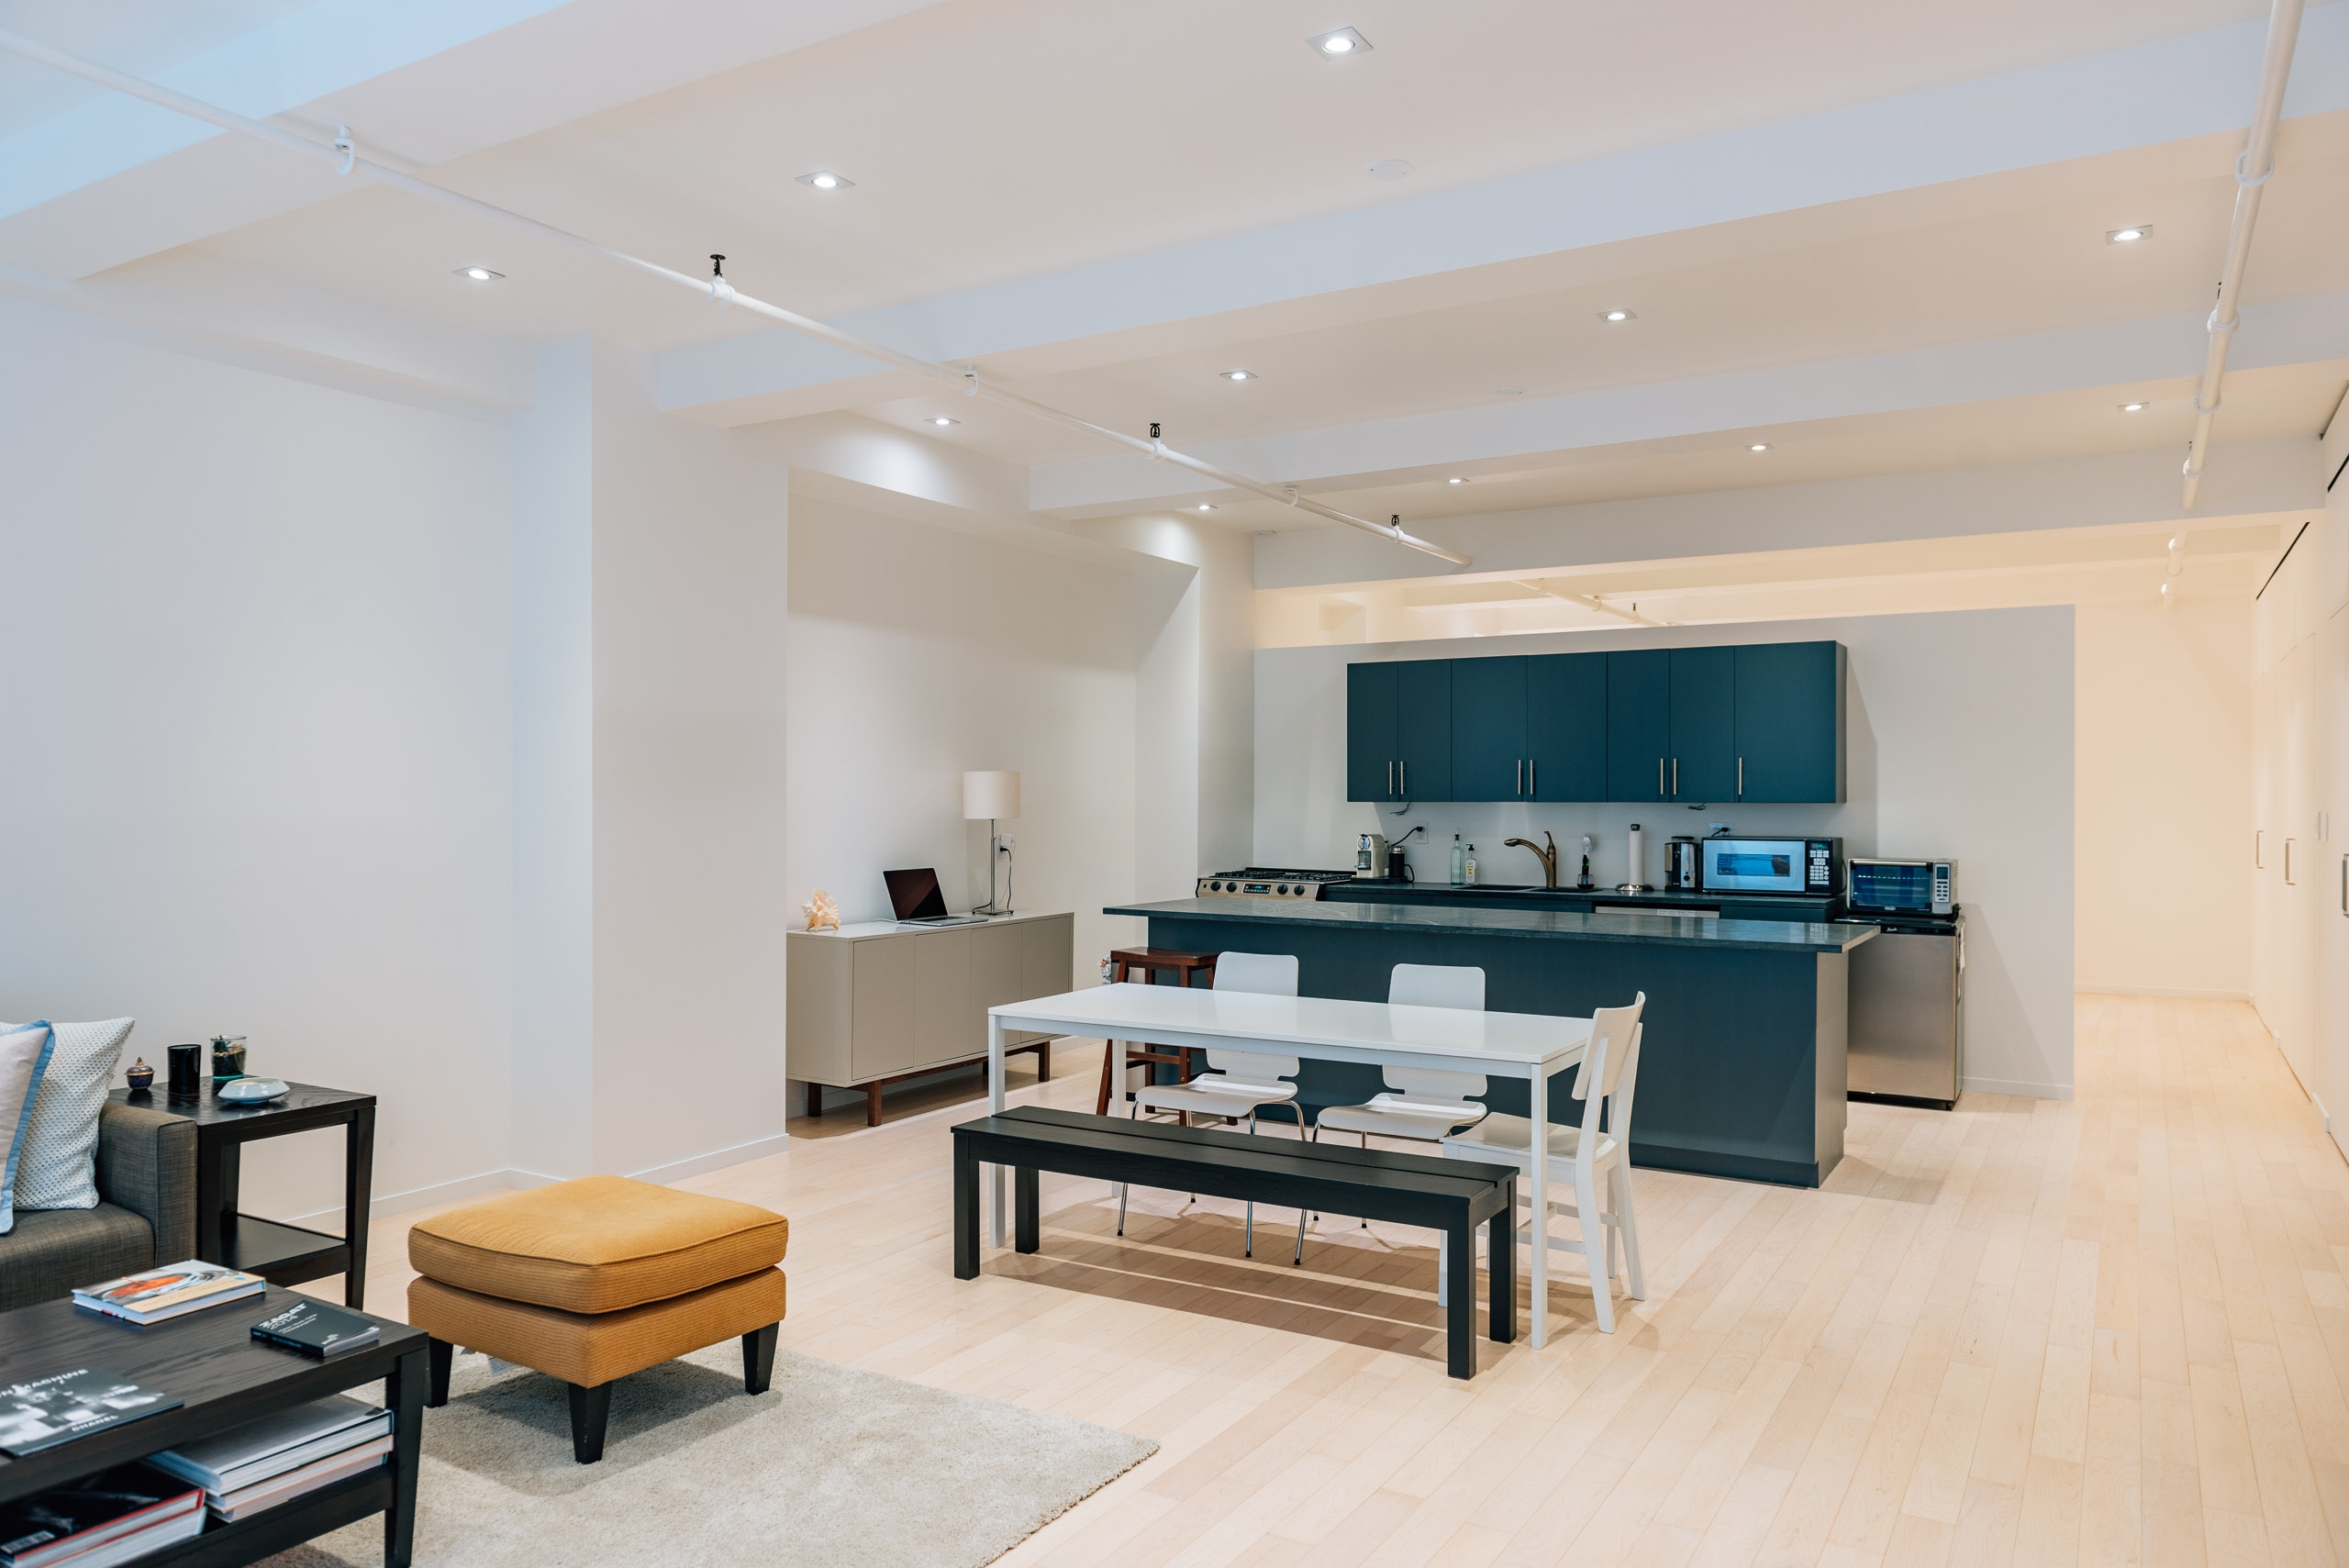 Looking south, you can see how we re-oriented the kitchen, and created the space on the east wall for a pantry.
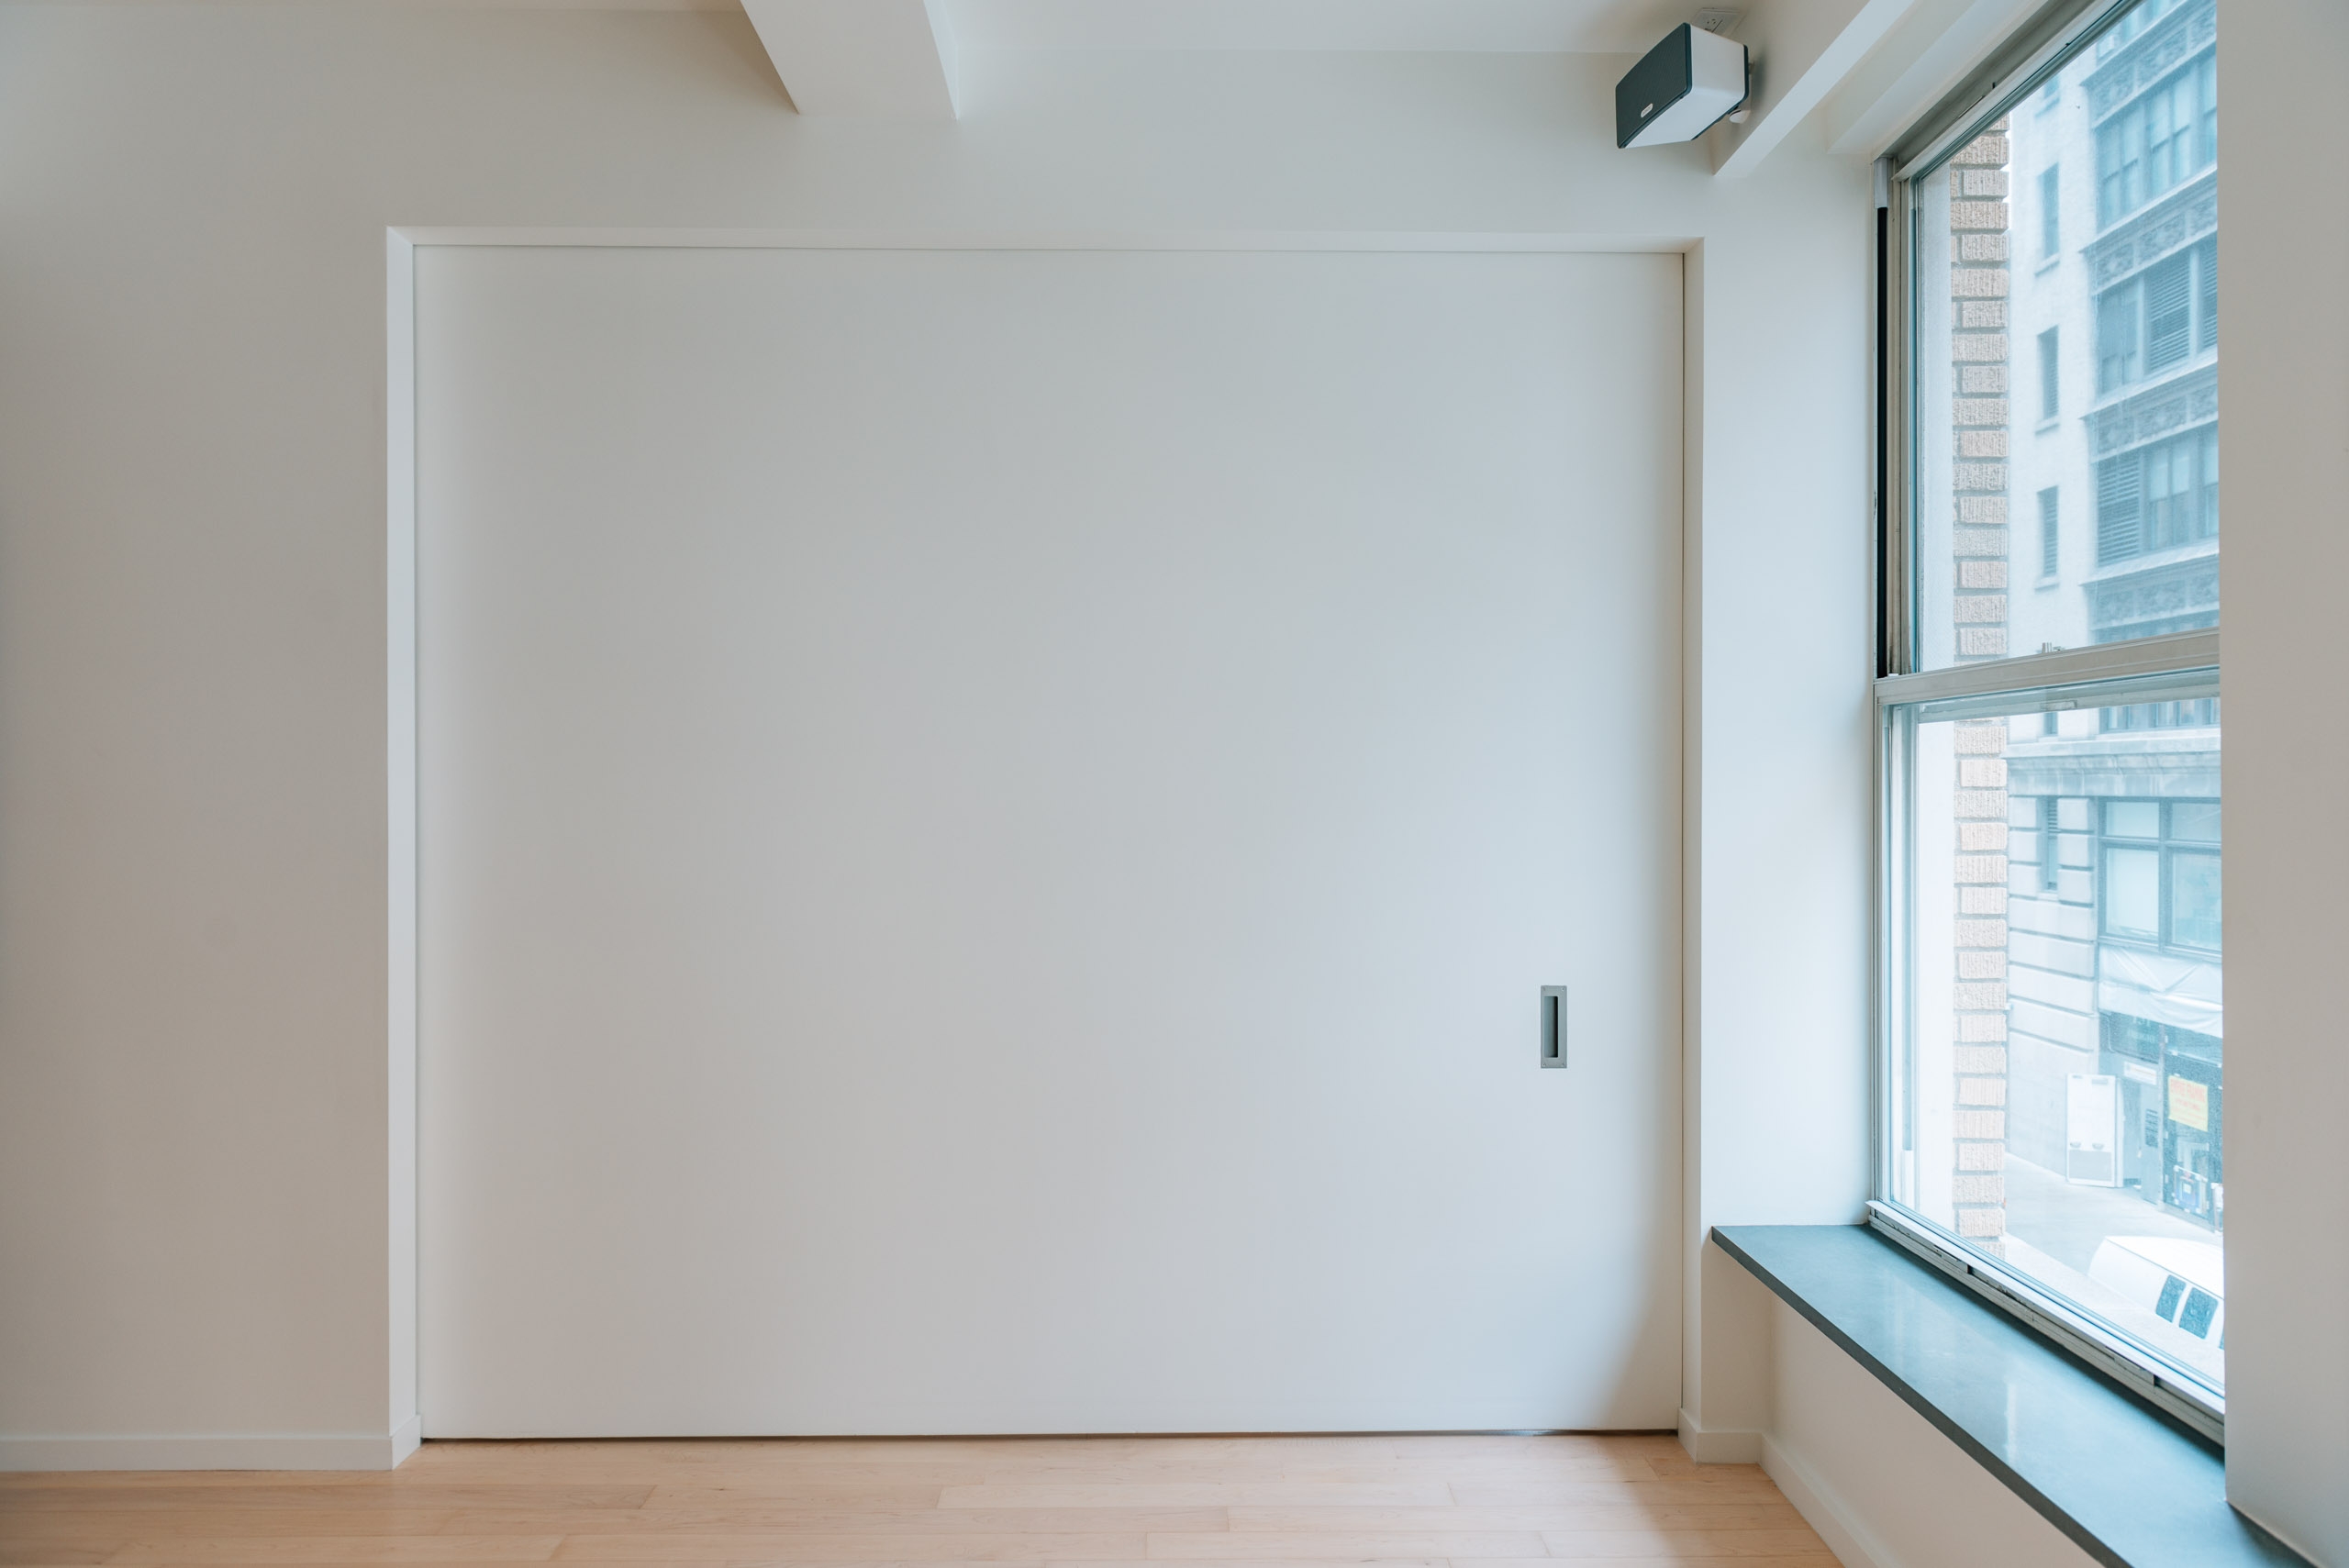
 We created a transom into the bedroom to allow natural light. We will eventually enclose this with glass, as well as adding a sliding door into the bedroom.
 The kitchen, including the cabinets, countertops and appliances, are temporary until we install the all-new kitchen.
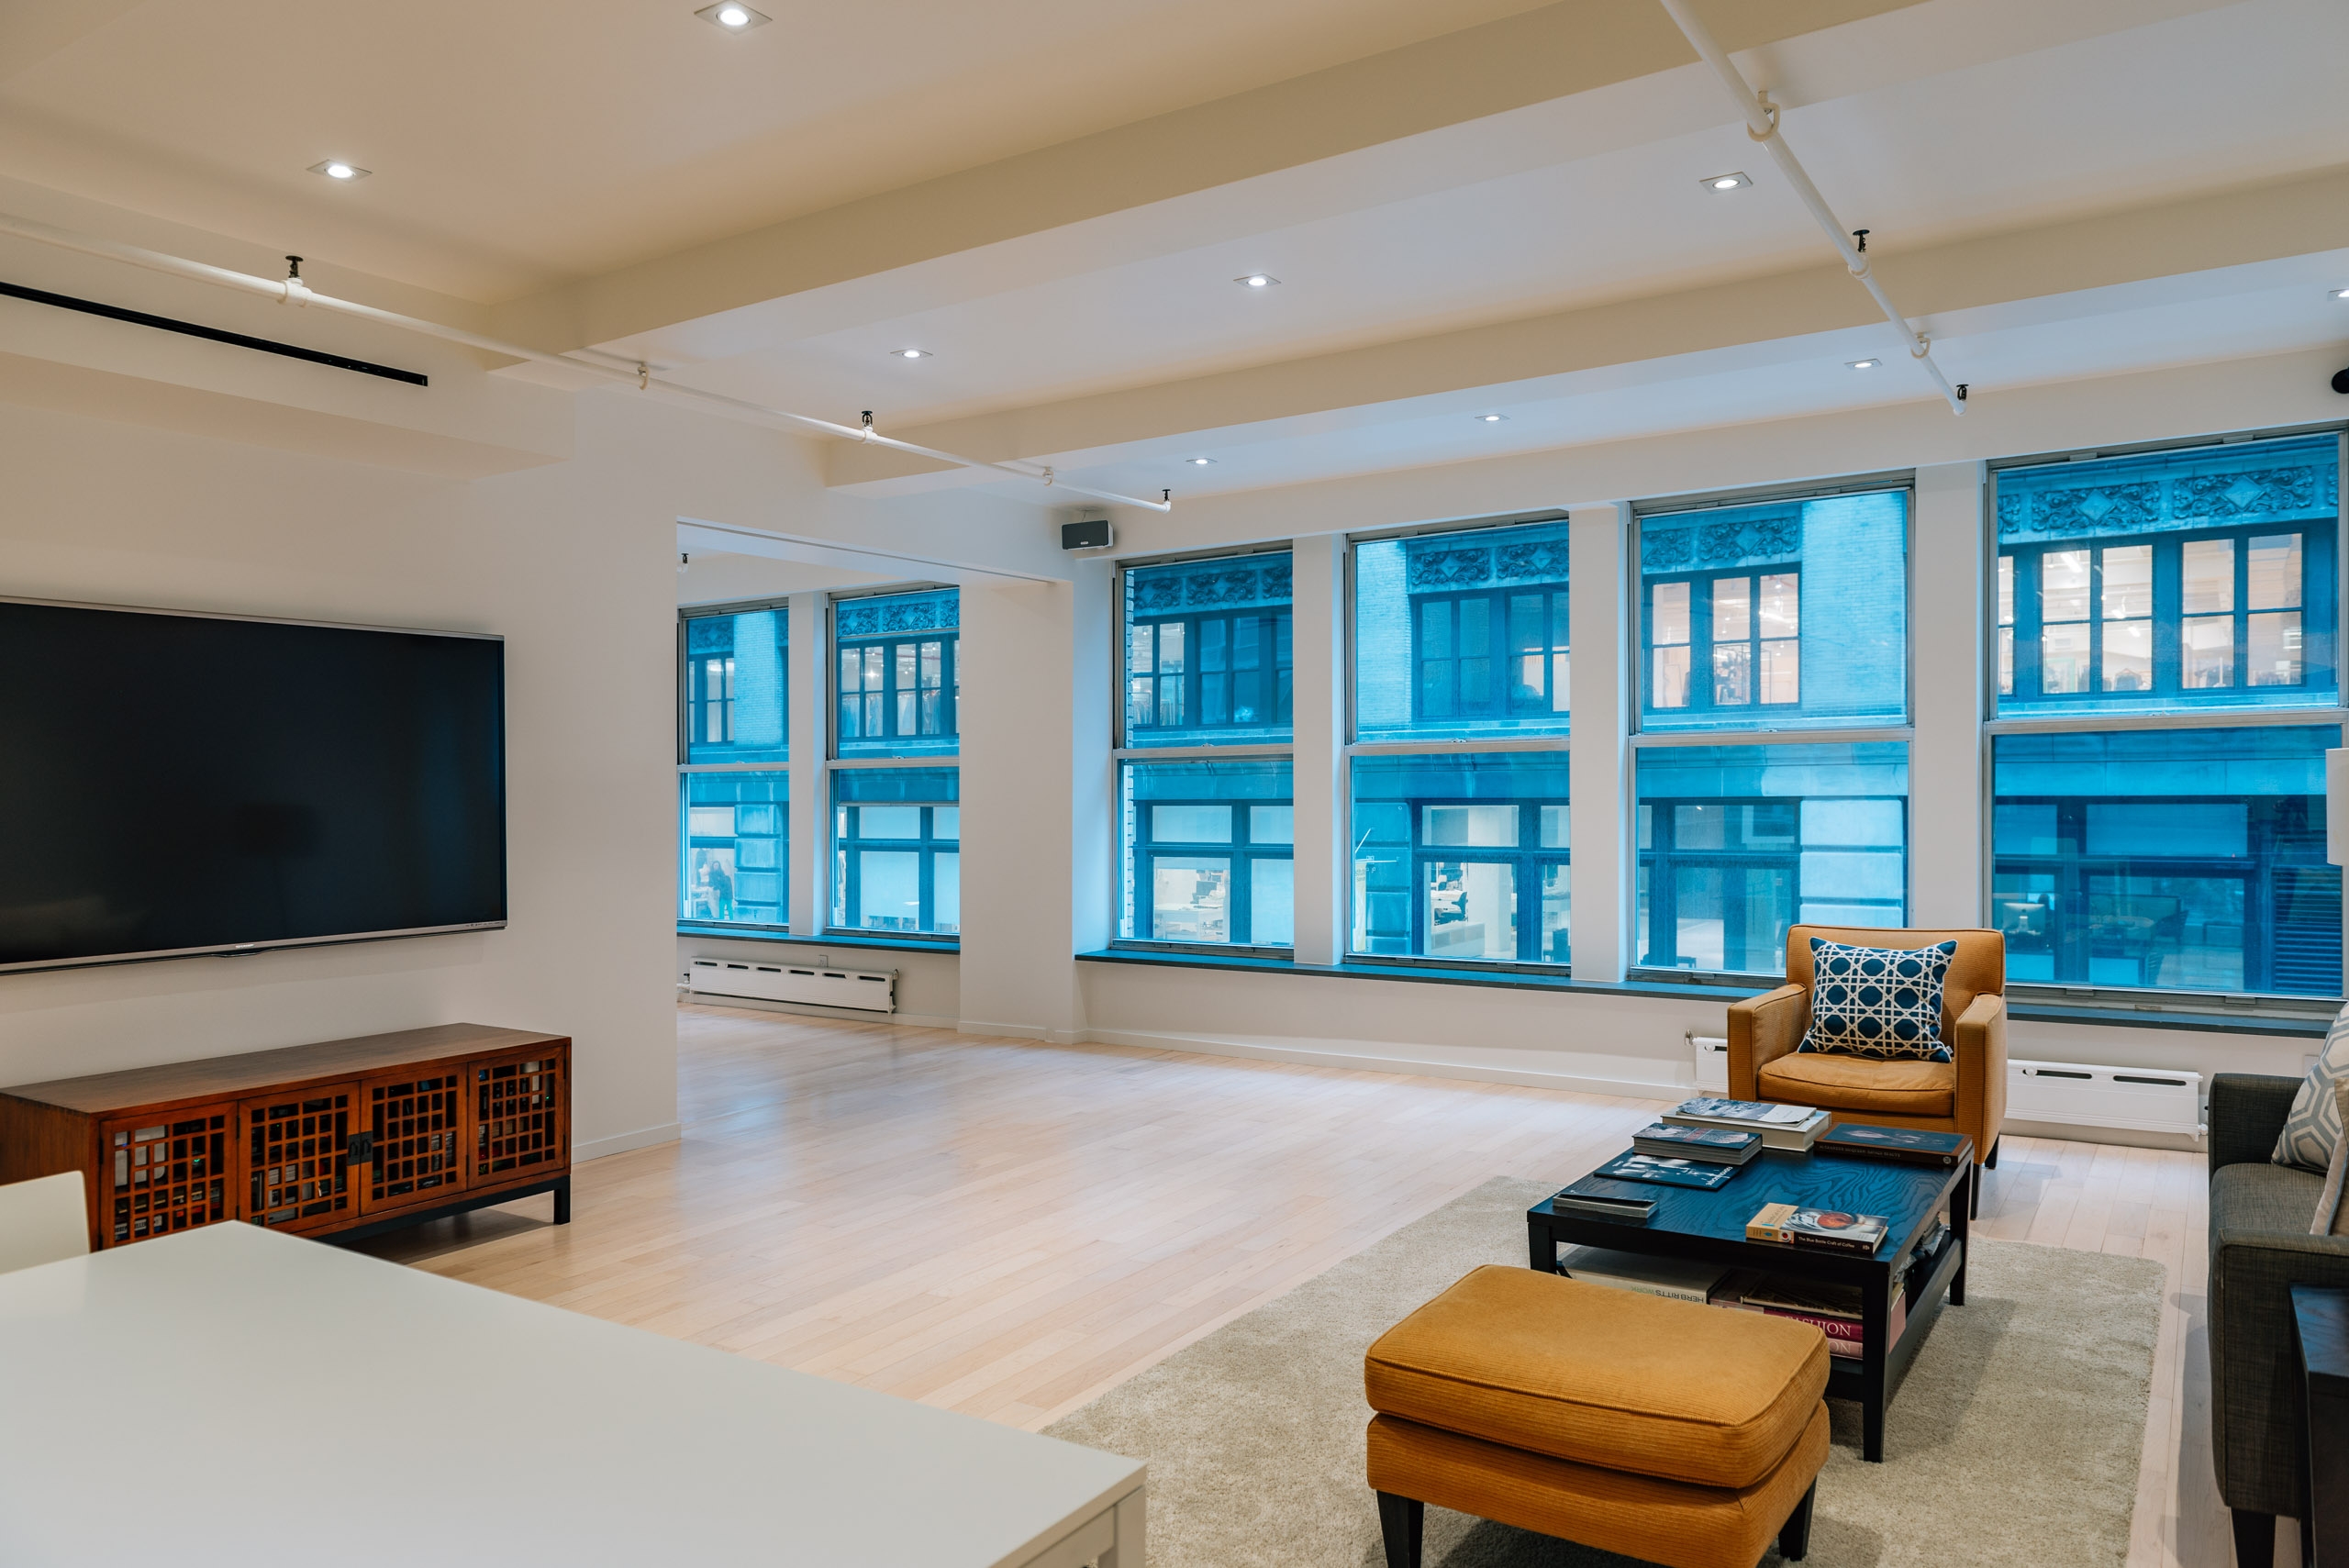
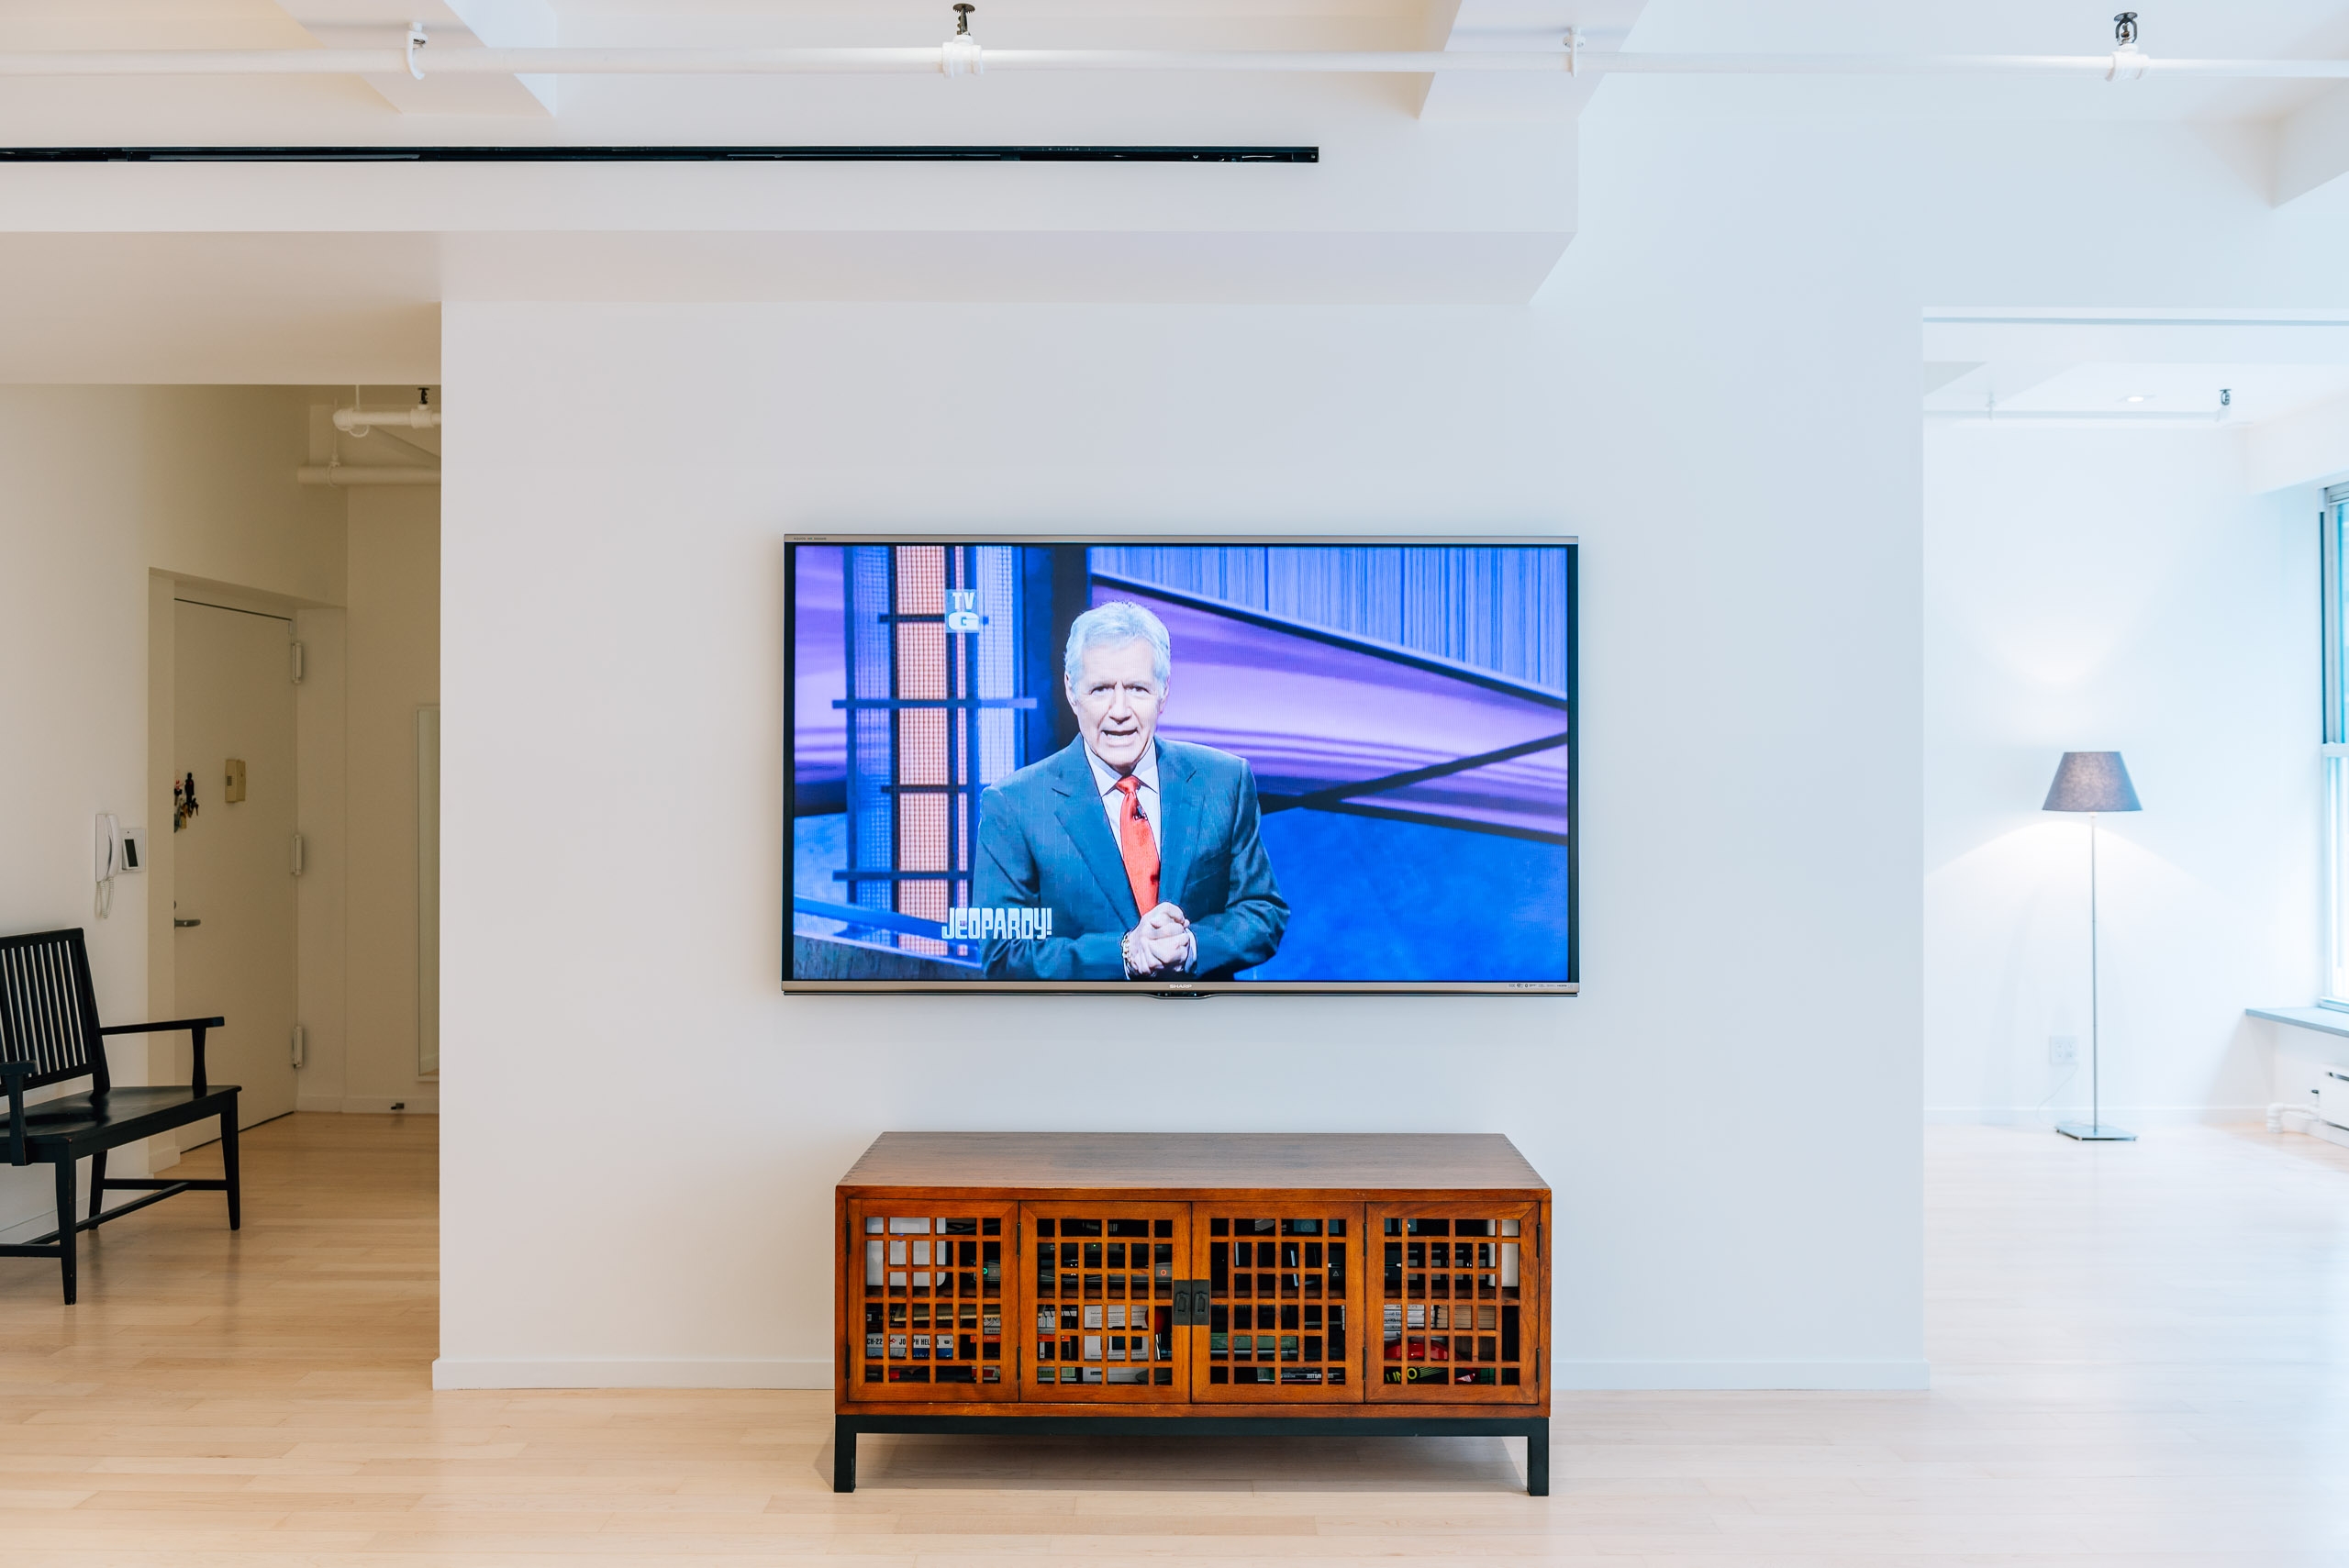 An unexpected centerpiece of the living room is an 80-inch TV, a housewarming gift from the Chiangs!
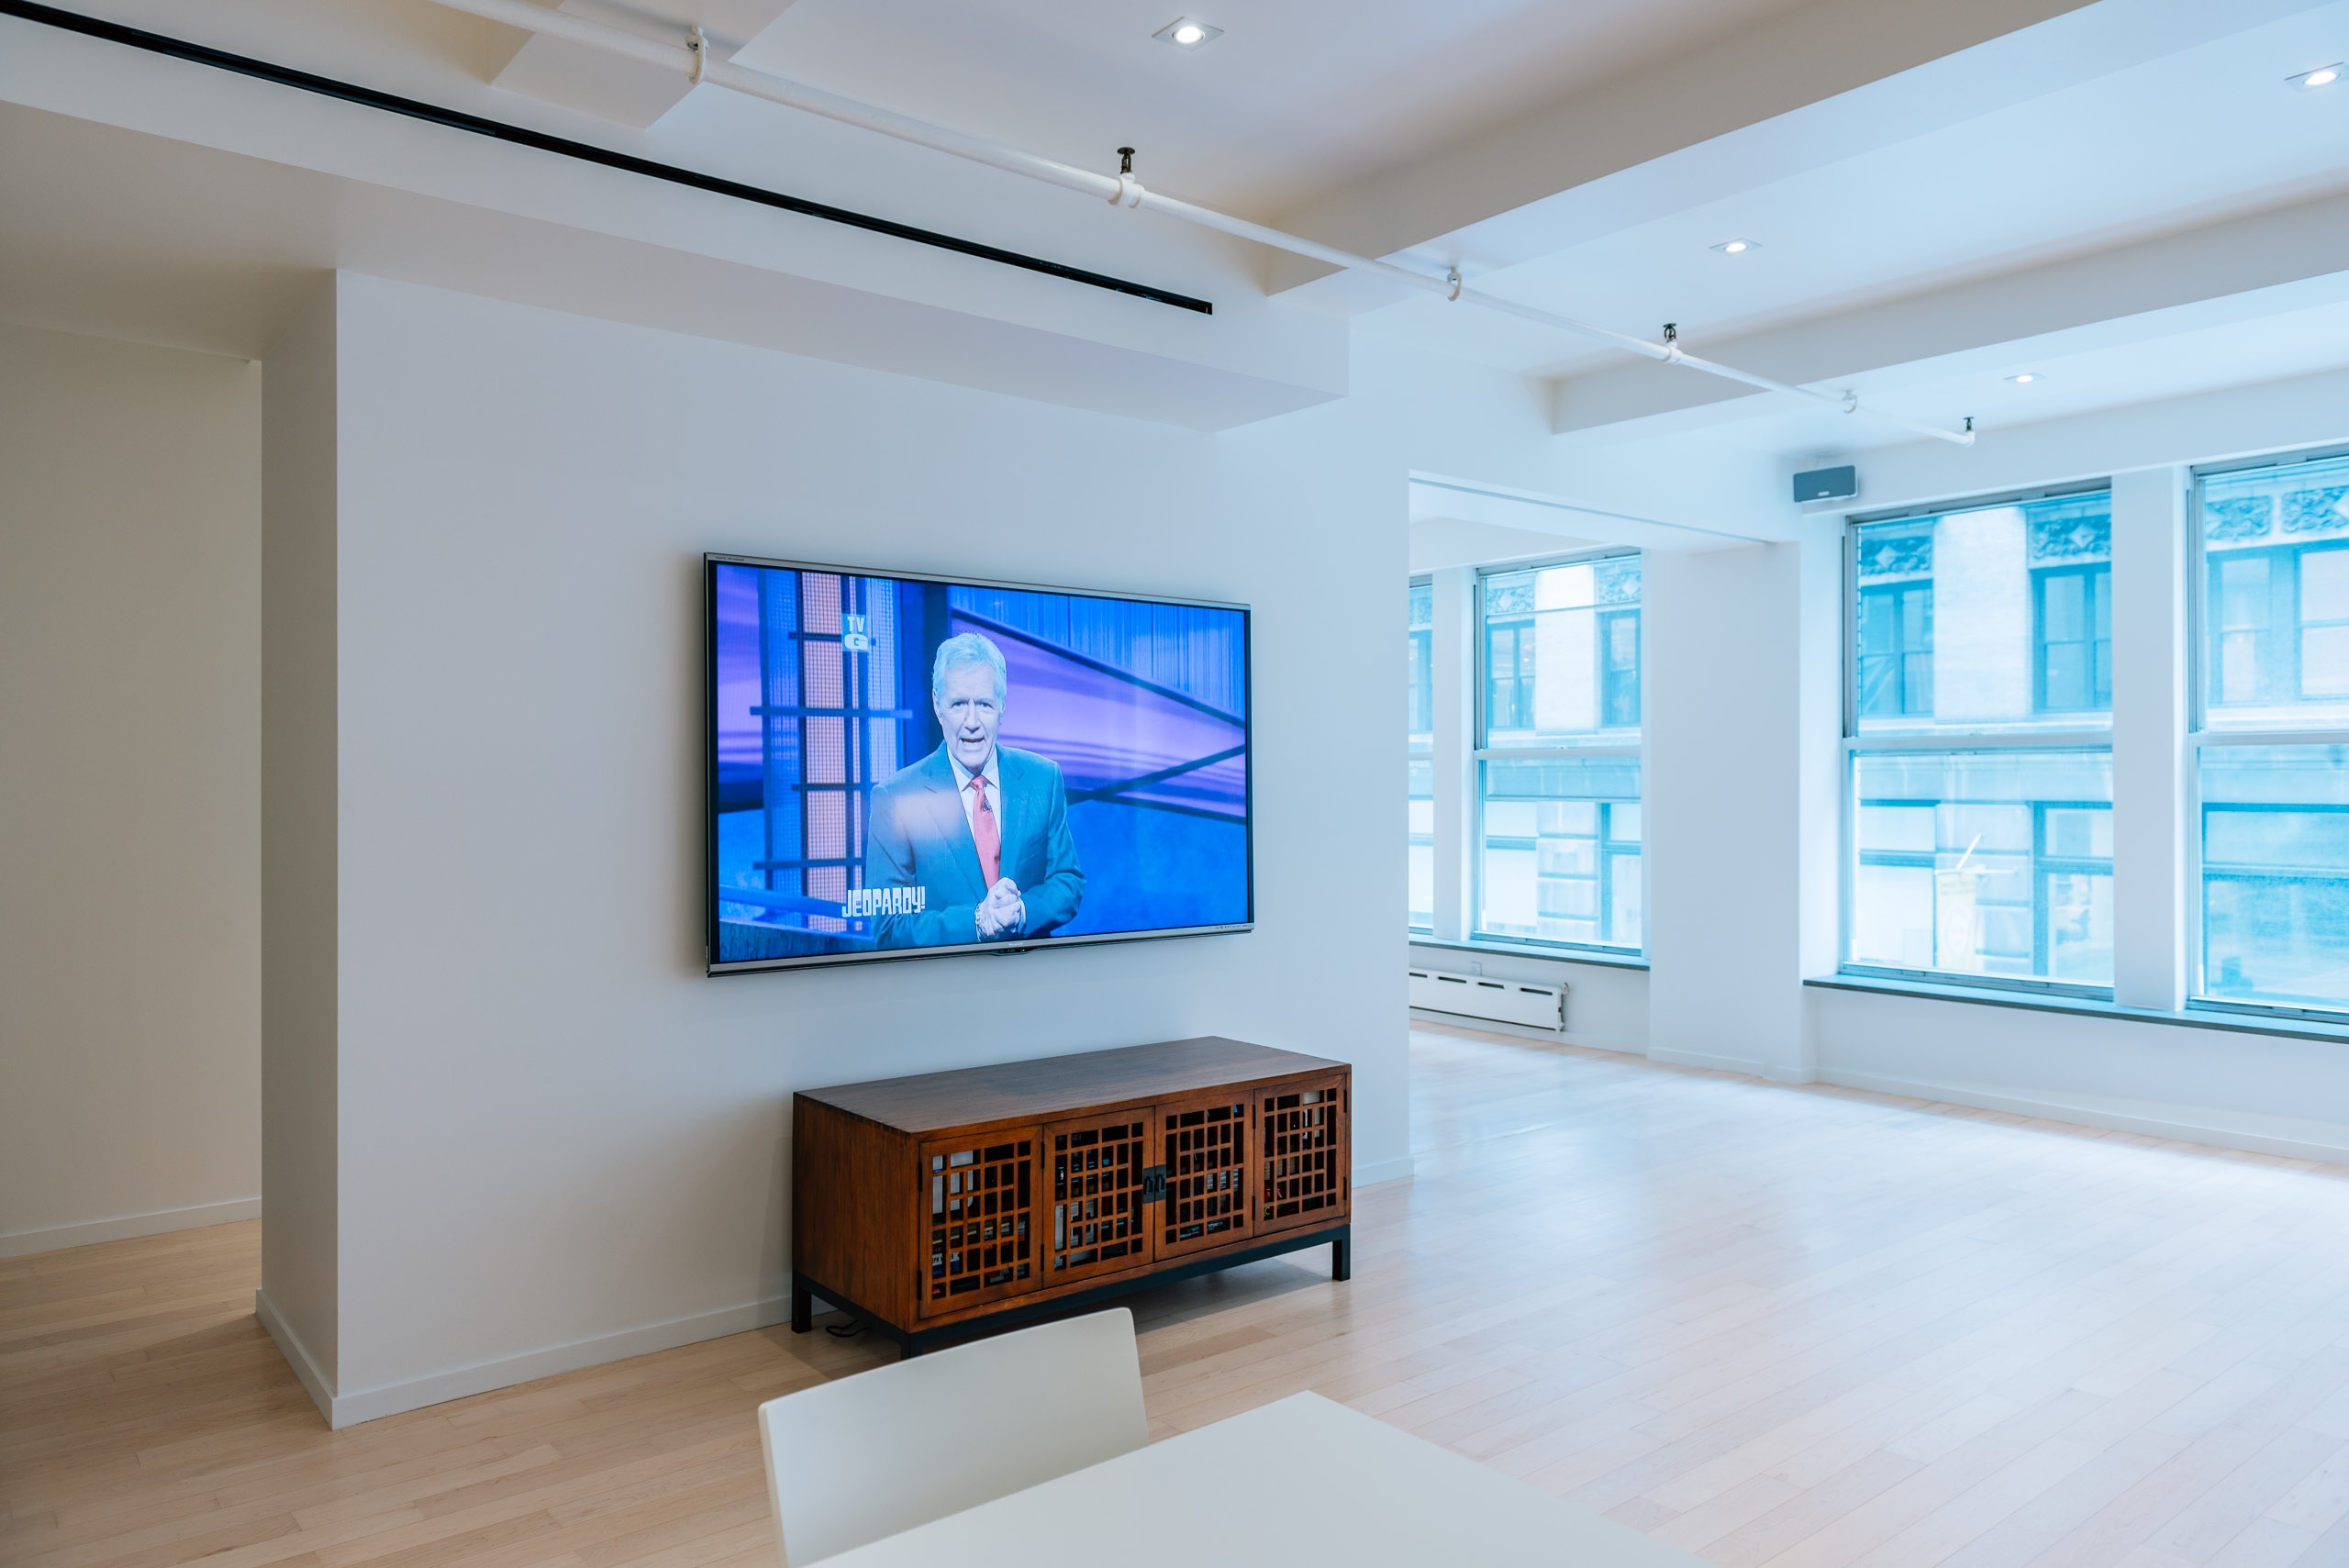 The view of the TV wall and office/guest room from the kitchen.
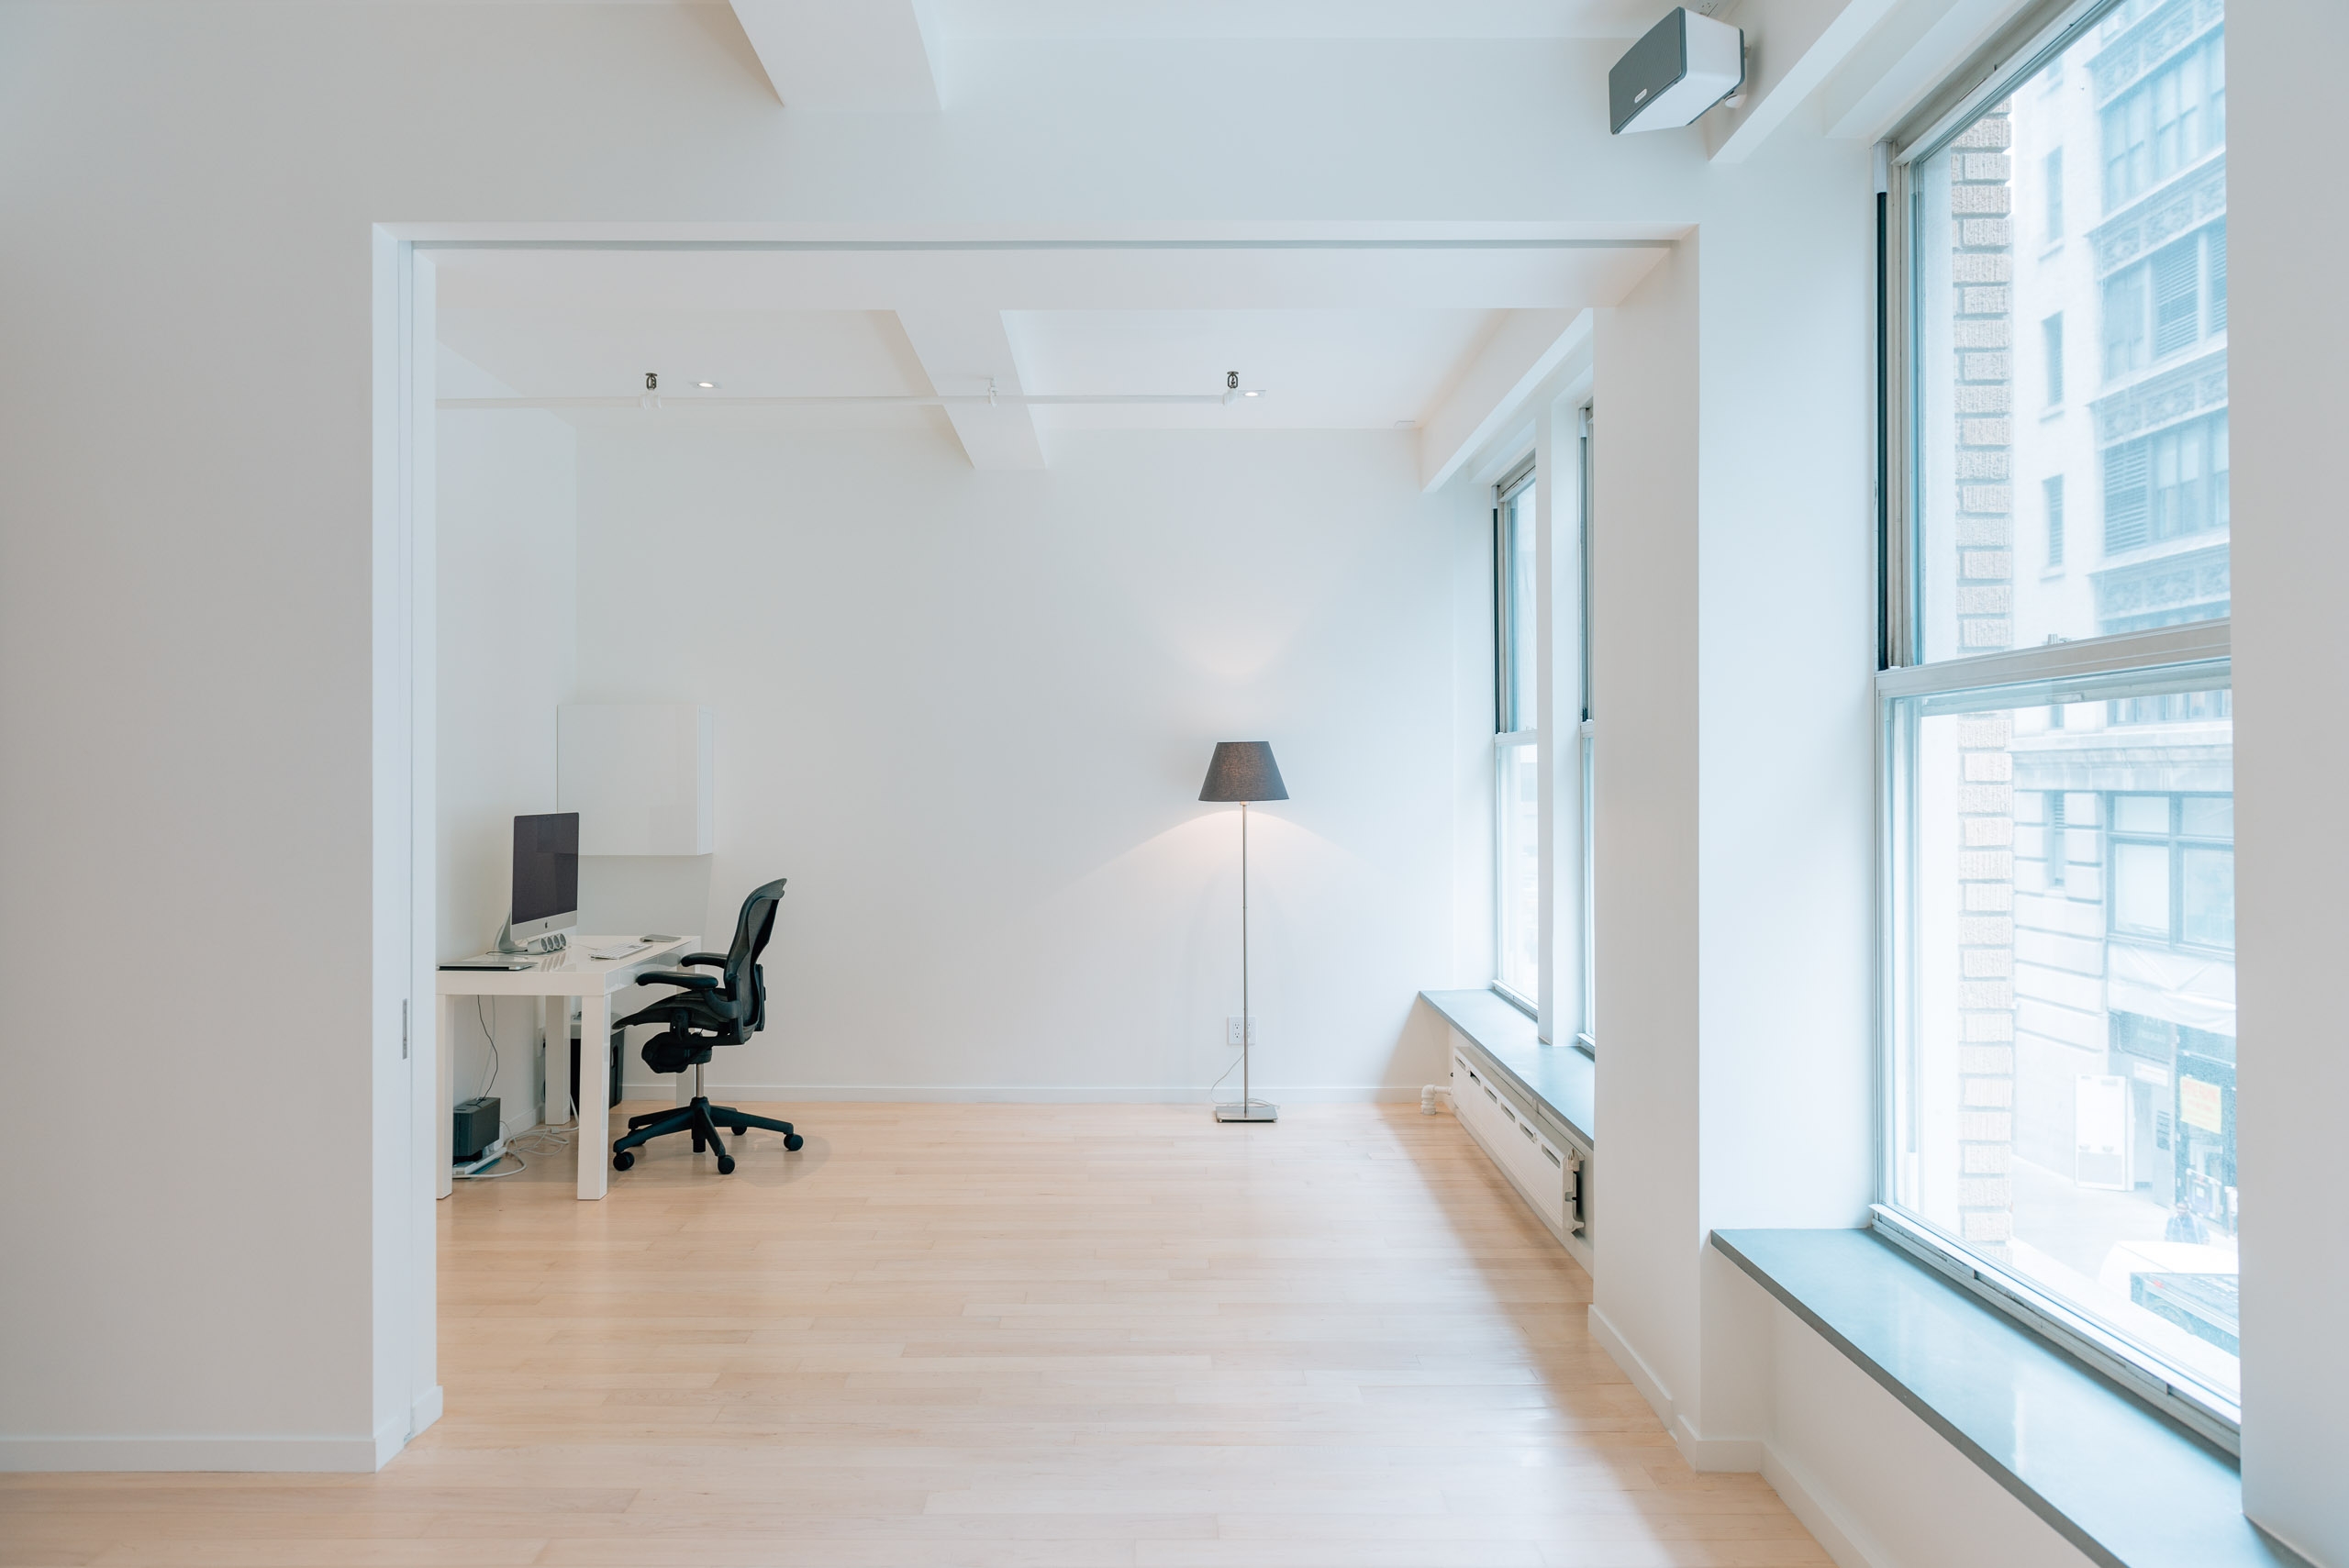 A view from the living room into the sparsely-appointed office/guest room.
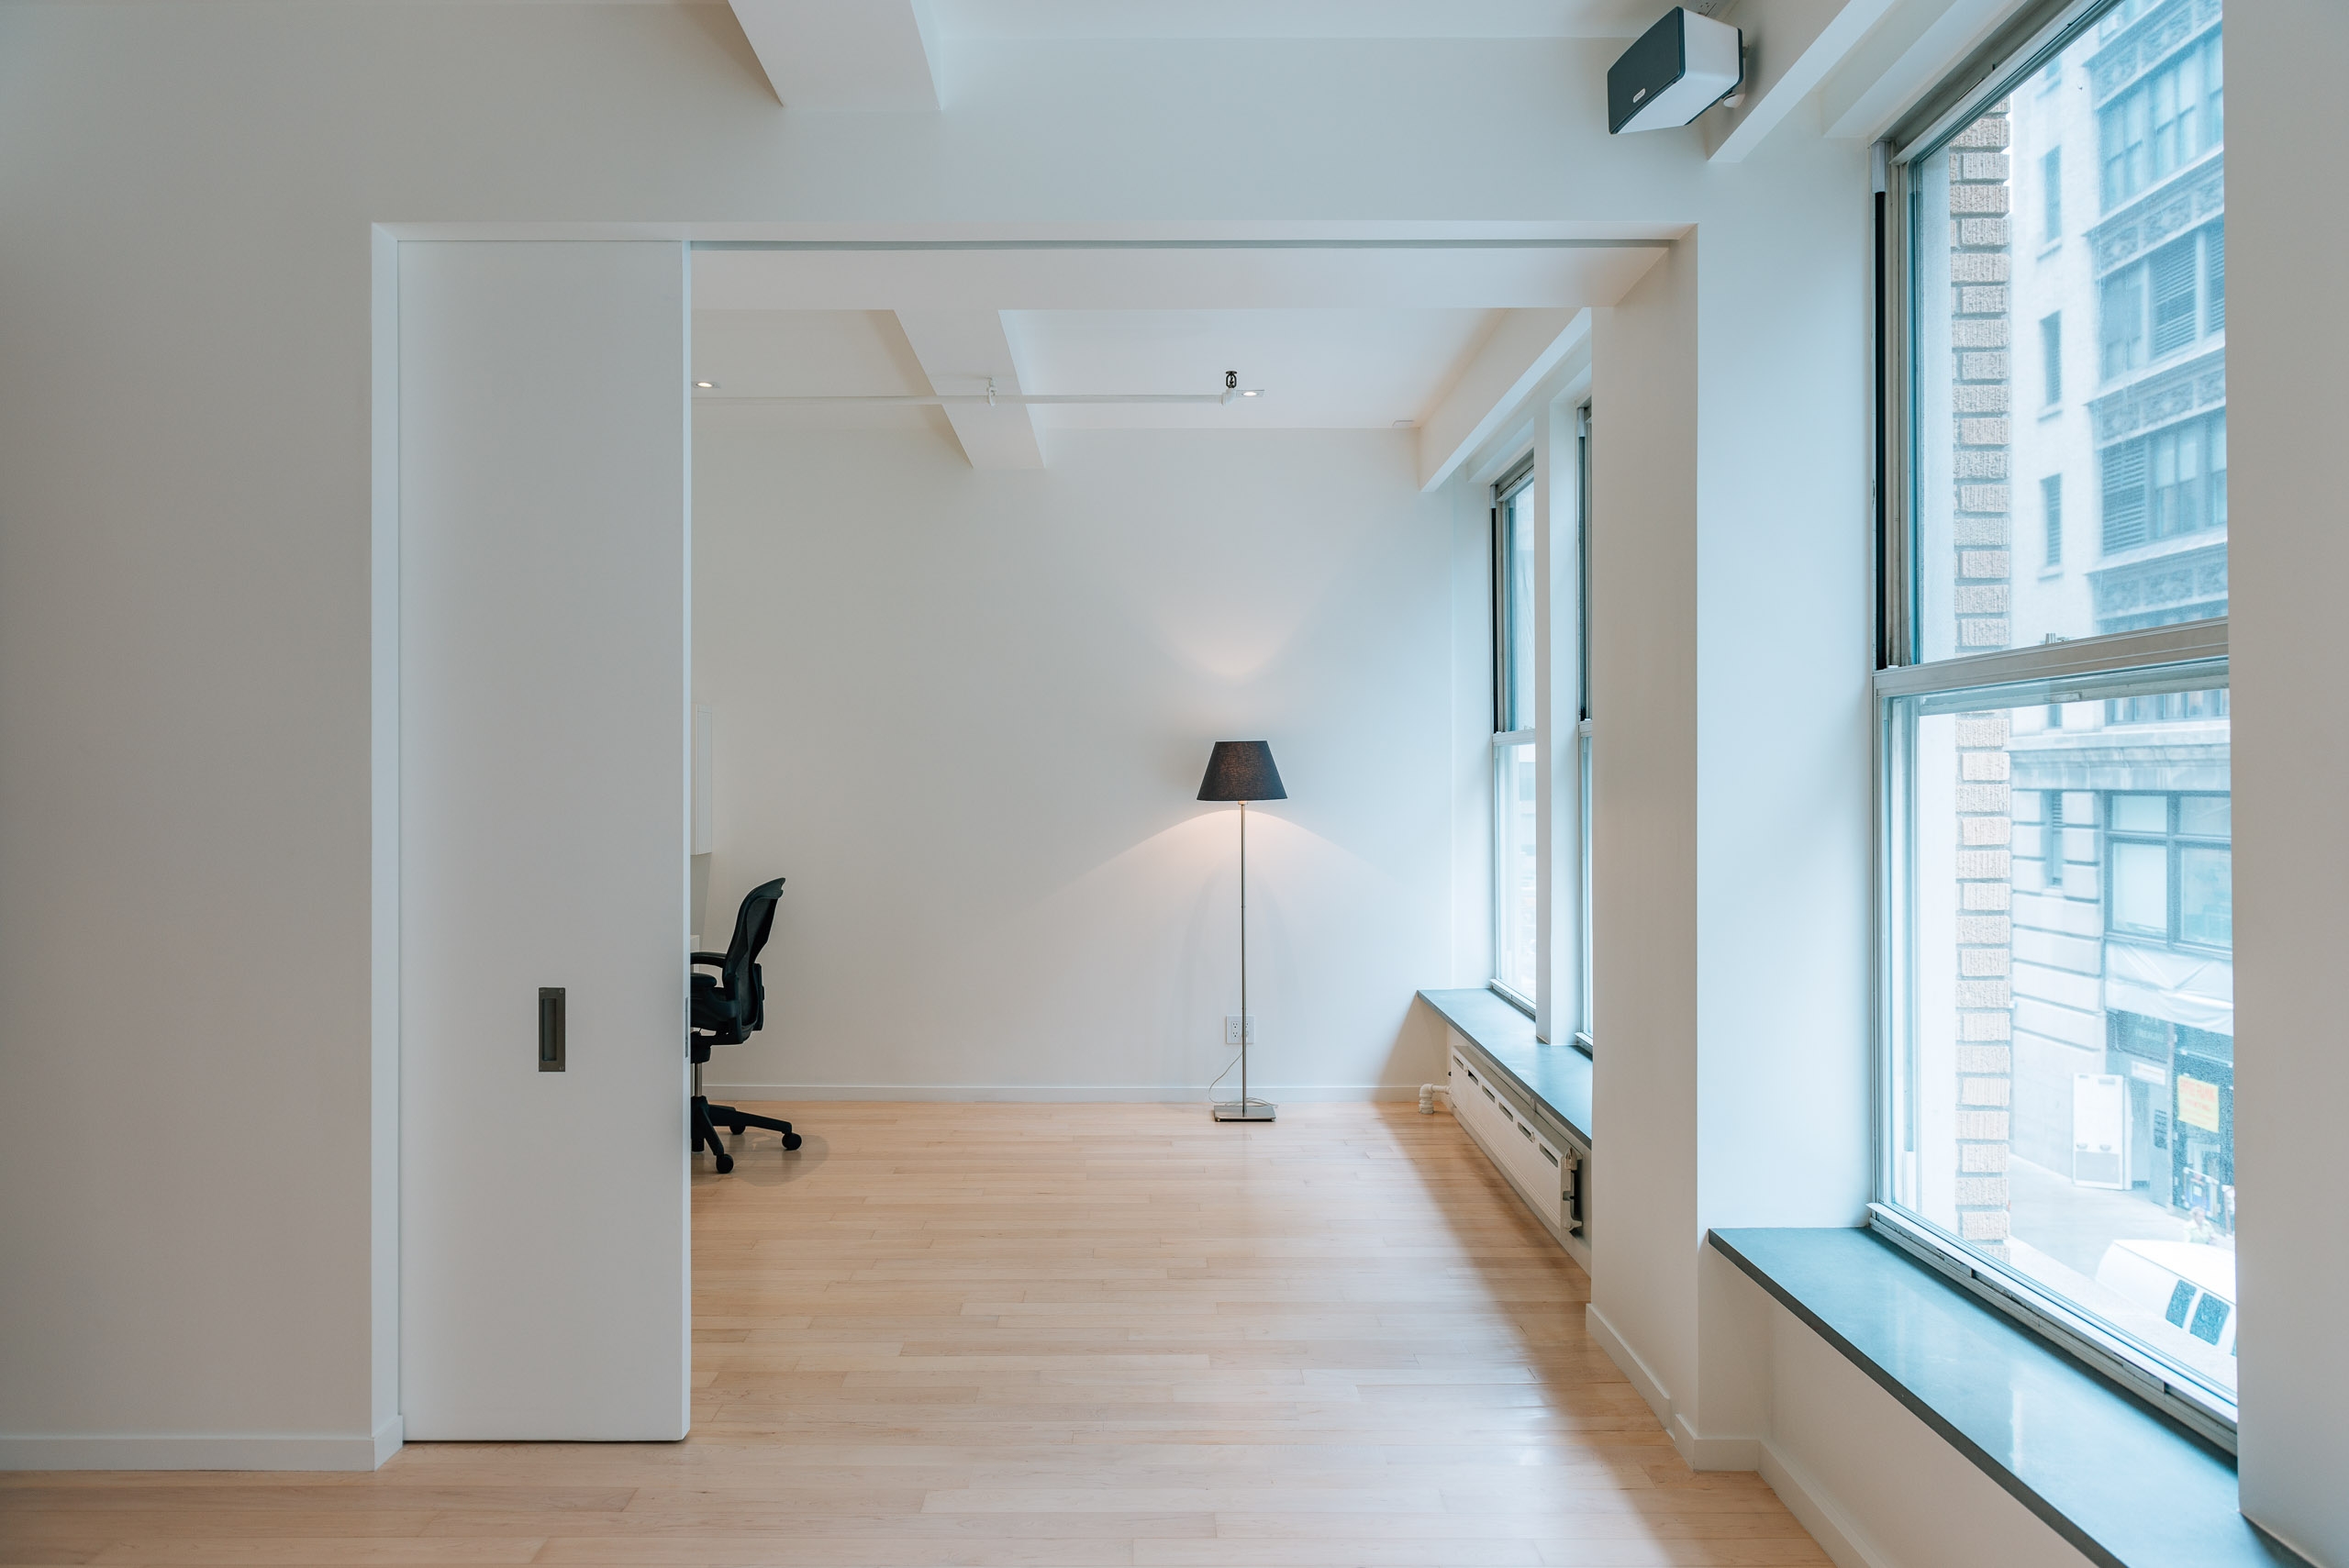 The moving wall one-quarter deployed.
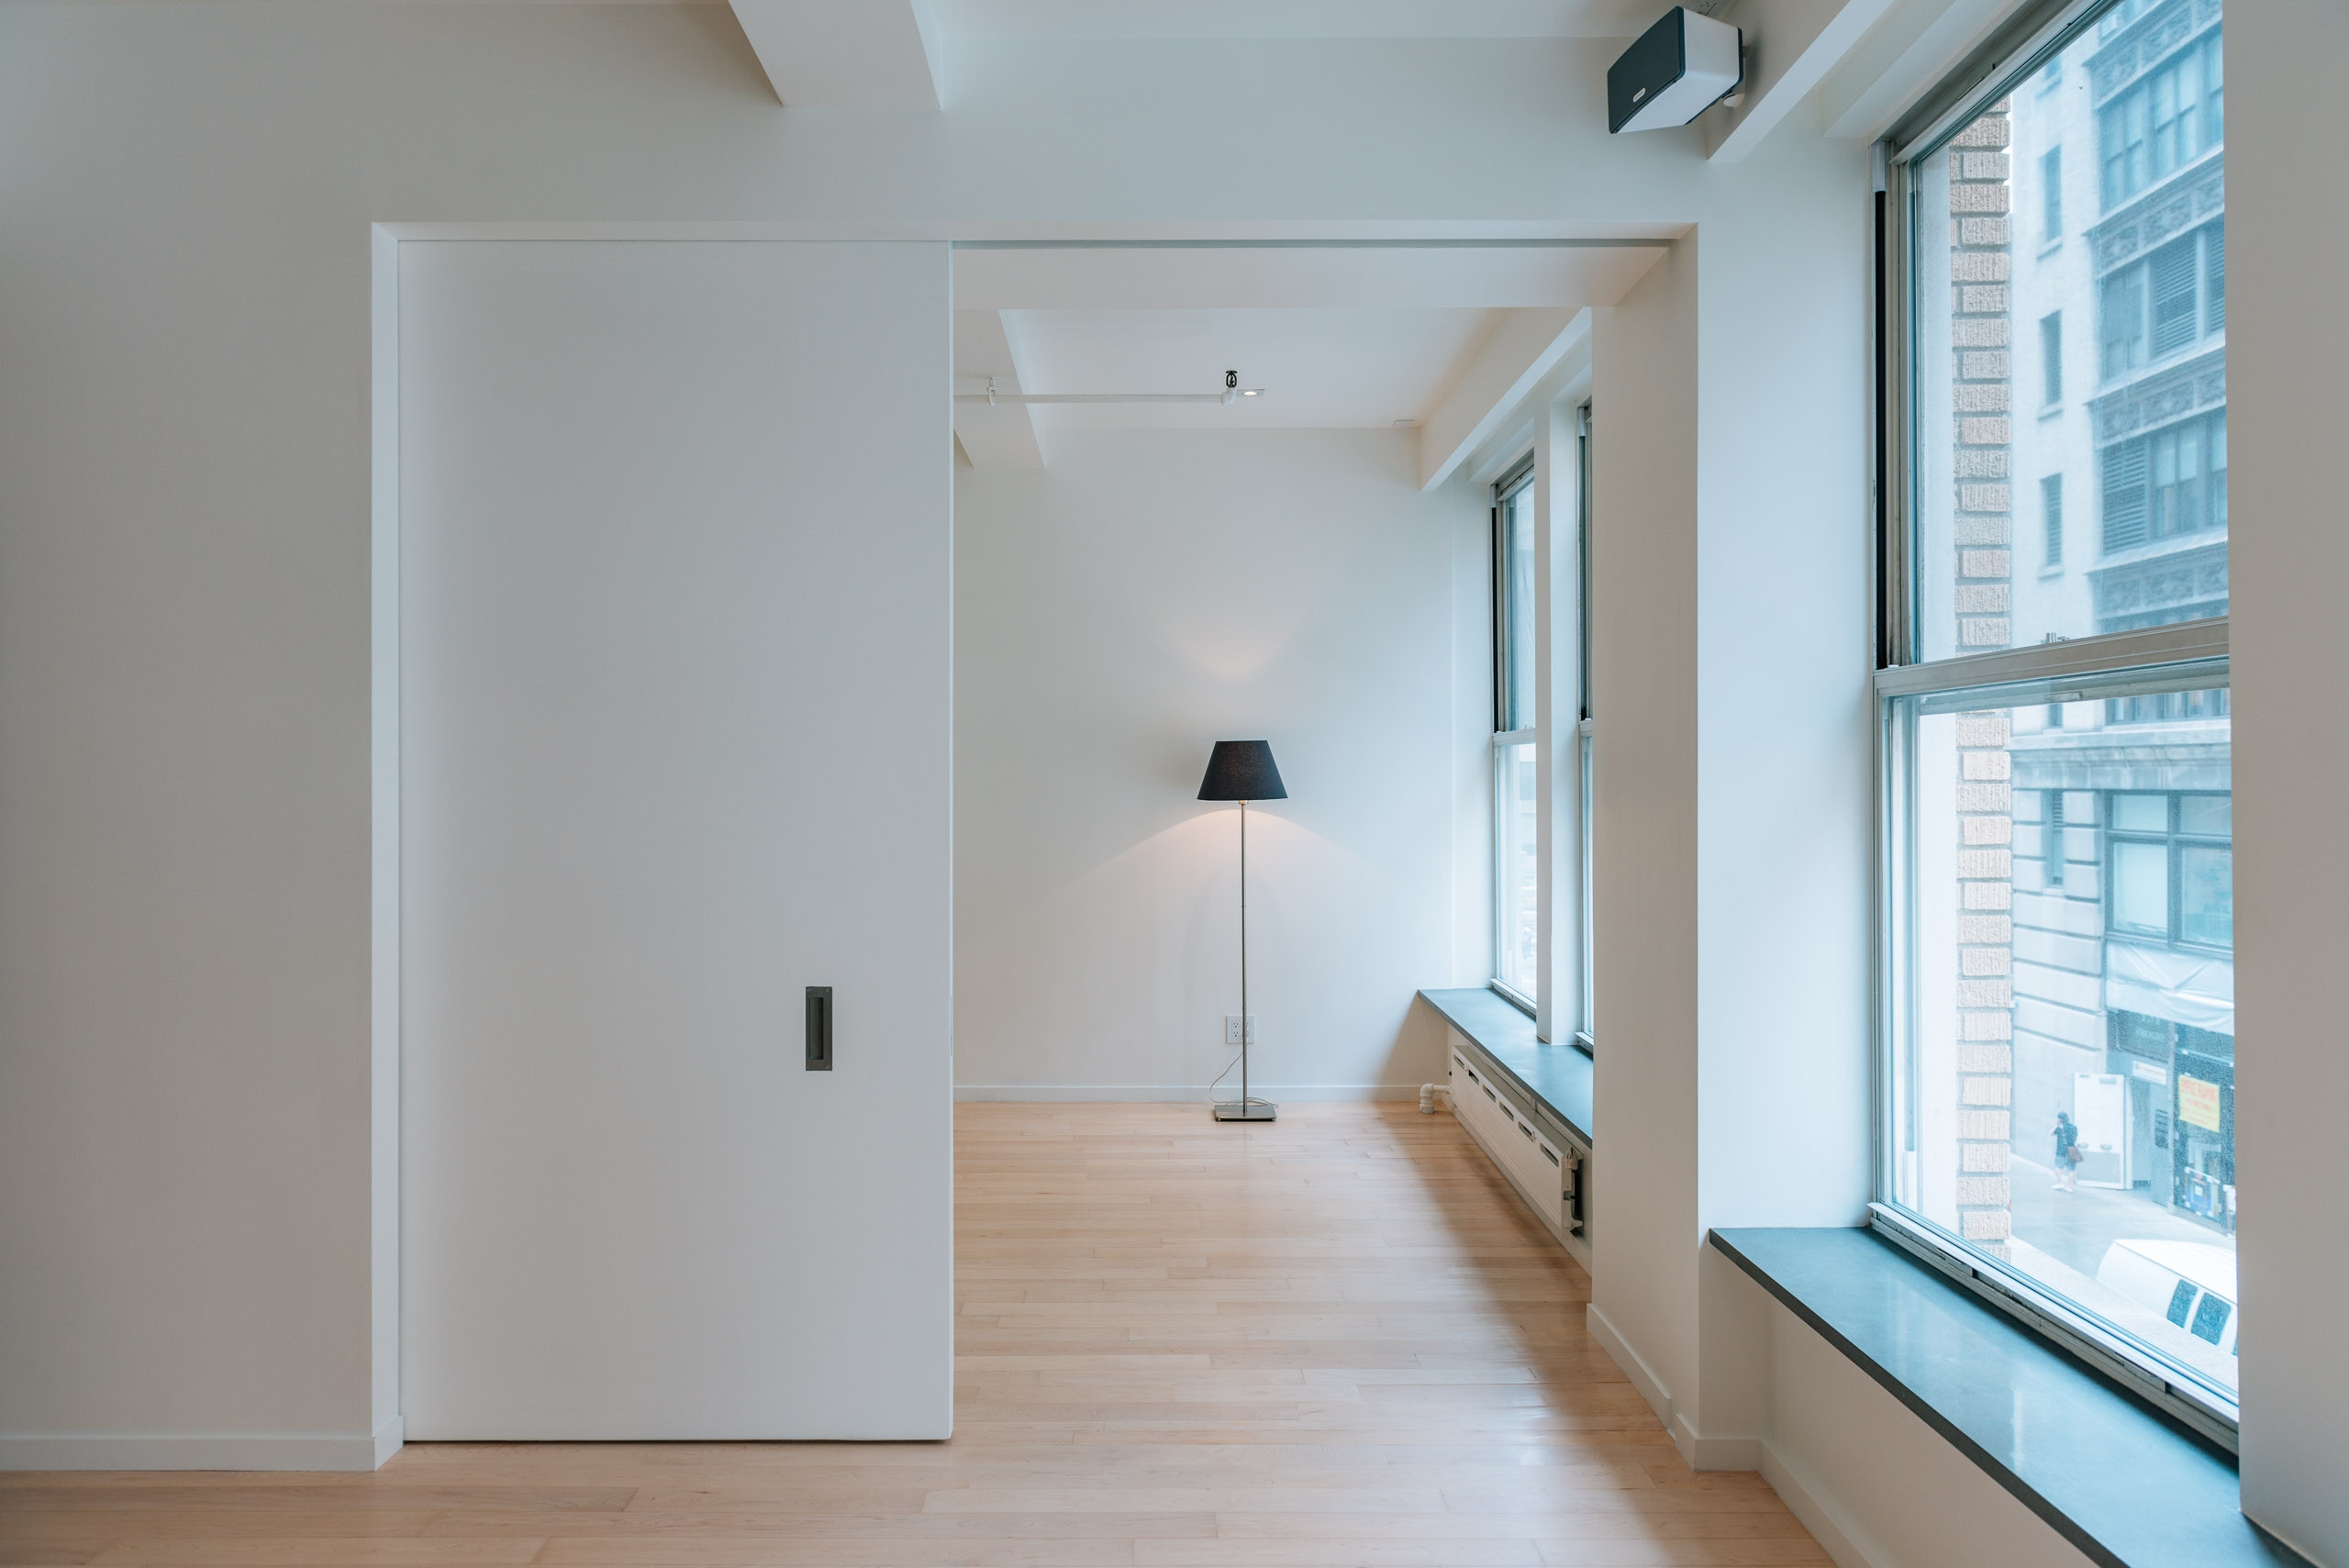 The moving wall one-half deployed.
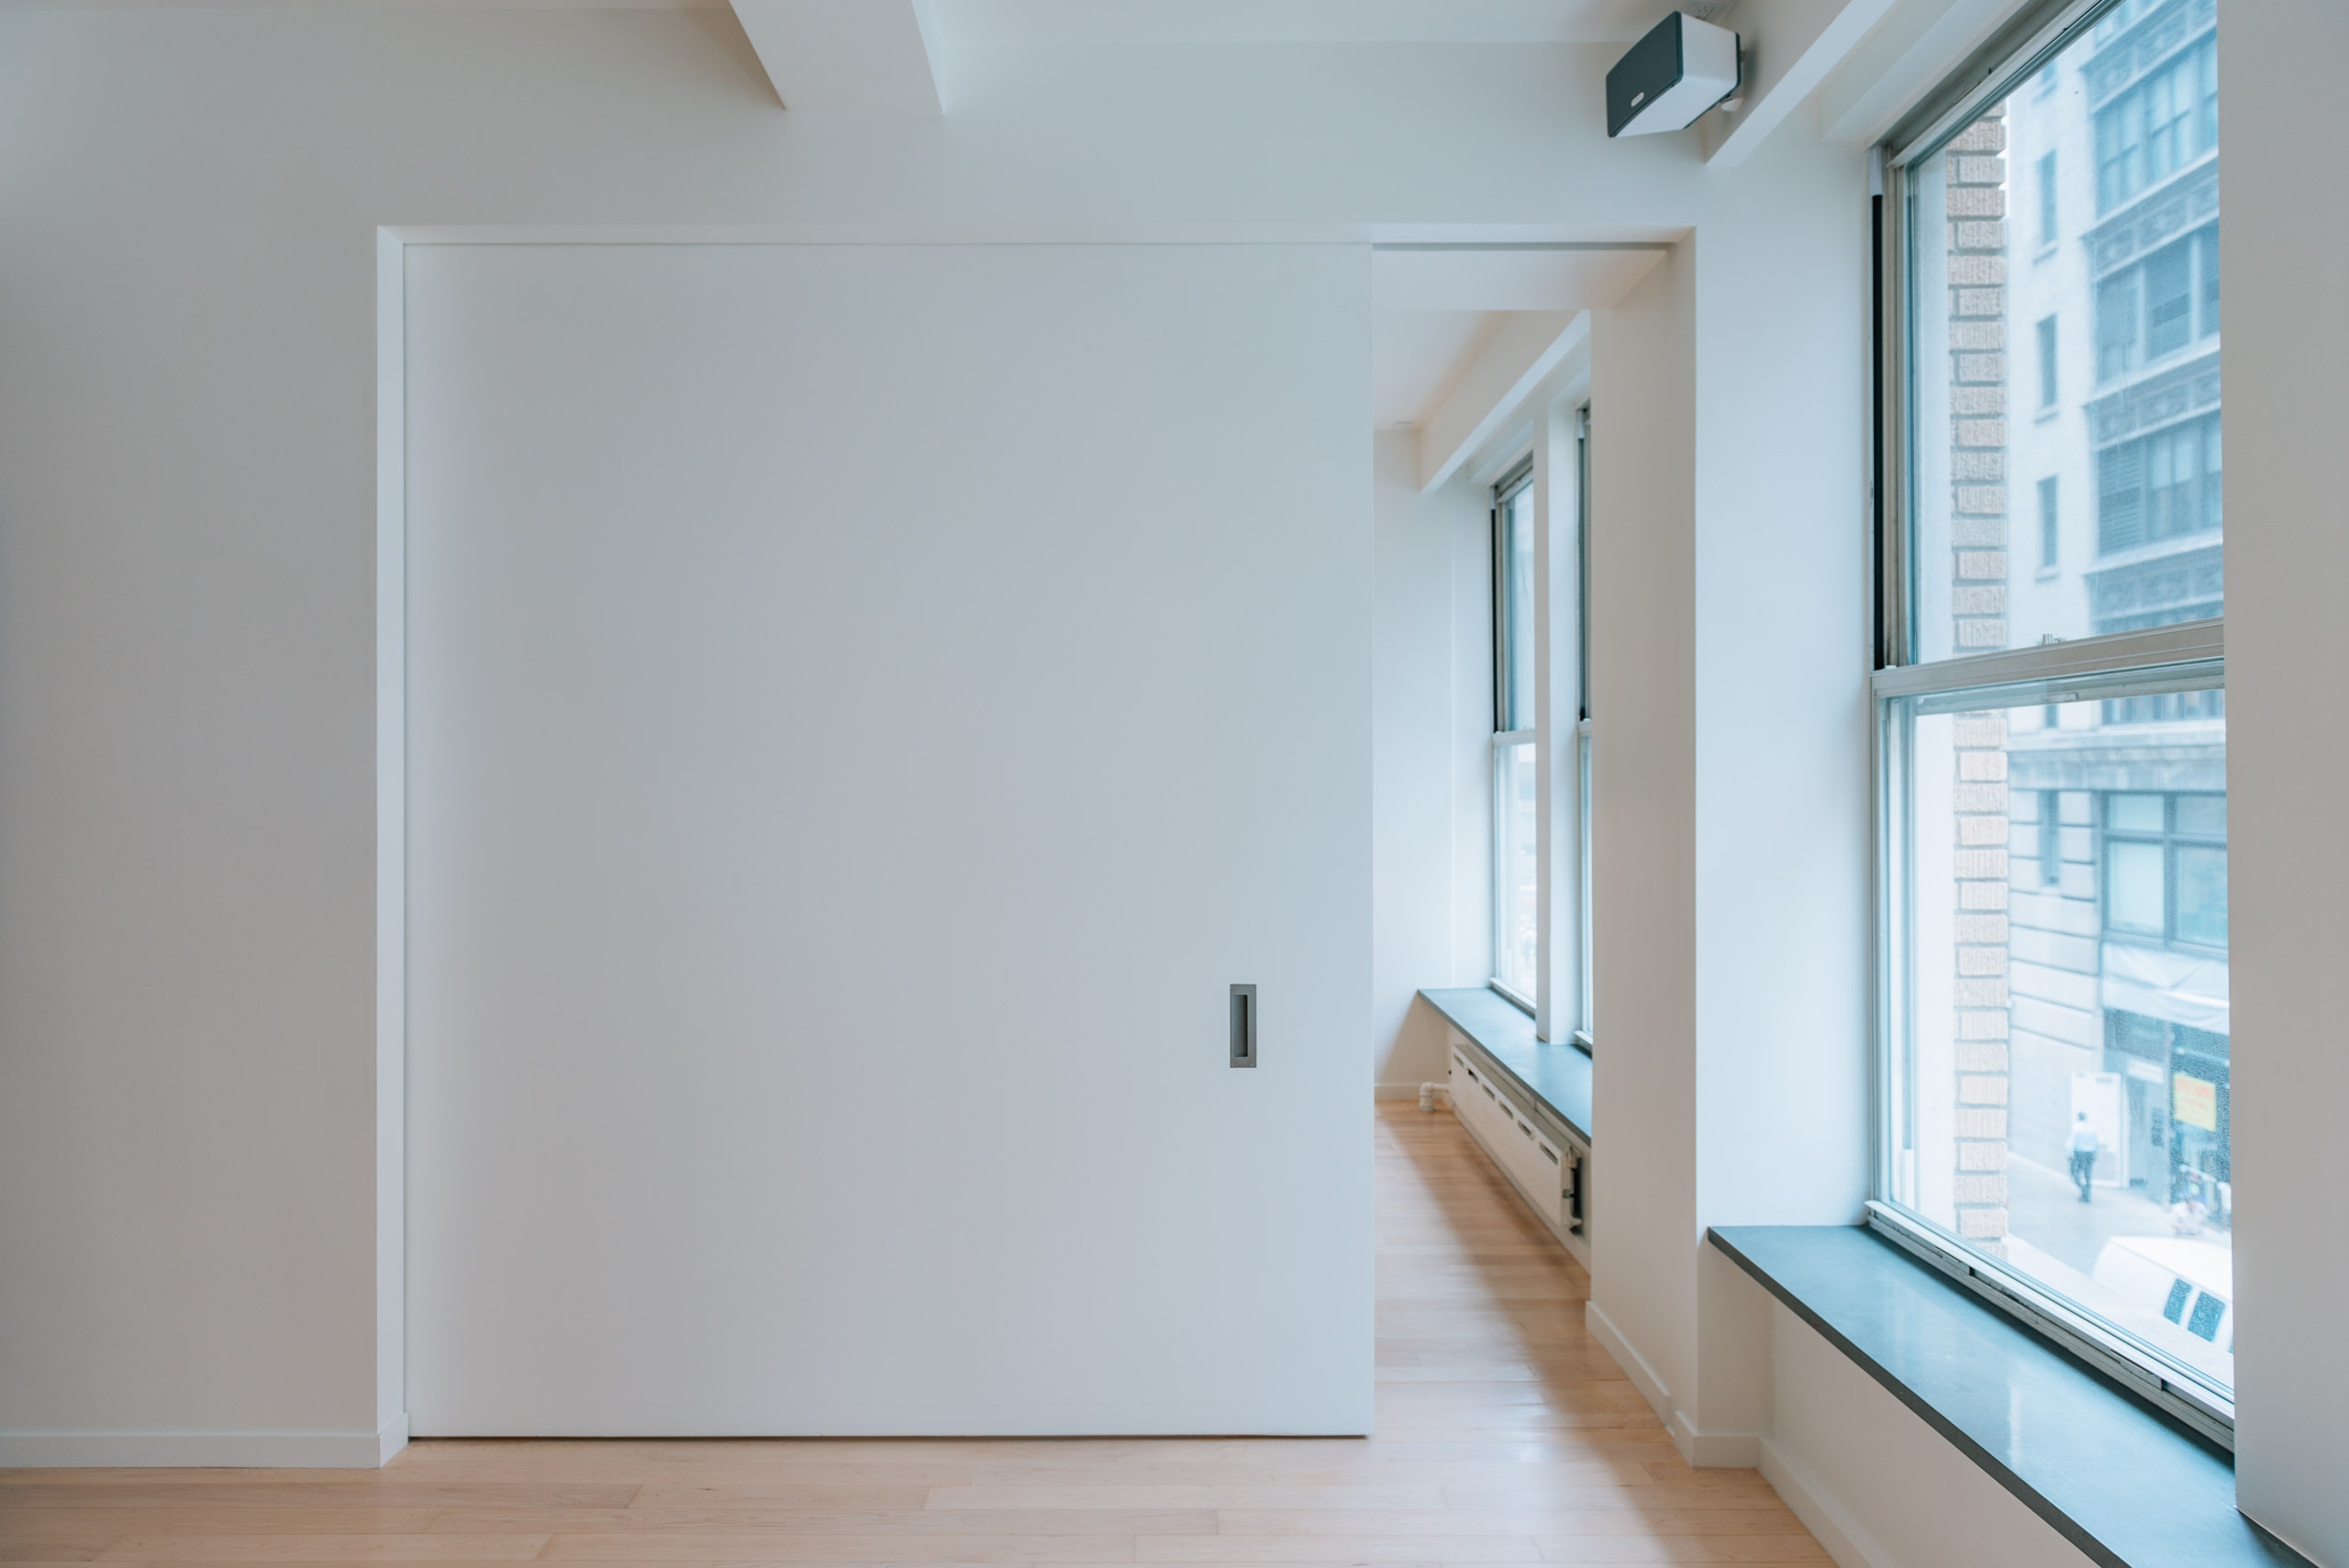 The moving wall three-quarters deployed.
 When fully deployed, the moving wall converts the office into a very private bedroom with its own full bathroom.
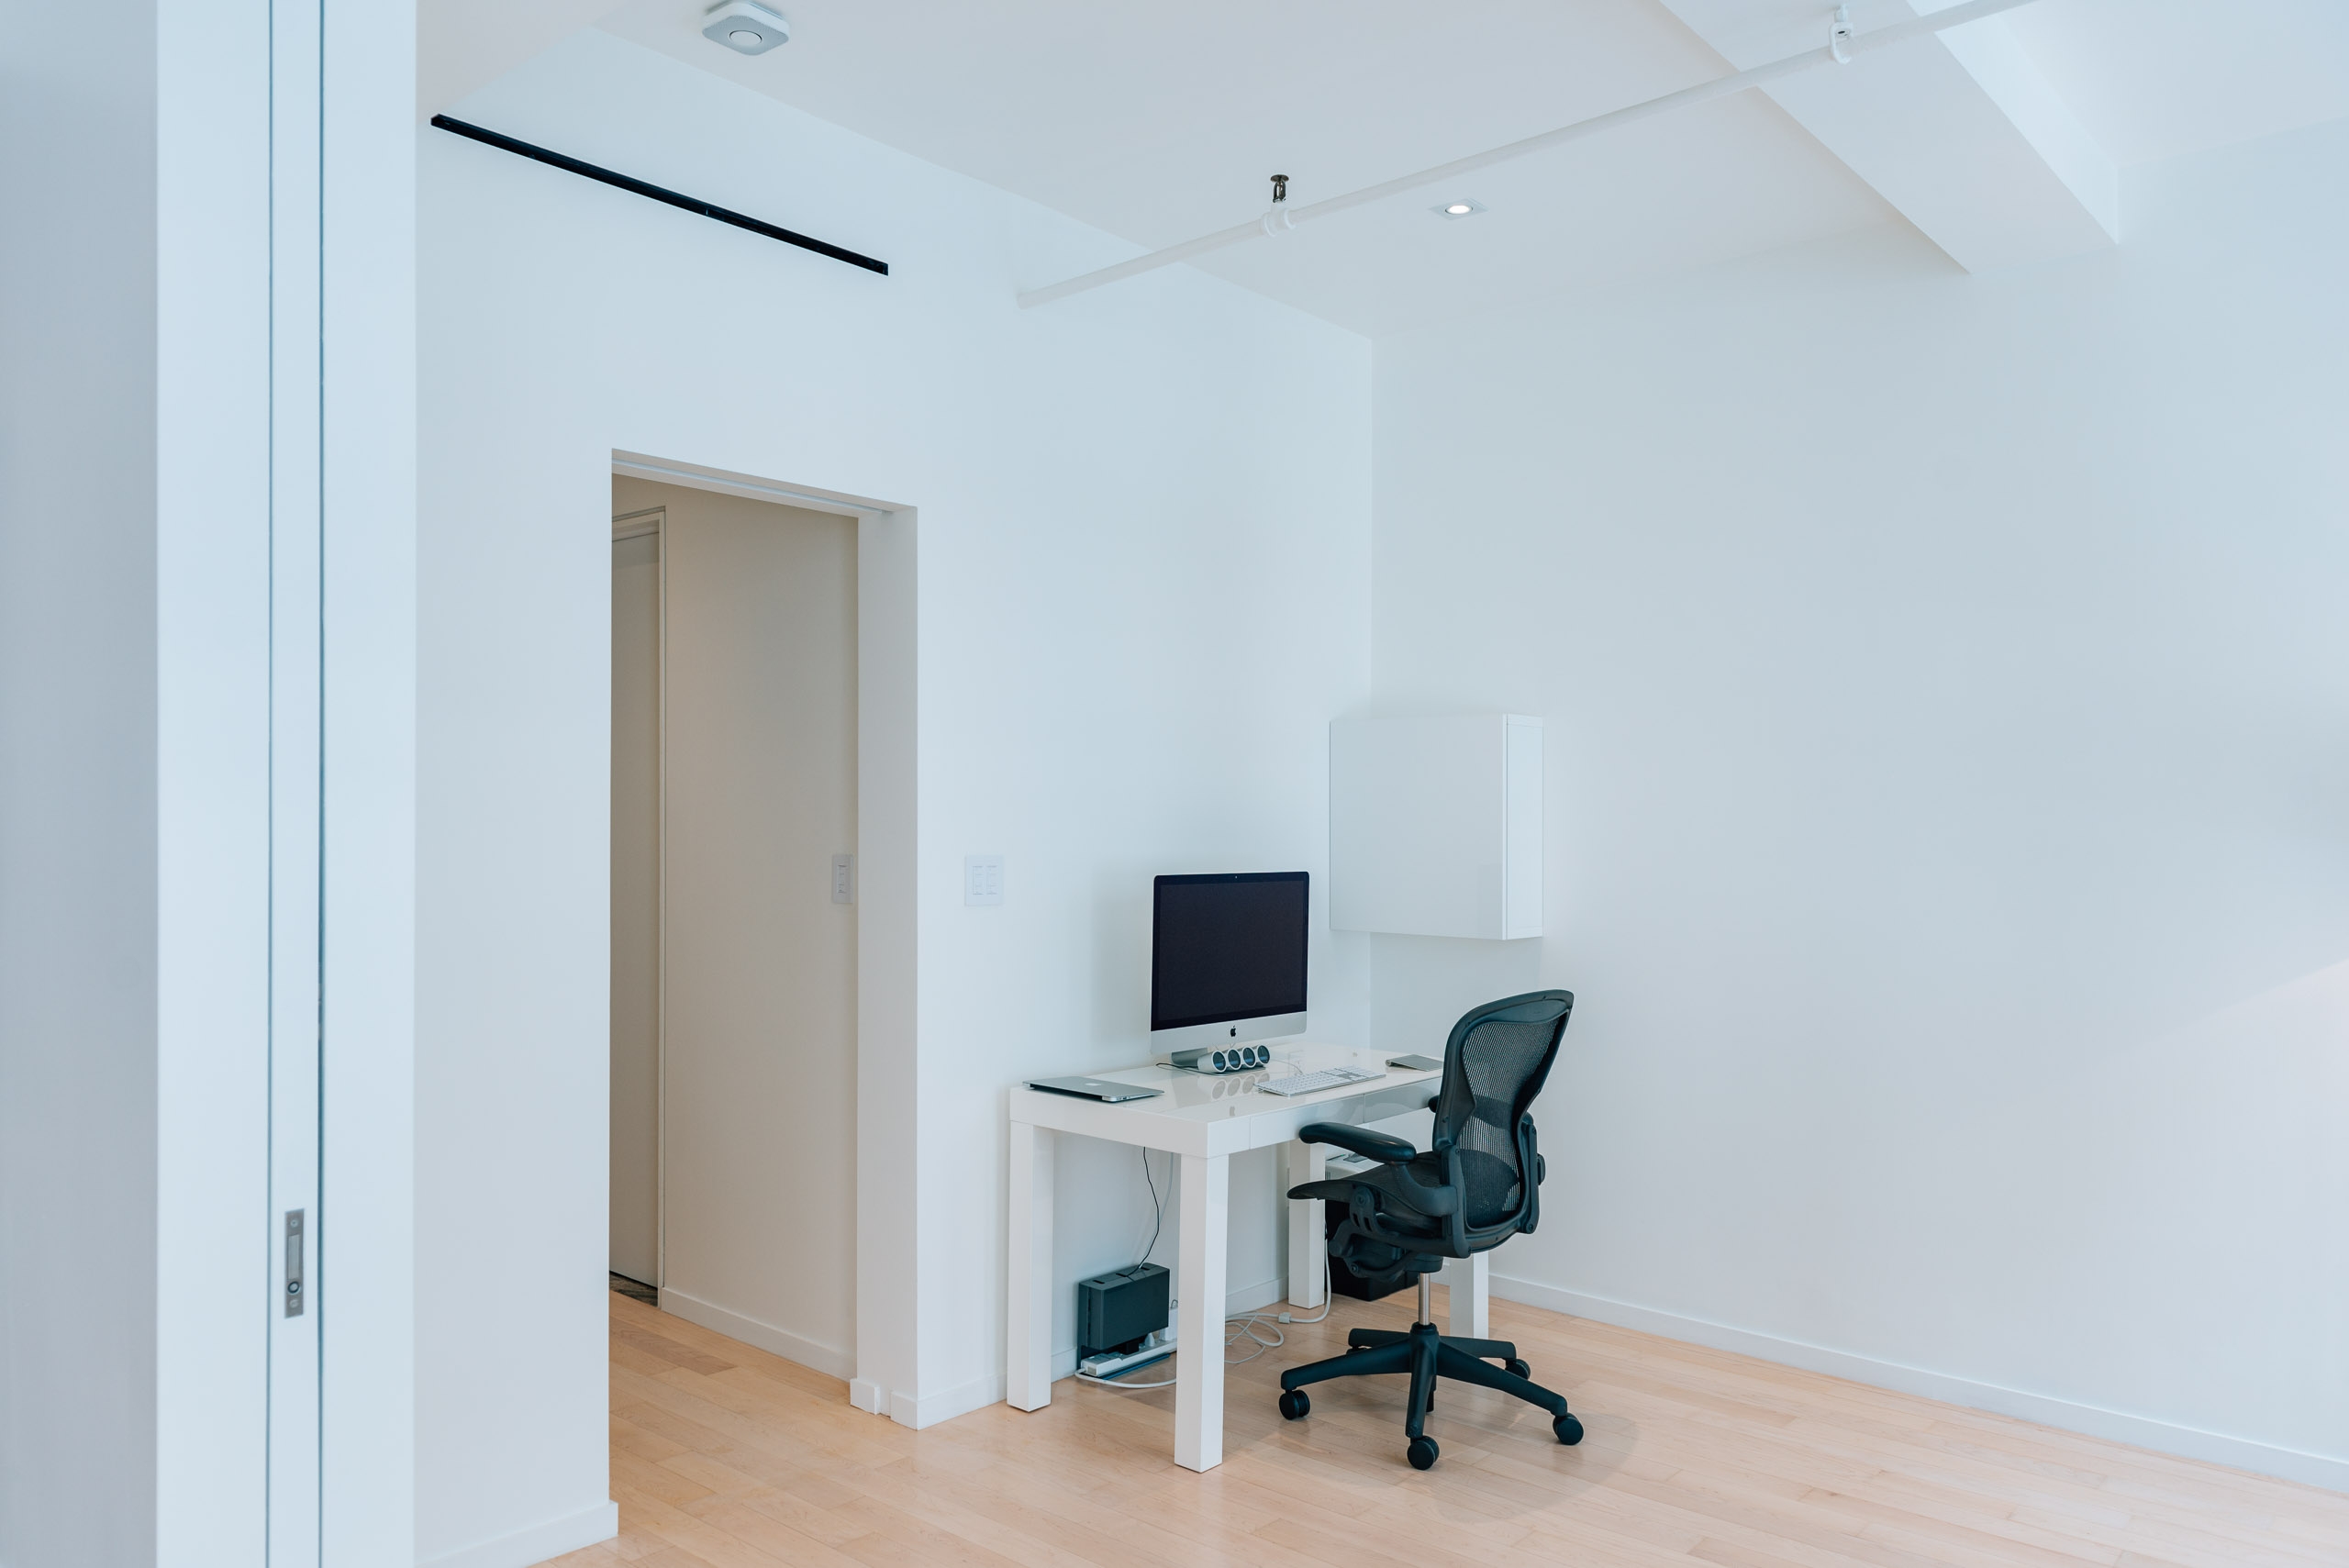 The desk will be replaced by a built-in, cantilevered desk.
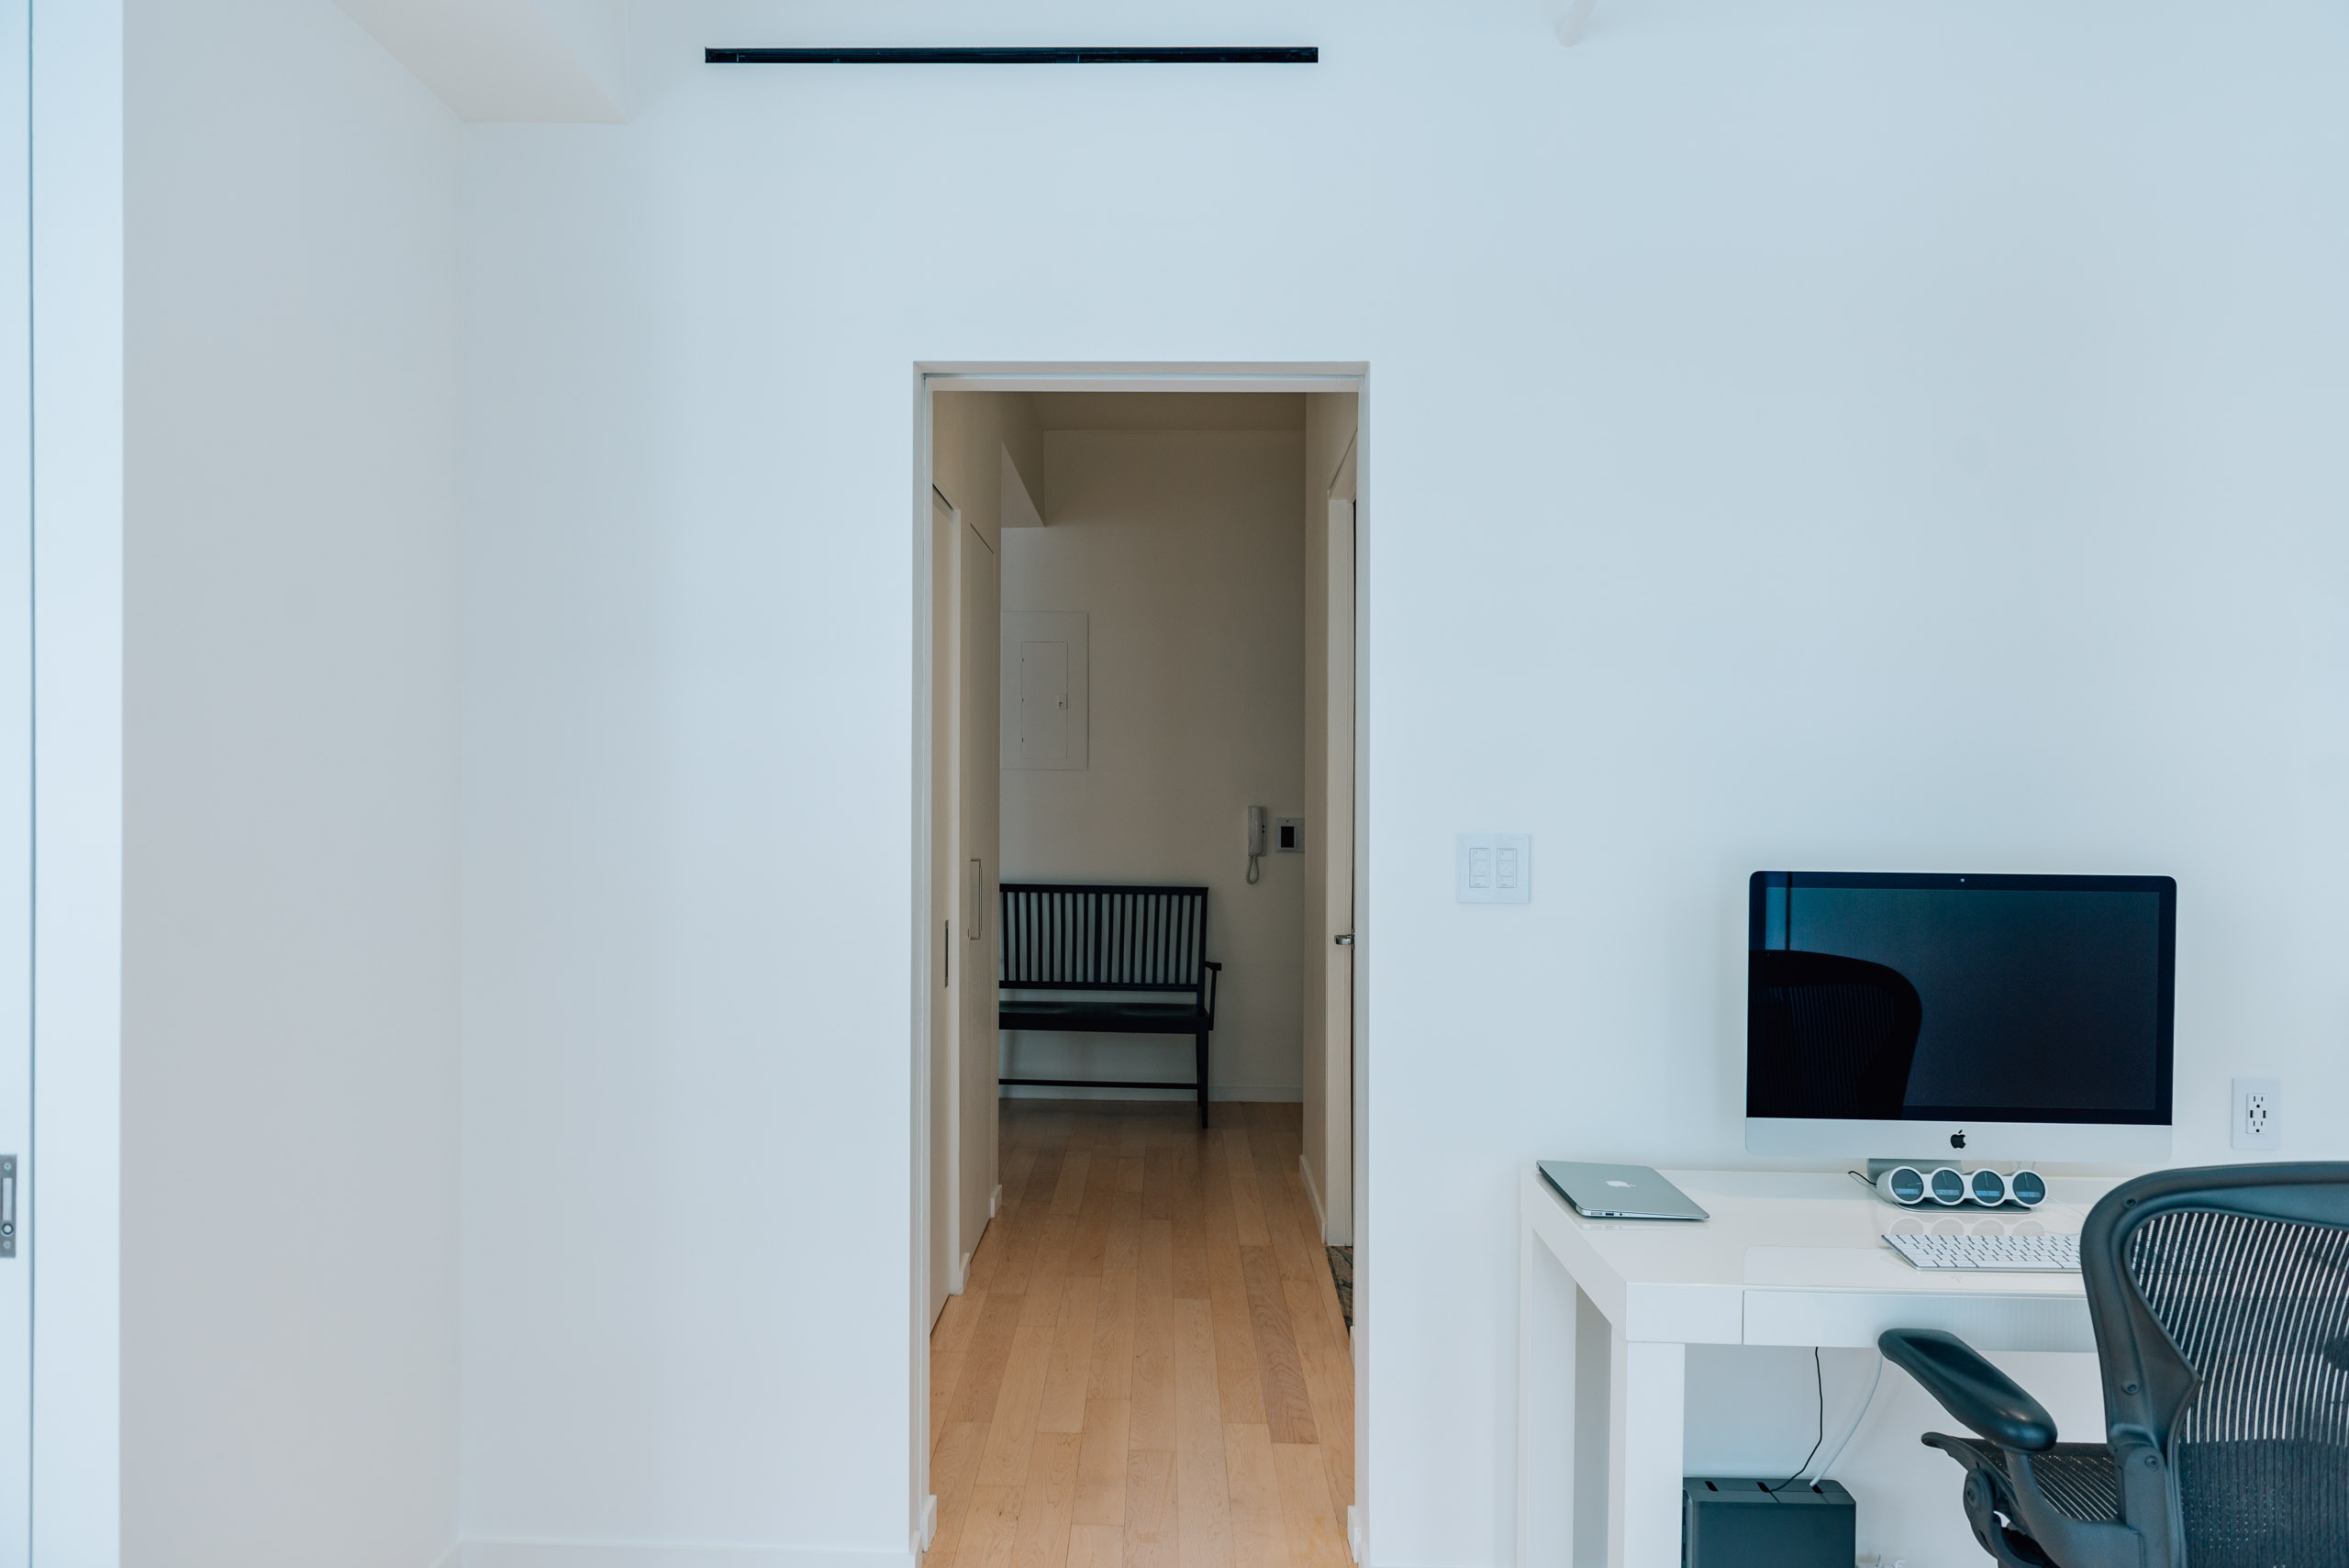 The view toward the front entry from the office/guest room.
 This large open space will soon be home to a restored, 100-year-old Steinway piano.
 The view to the east wall of the living room.
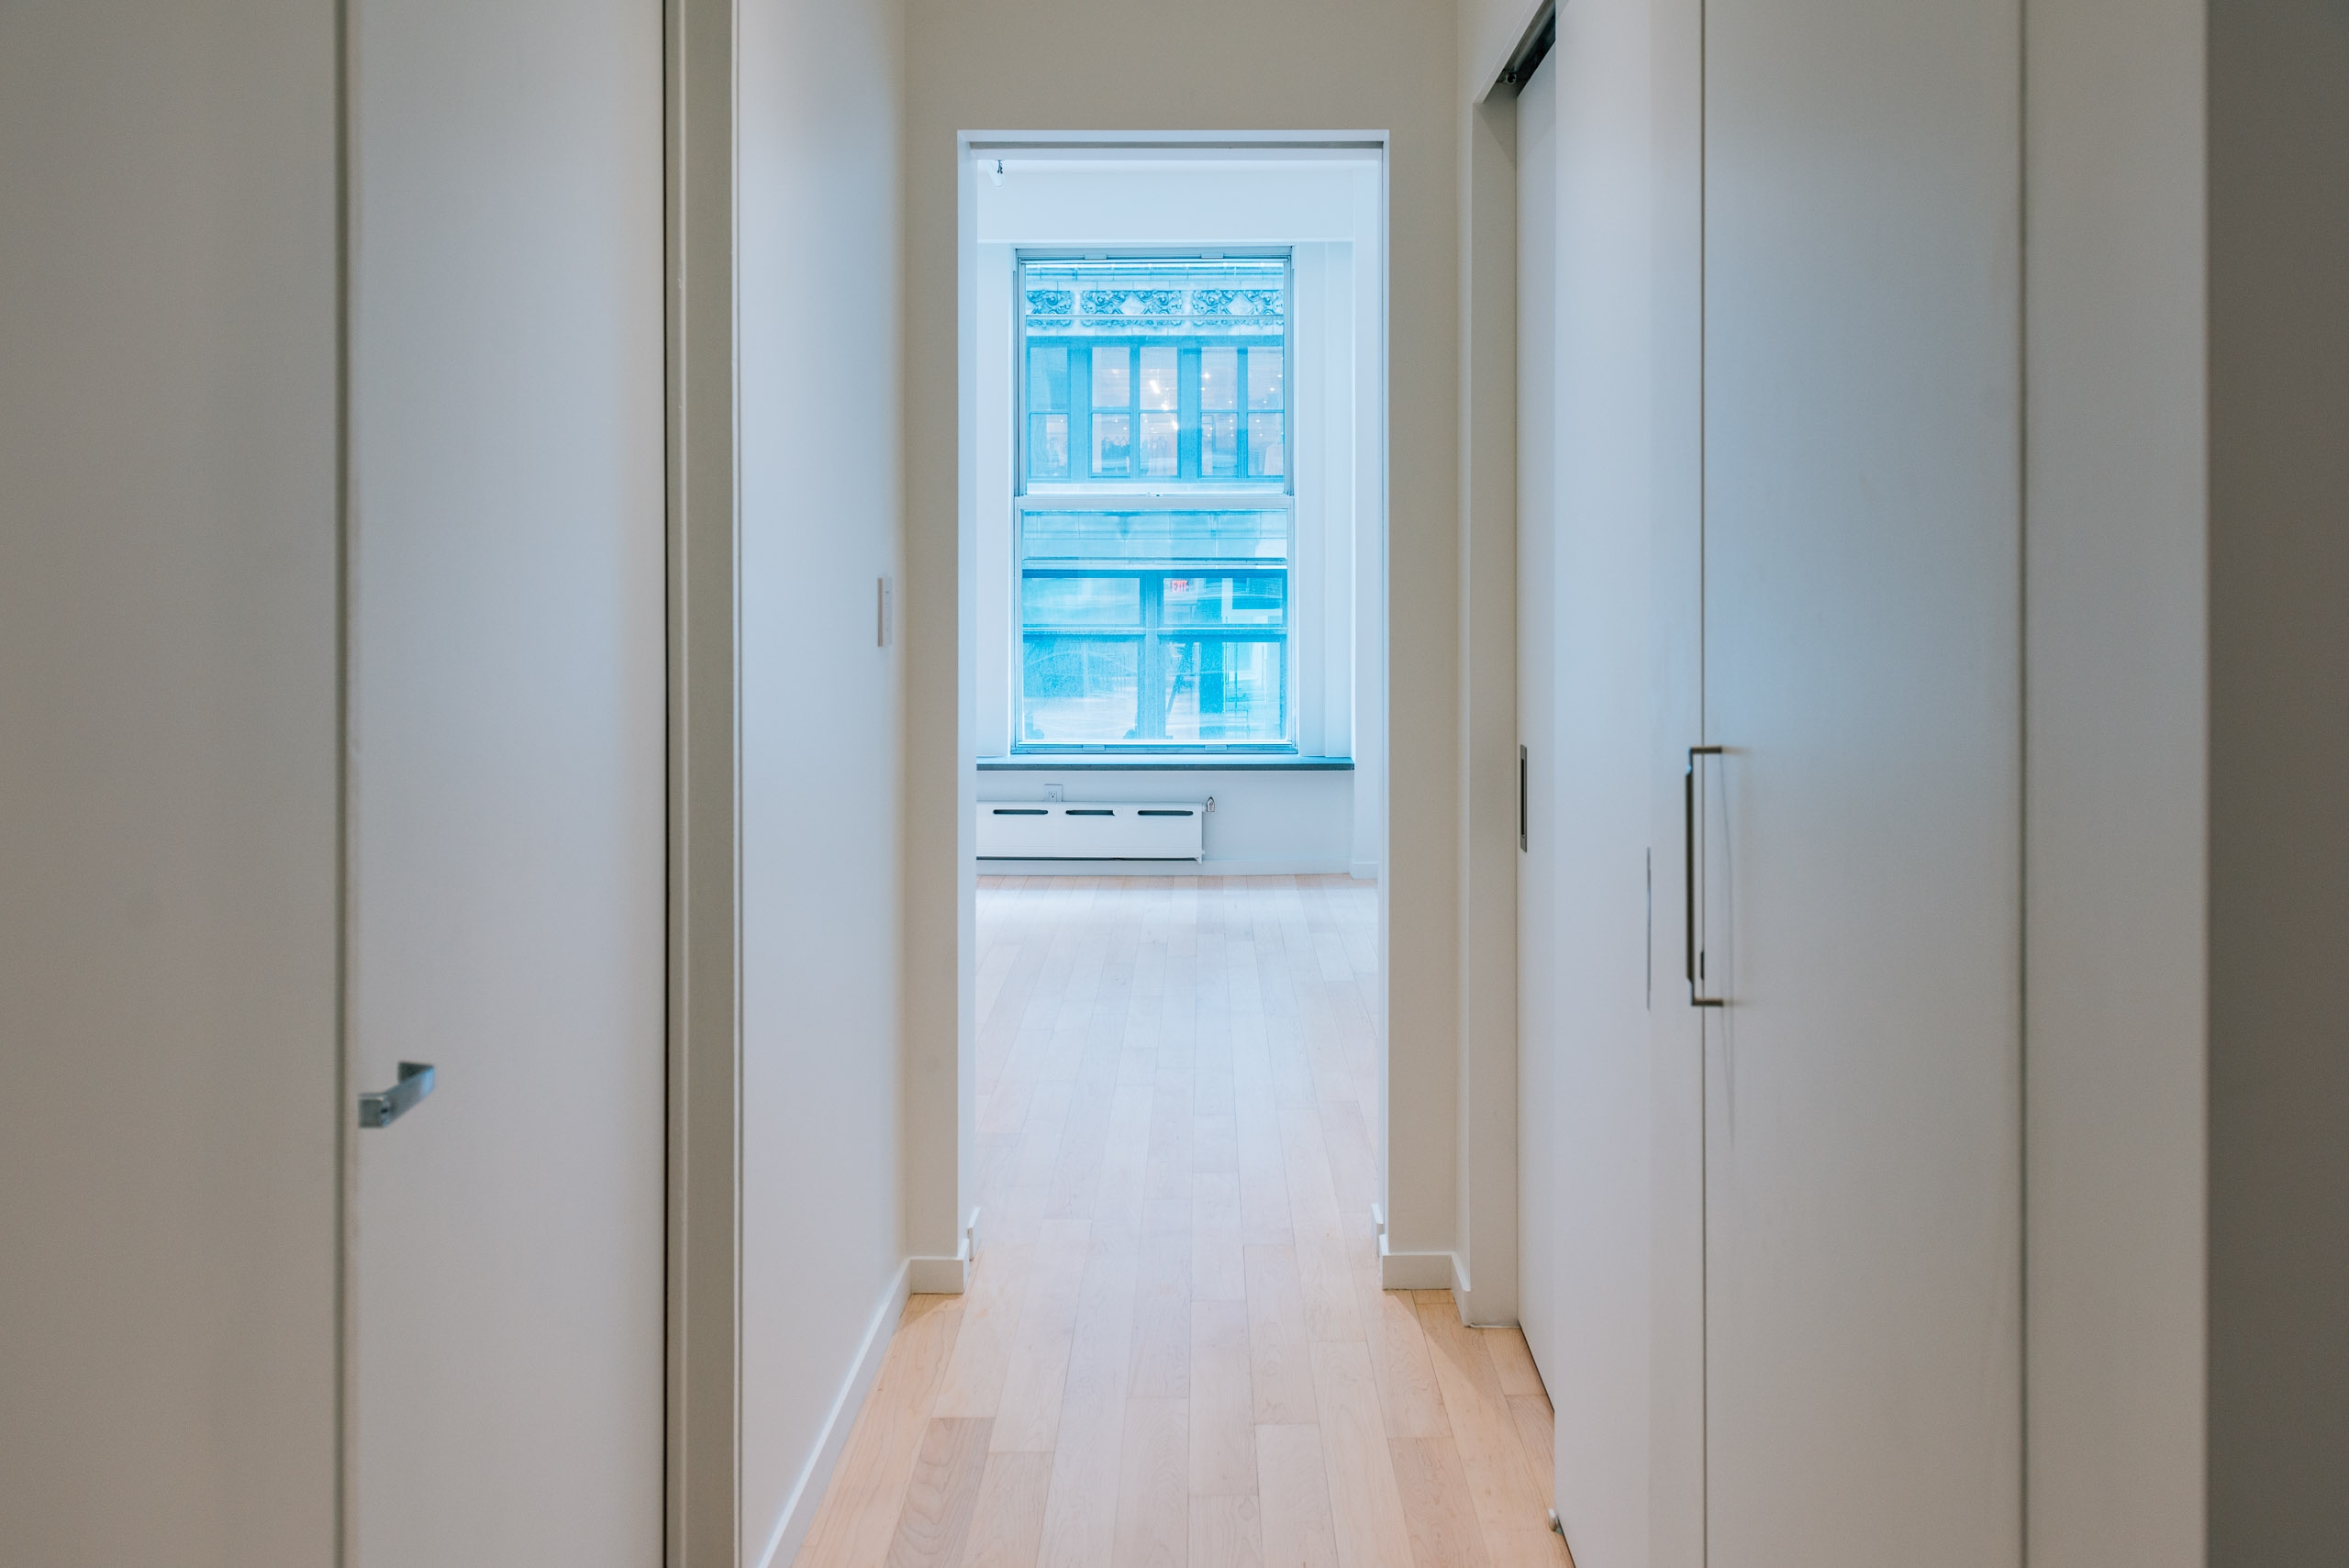
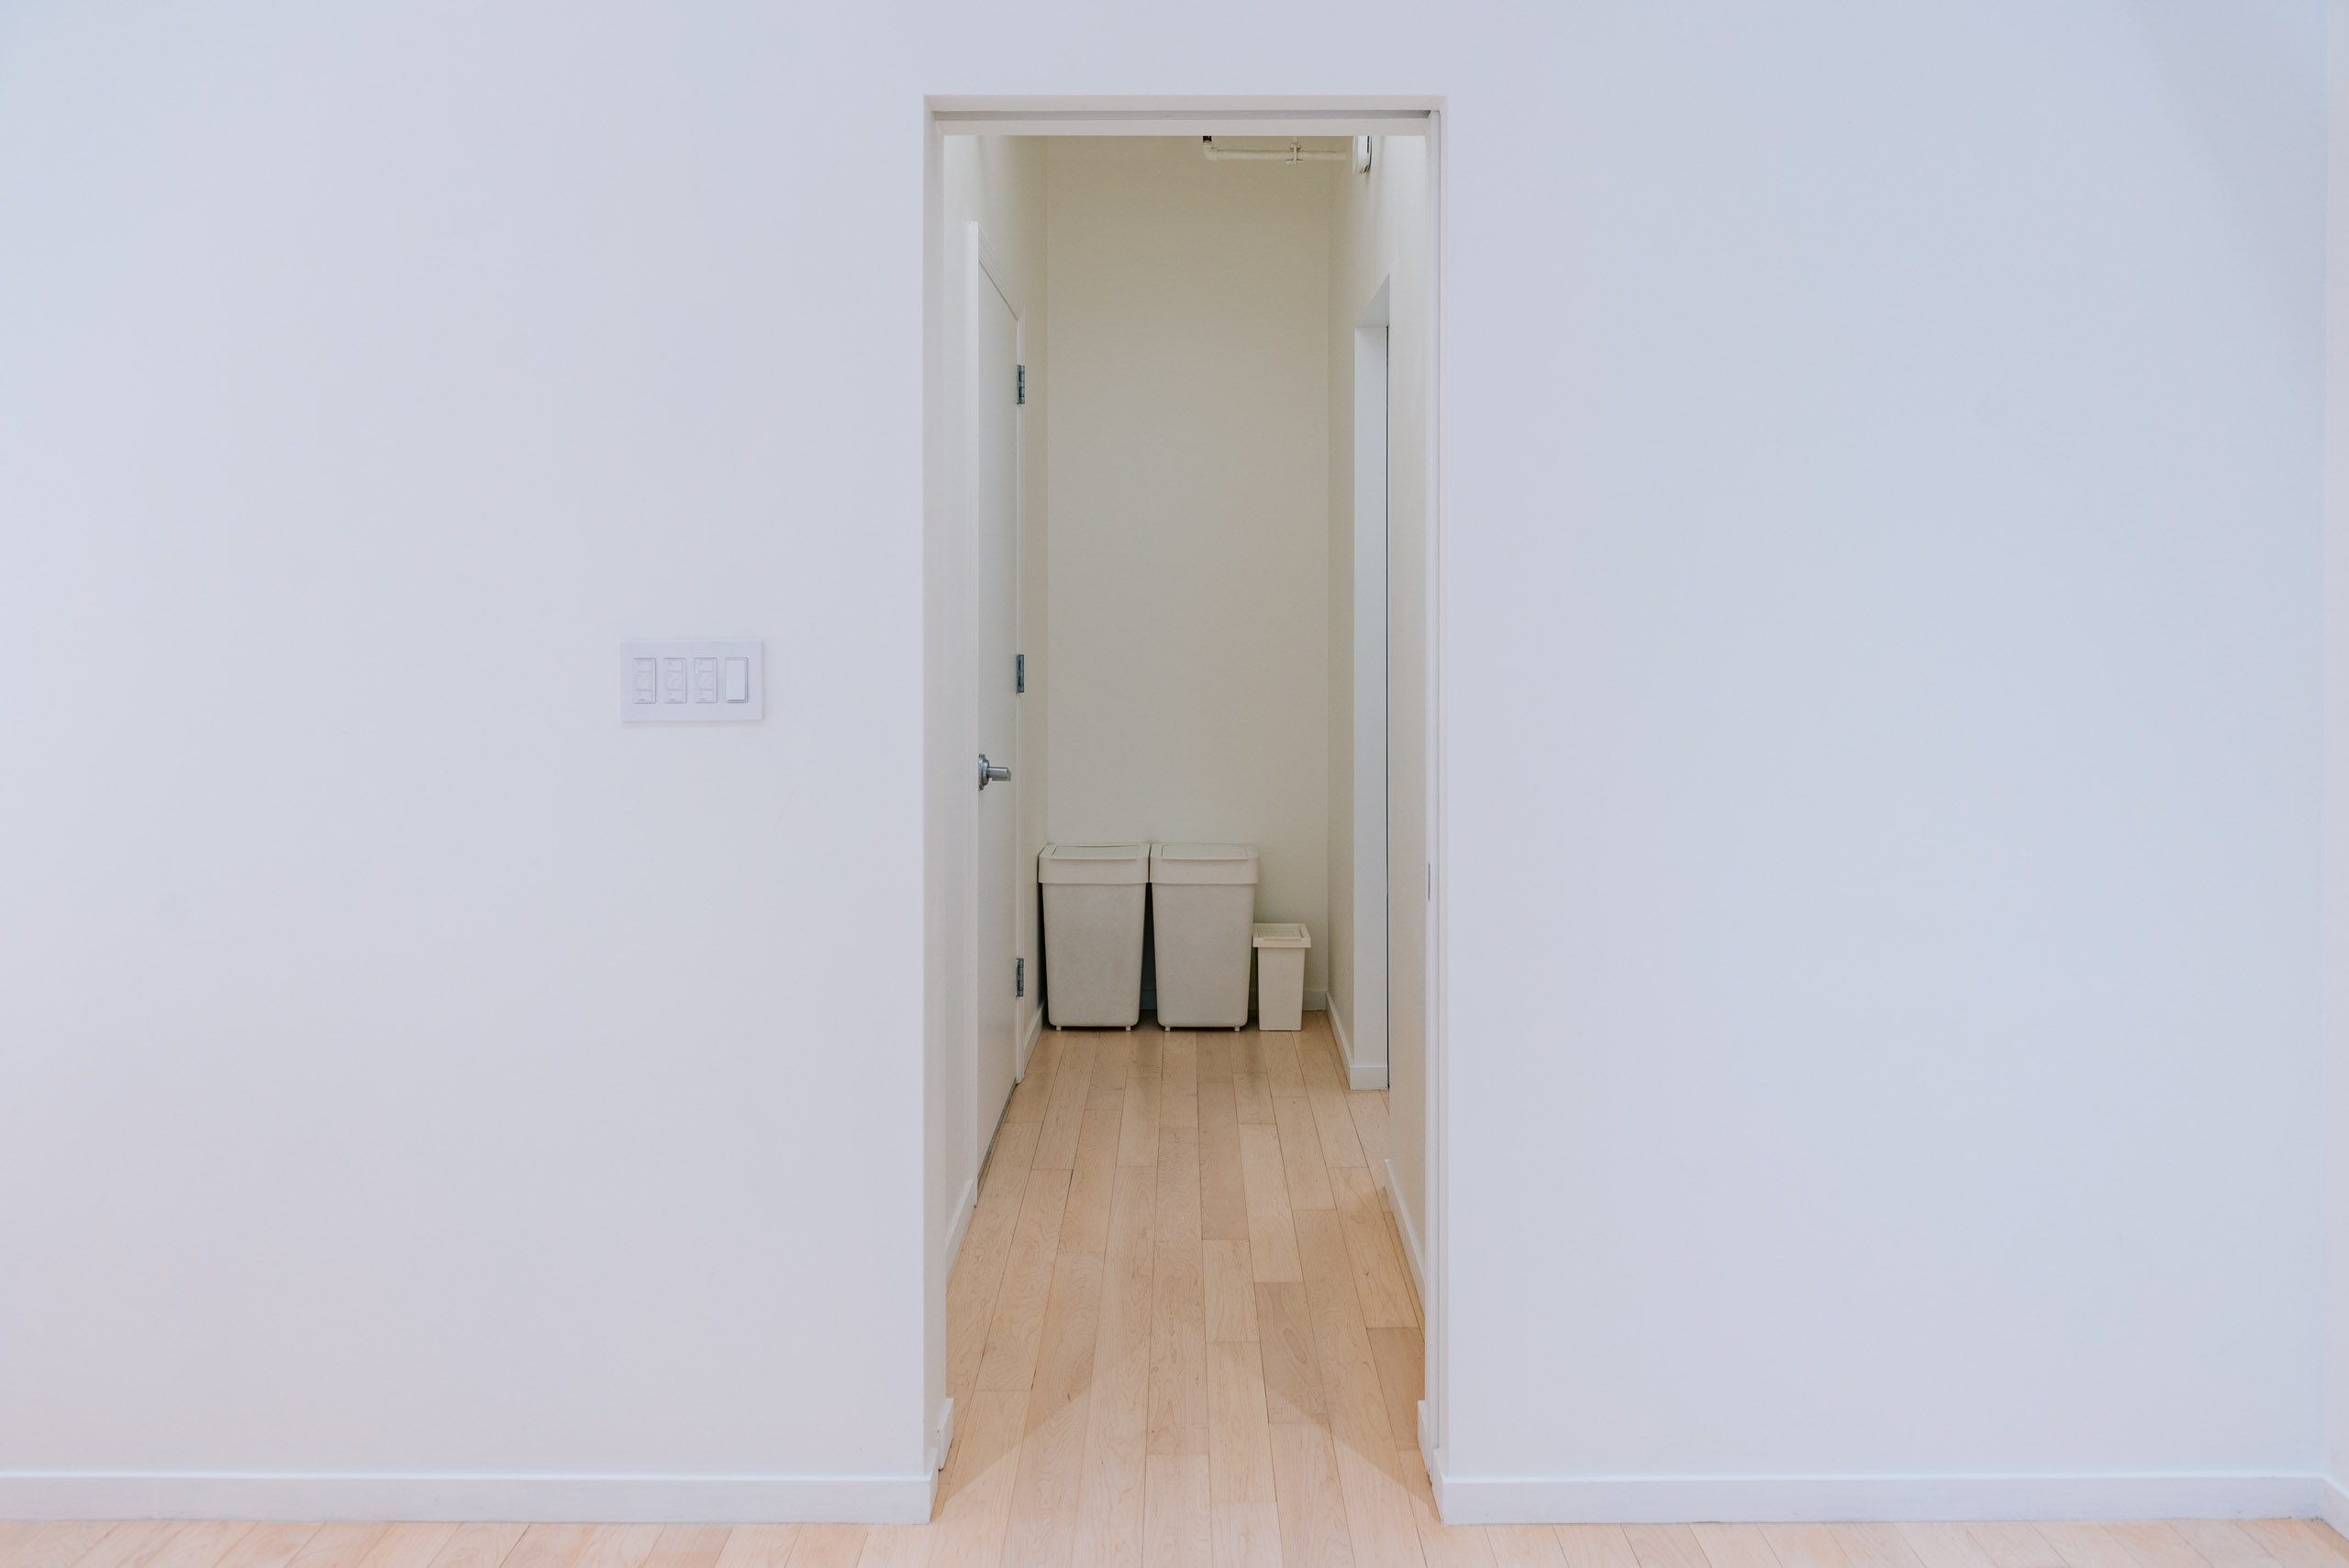
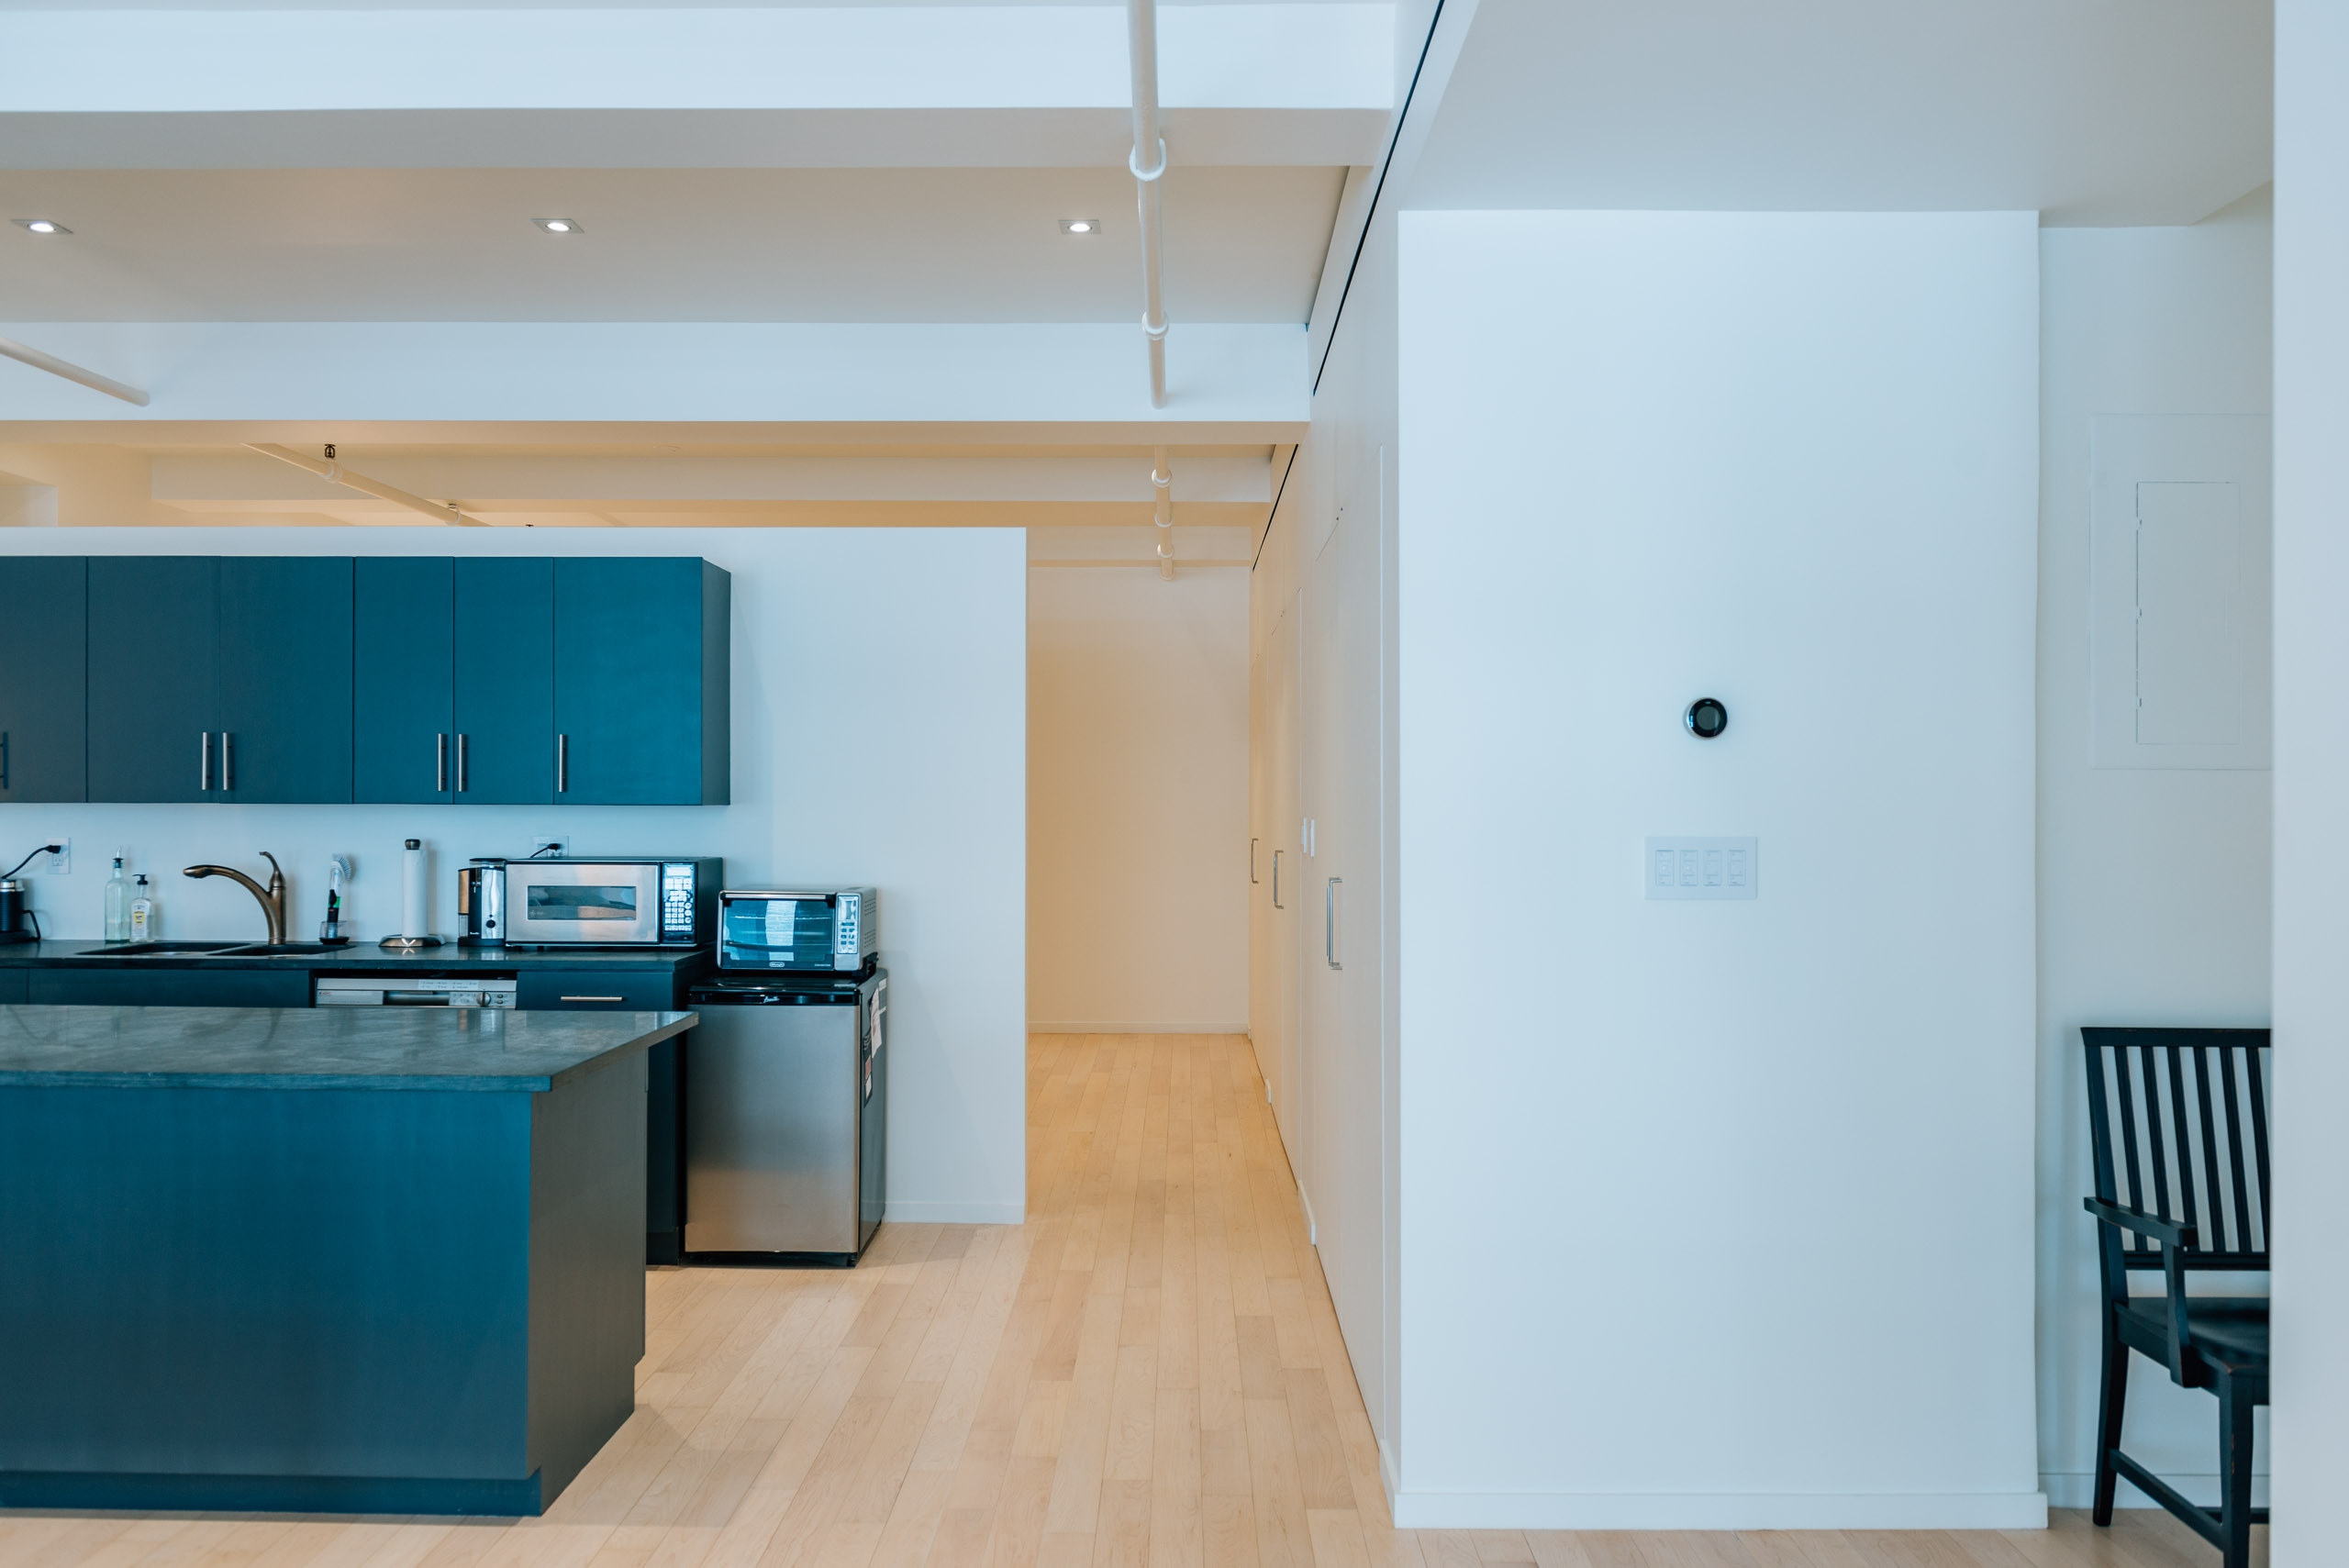 The view into the bedroom along the wall of 3 closets. Kindly note the dorm fridge.
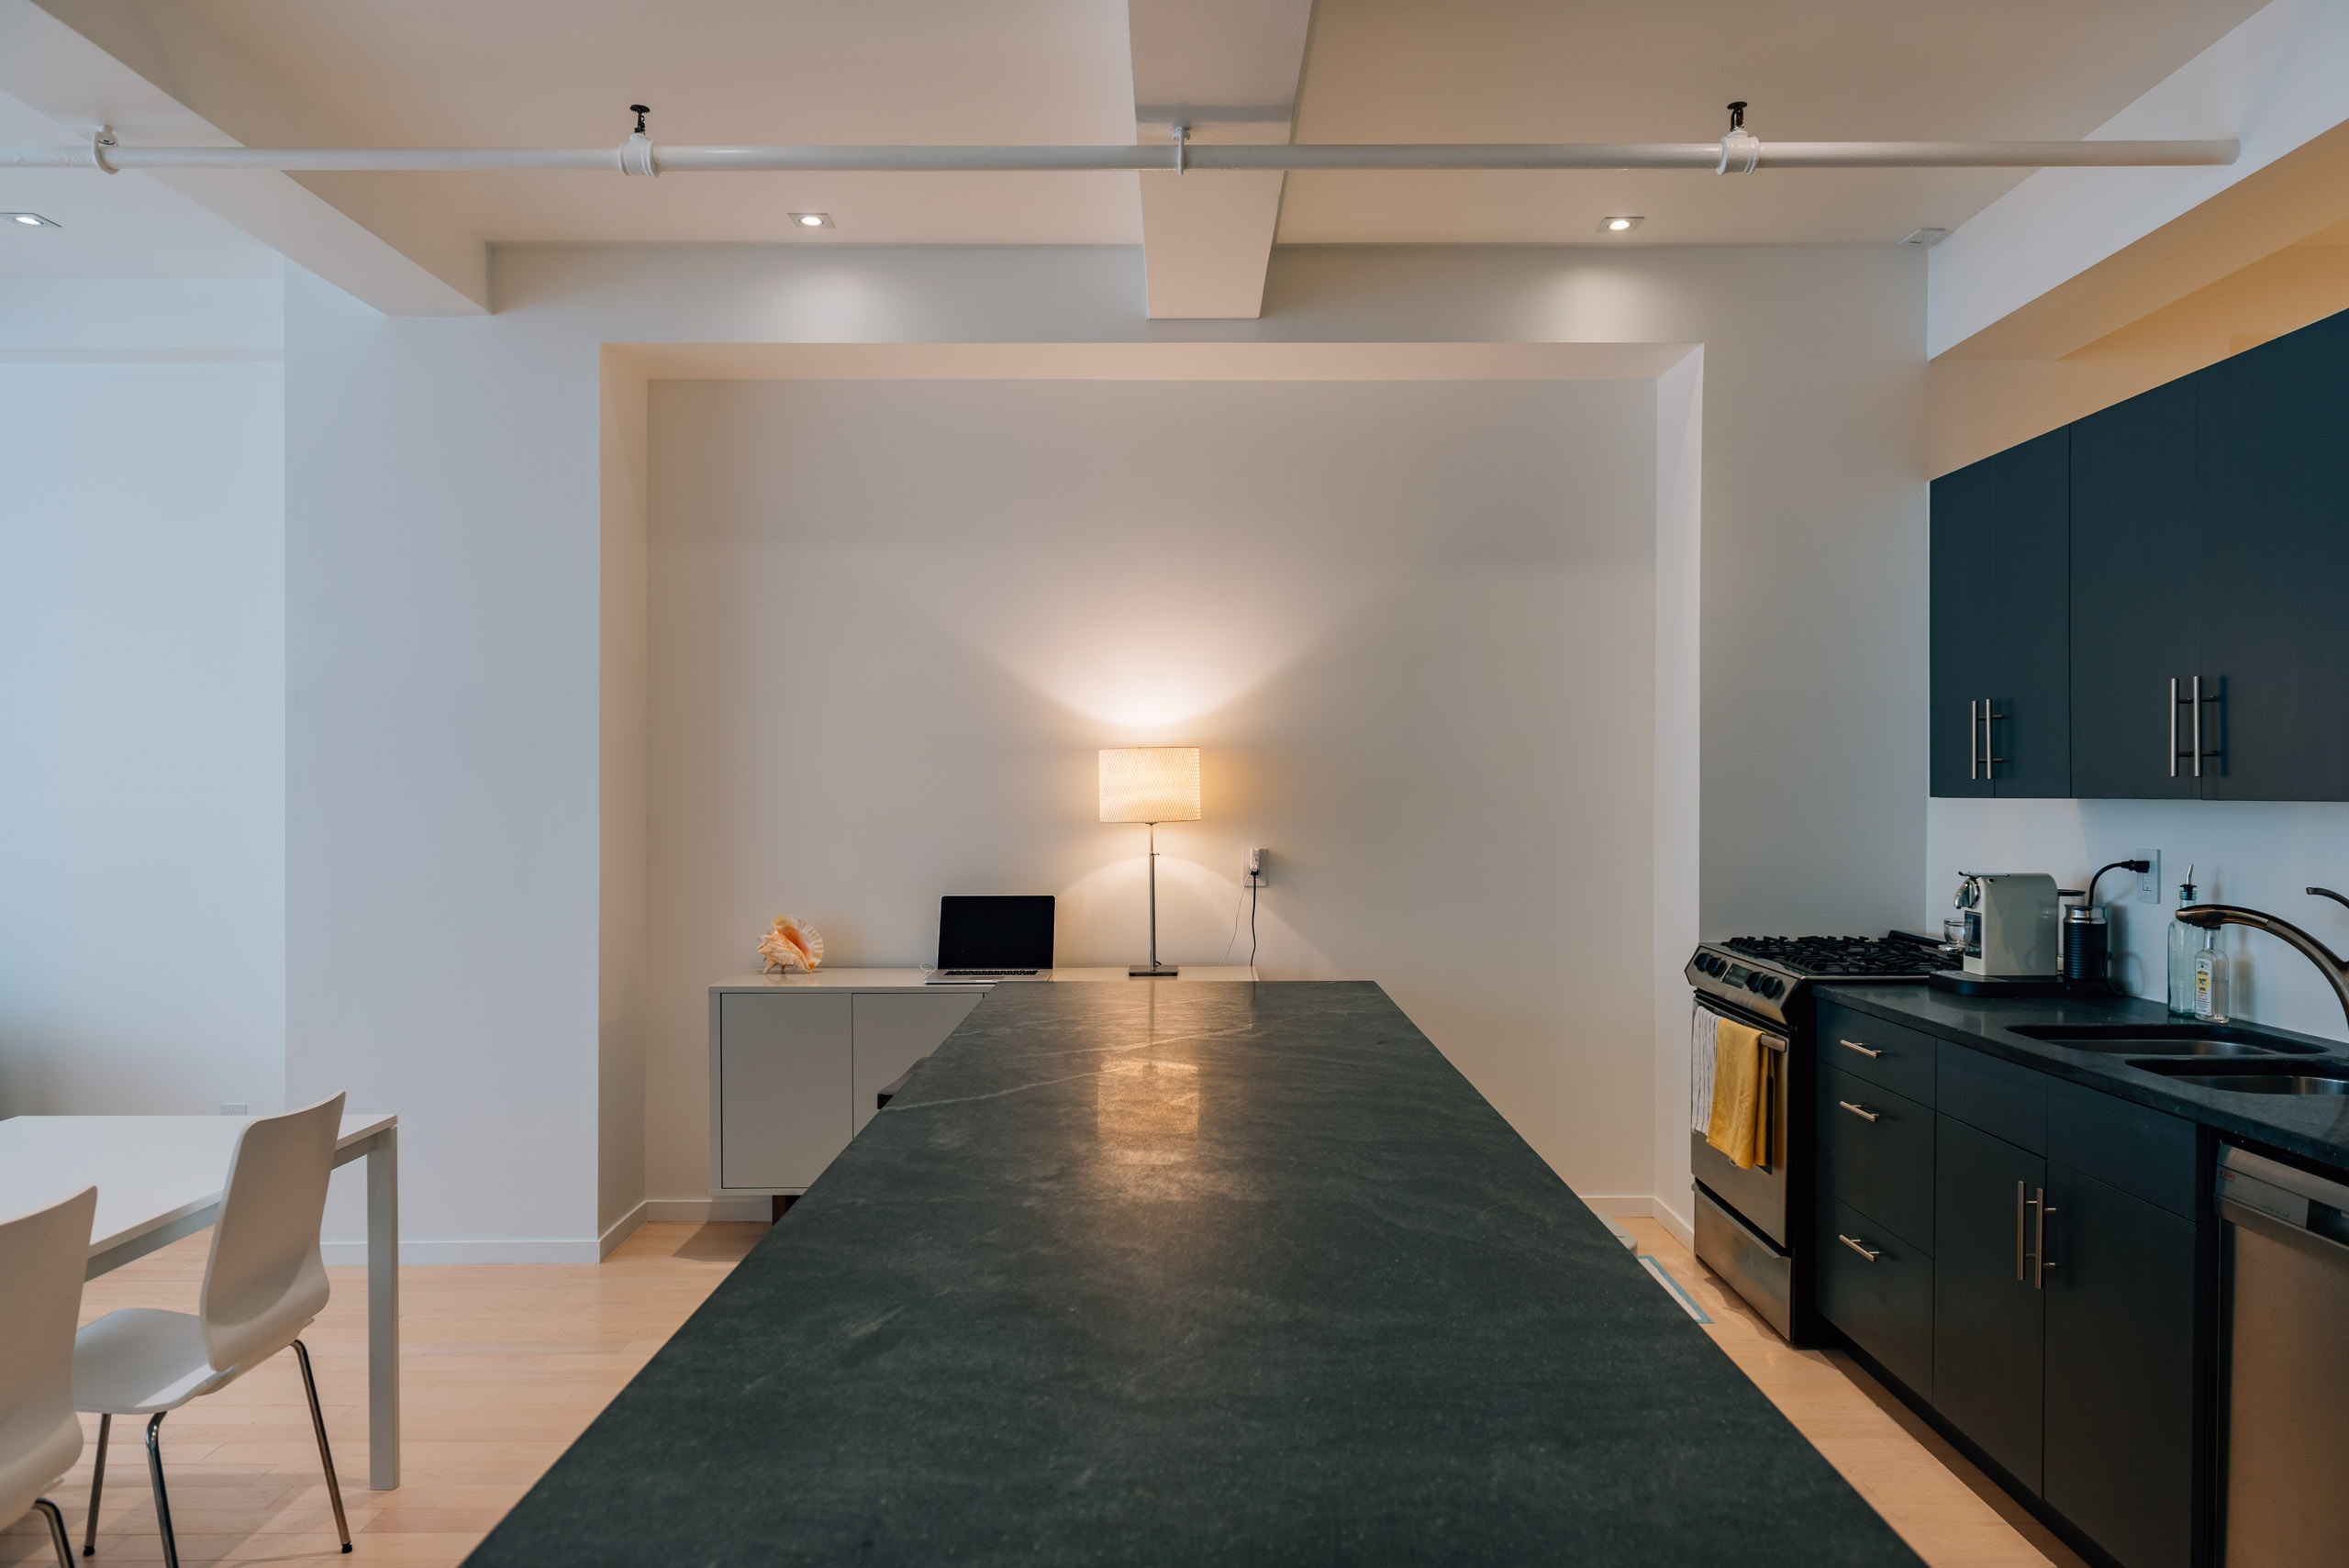 The alcove at the end of this island will eventually be a floor-to-ceiling pantry.
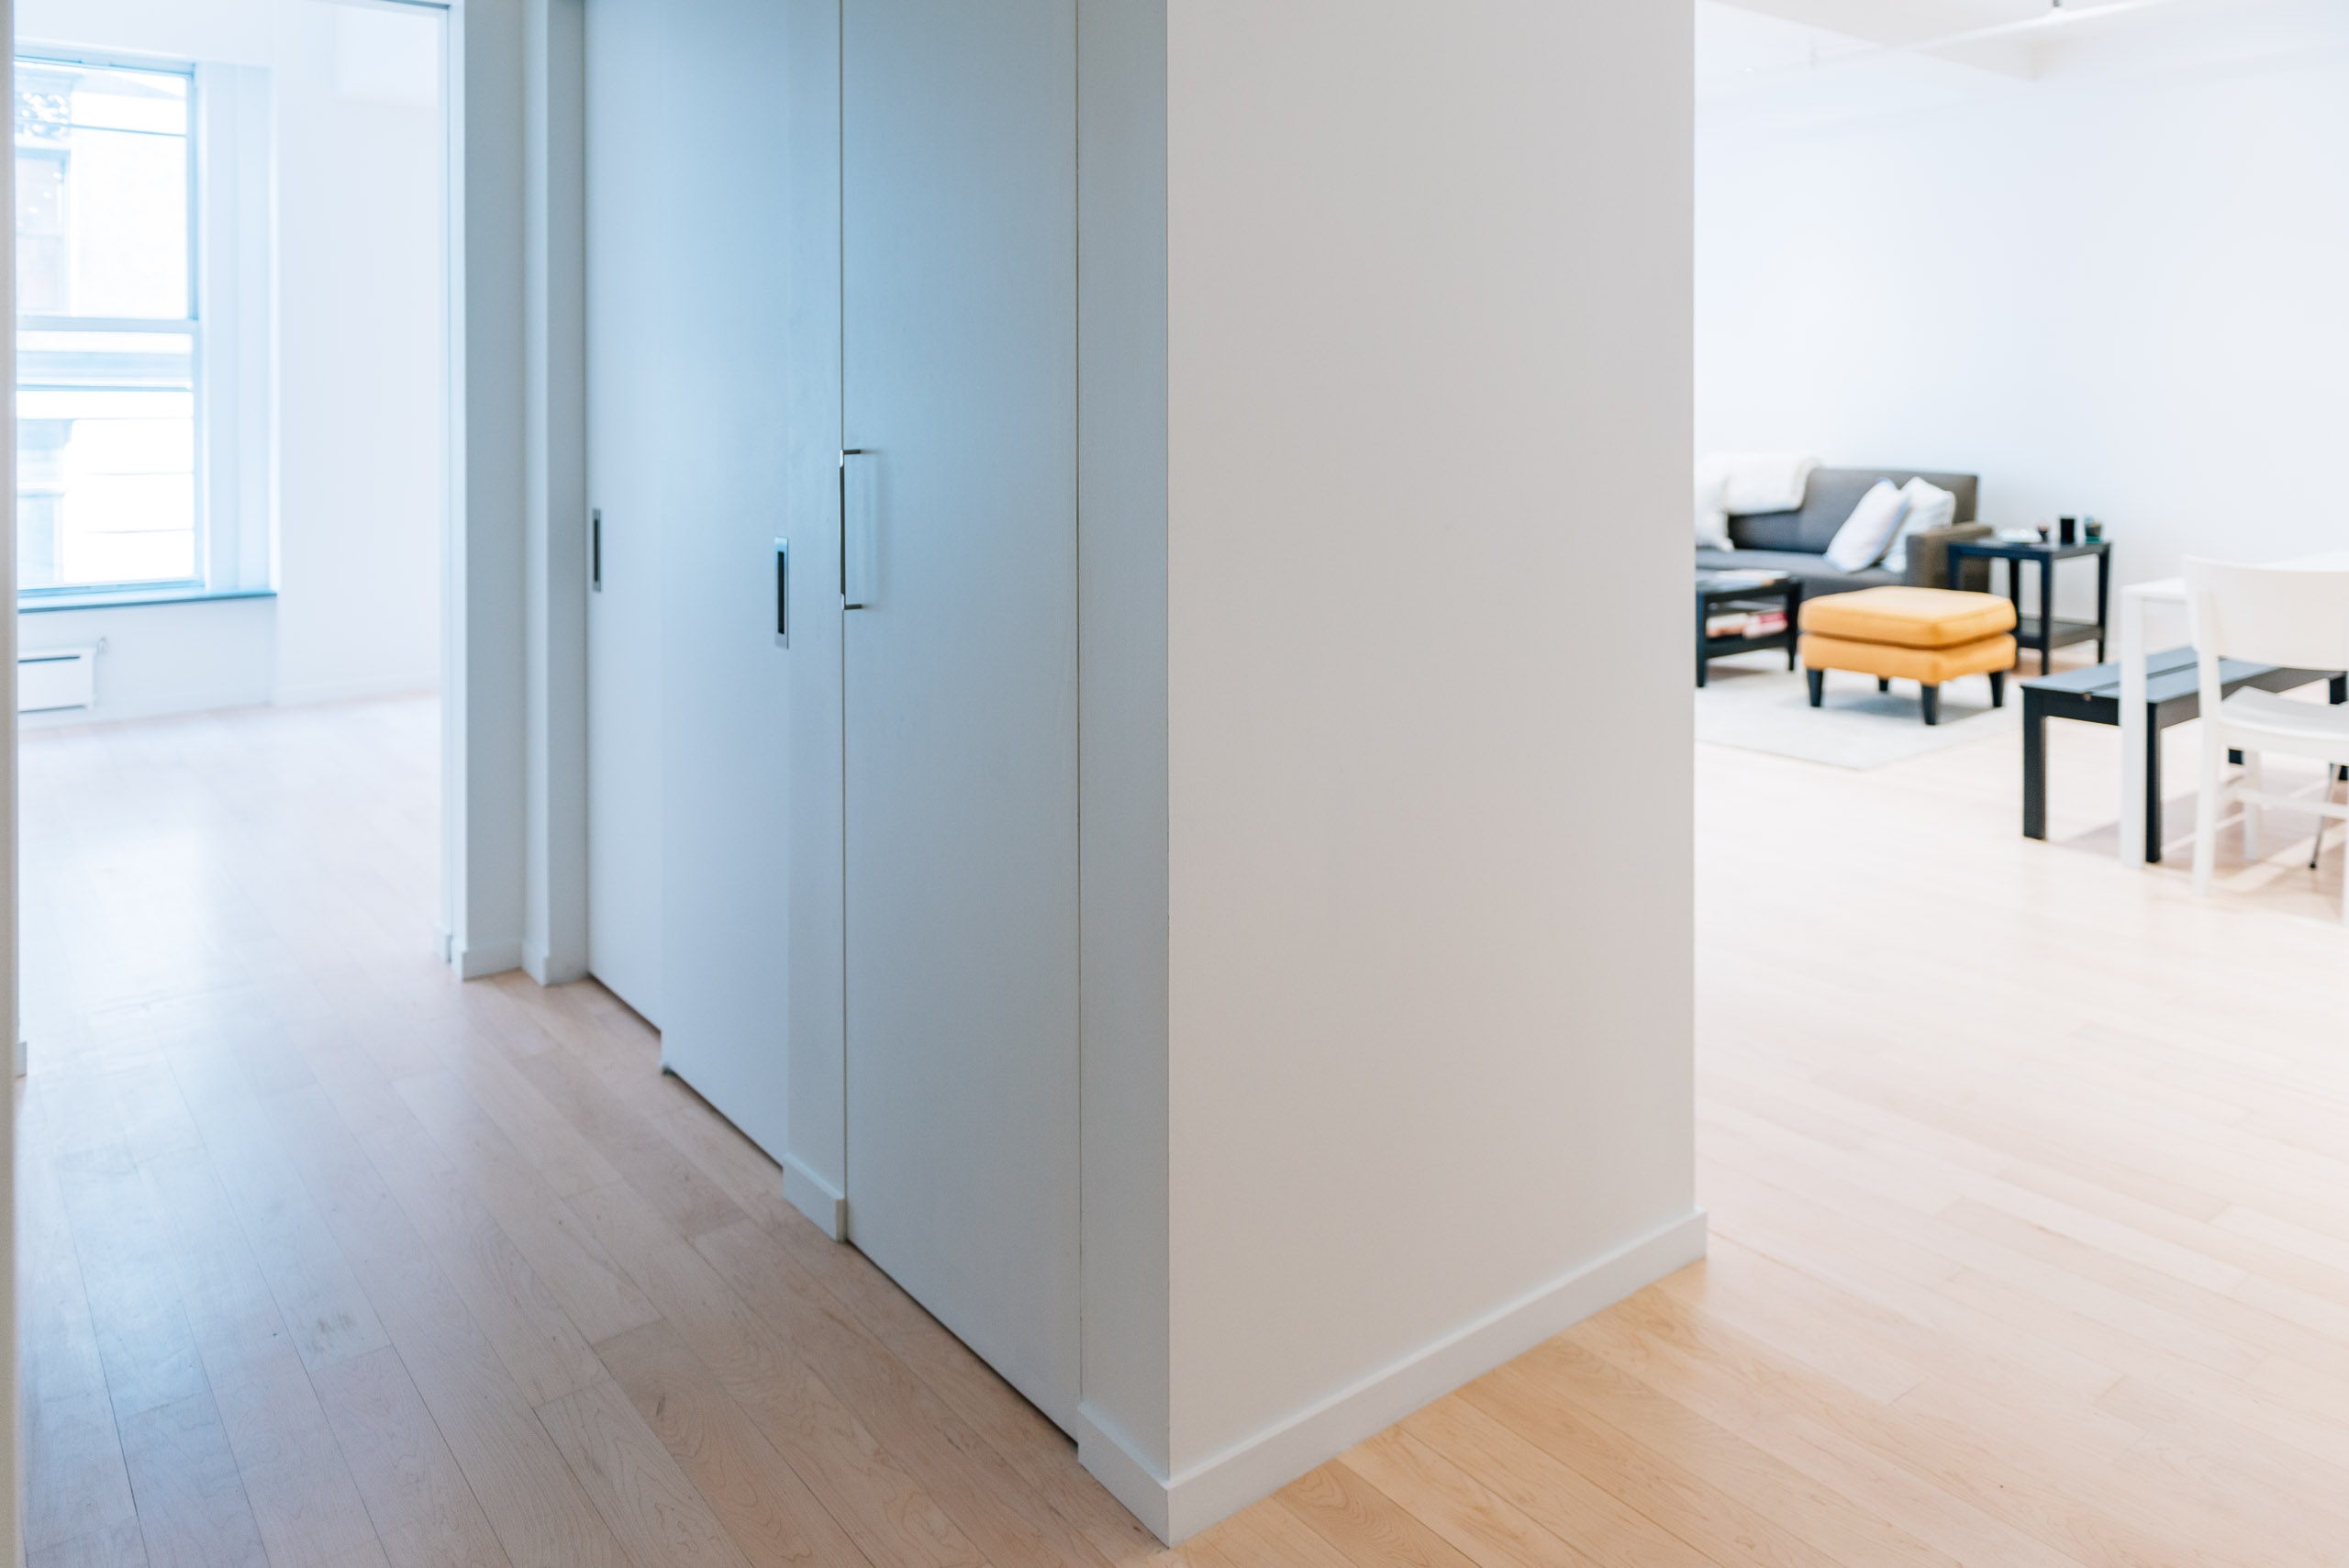
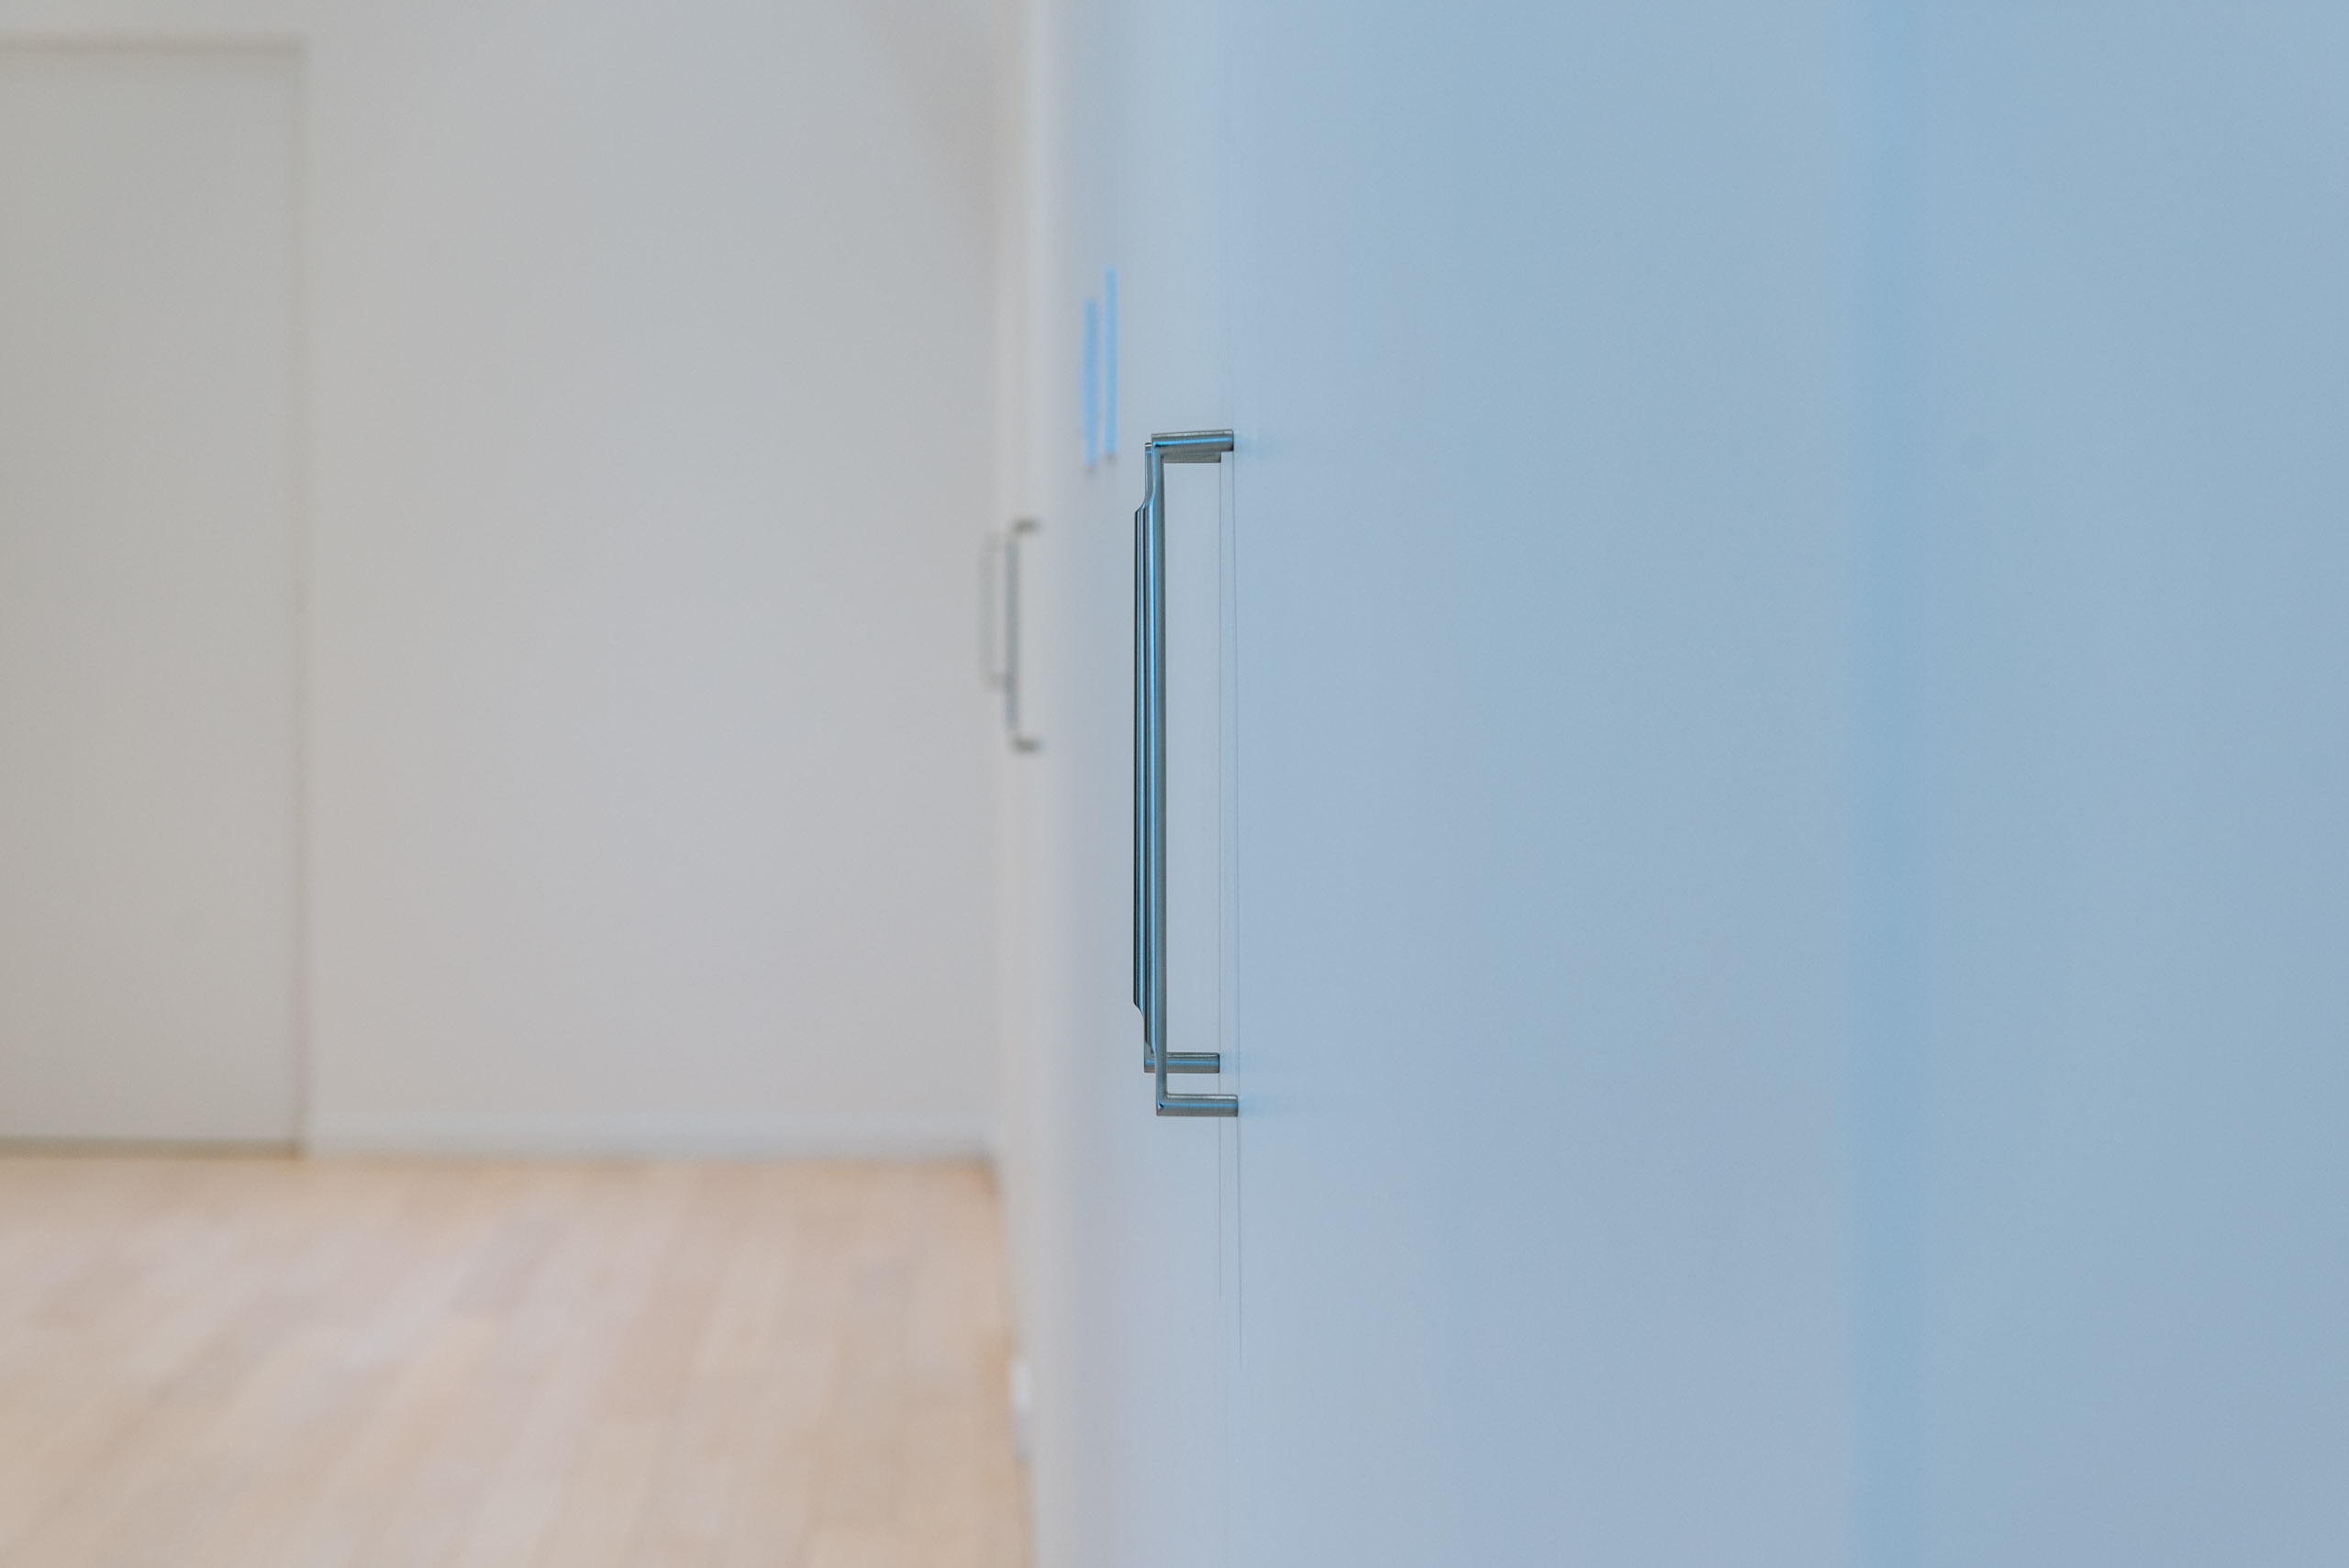 We selected stainless steel door pulls for all the closets.
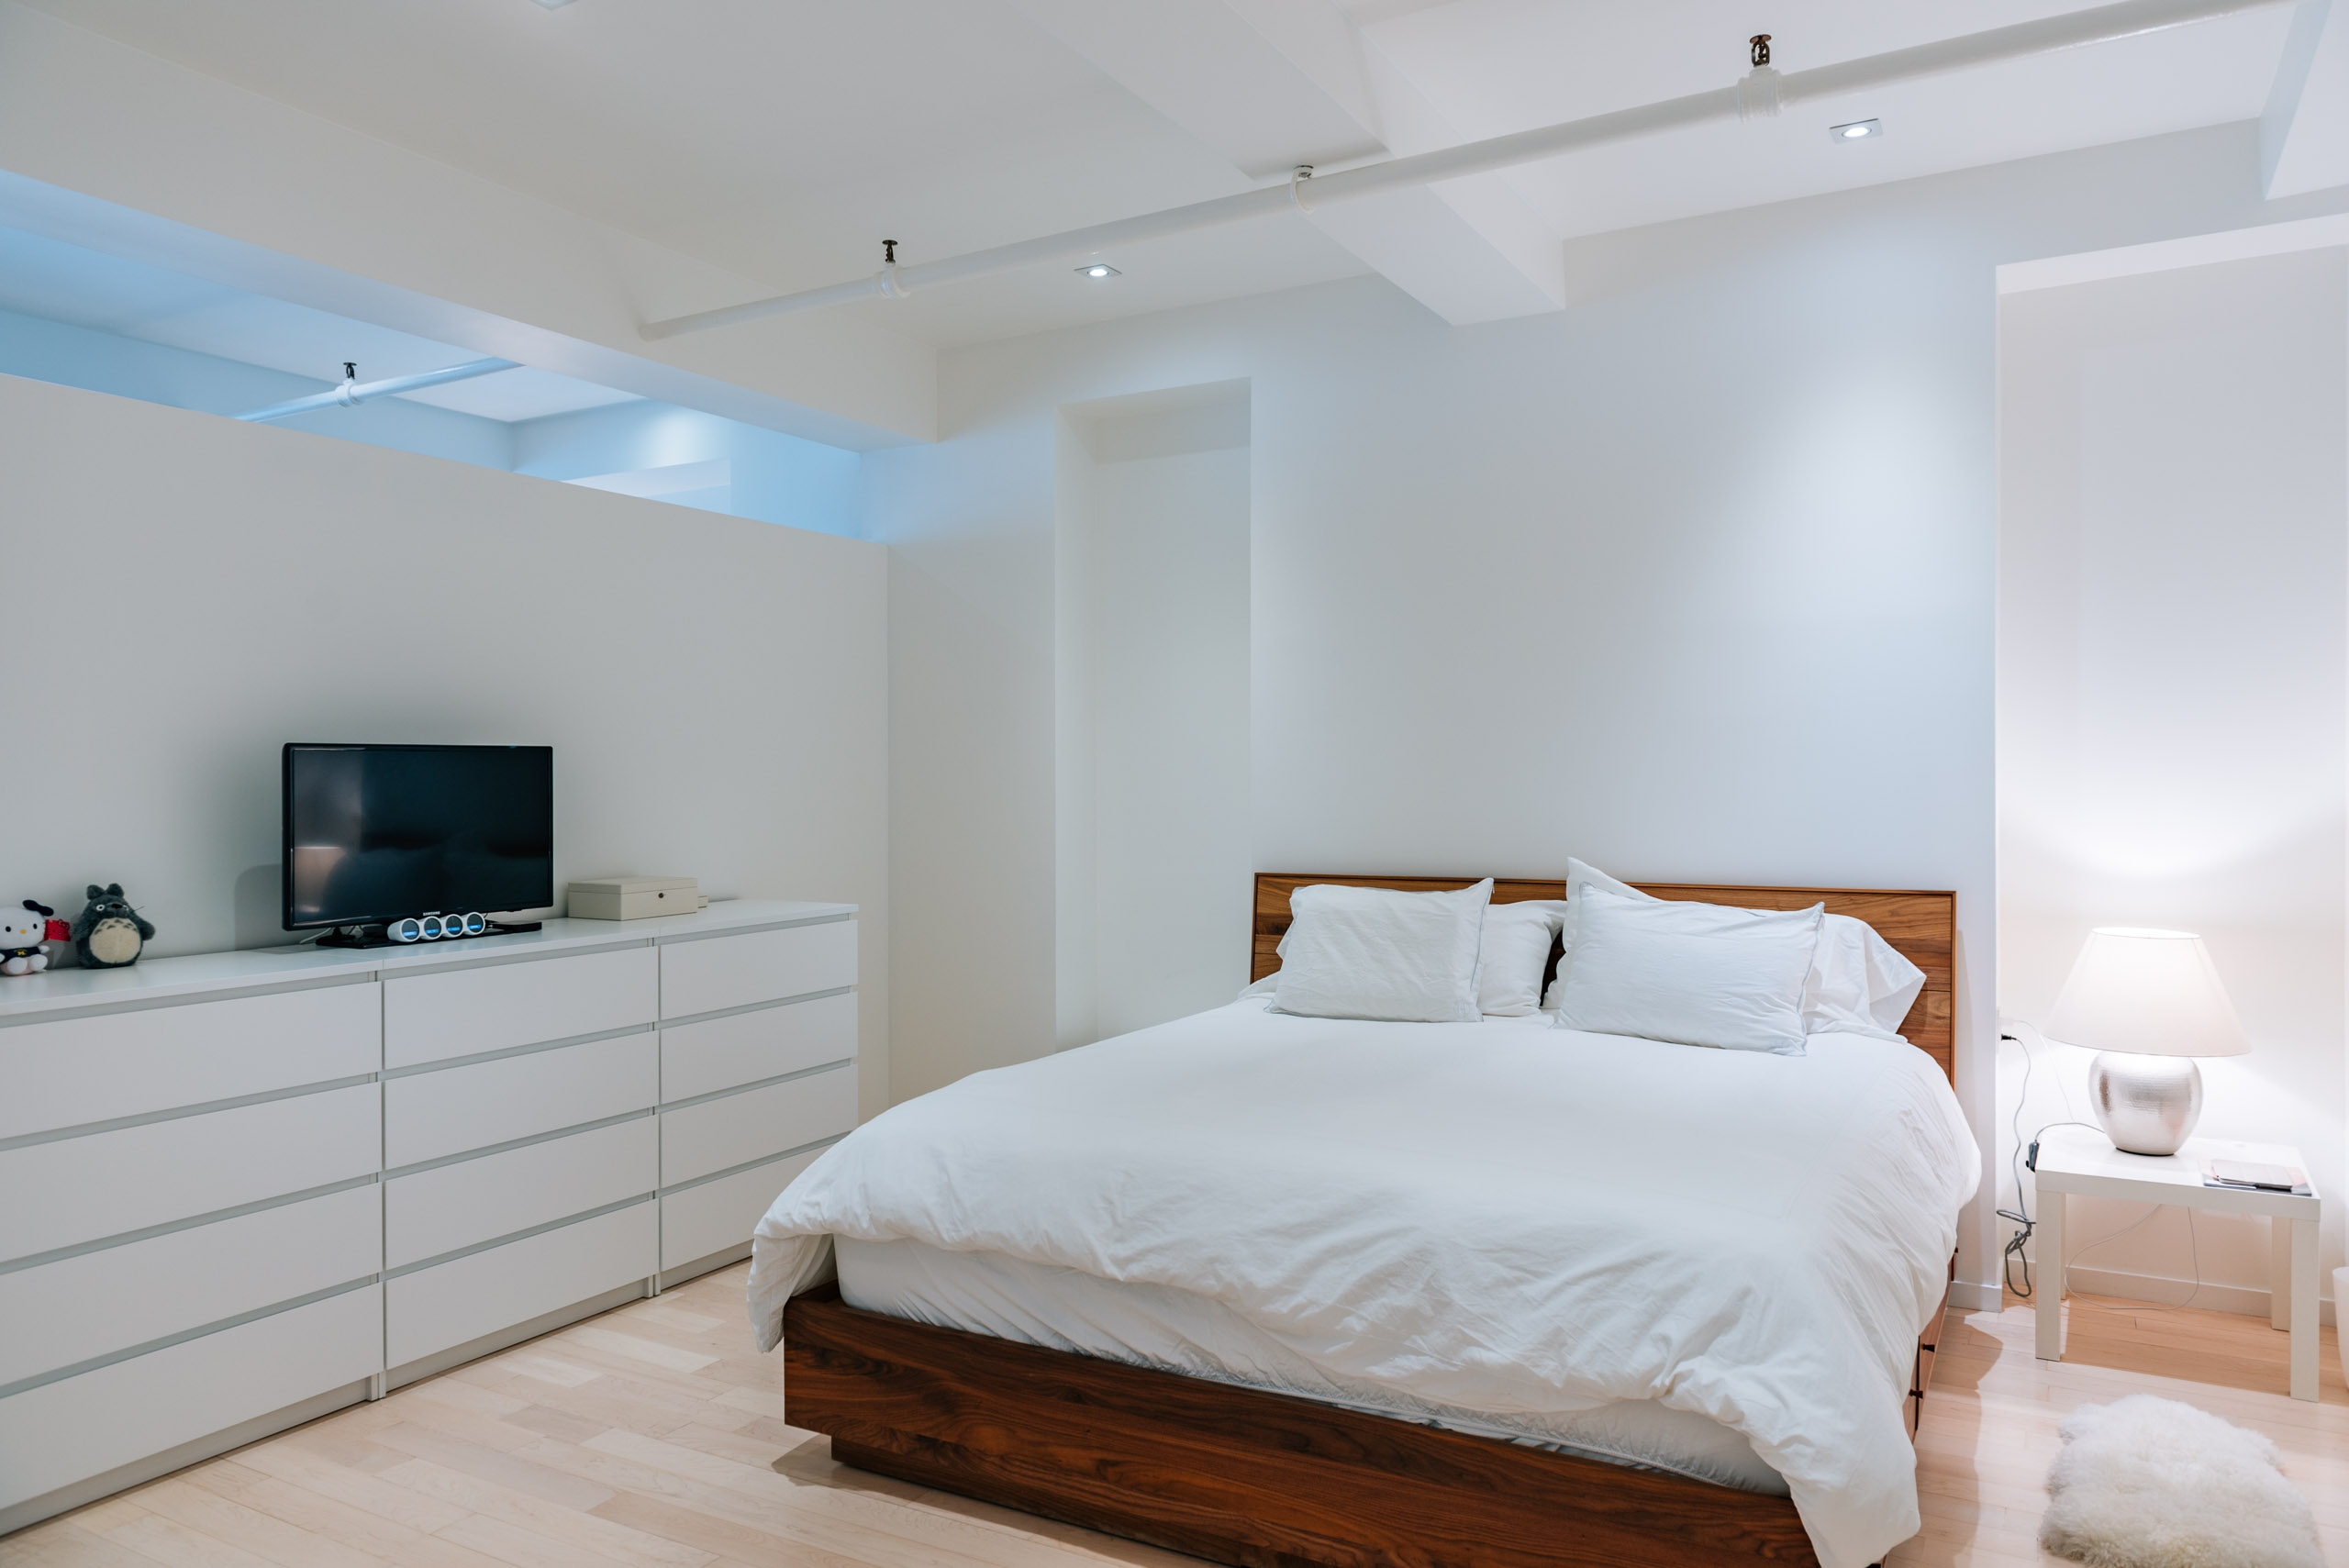 The IKEA dressers ($39 apiece!) will be replaced by a custom walnut wardrobe. The IKEA night stands ($7 apiece!) will be replaced by built-in night stands with sconces above.
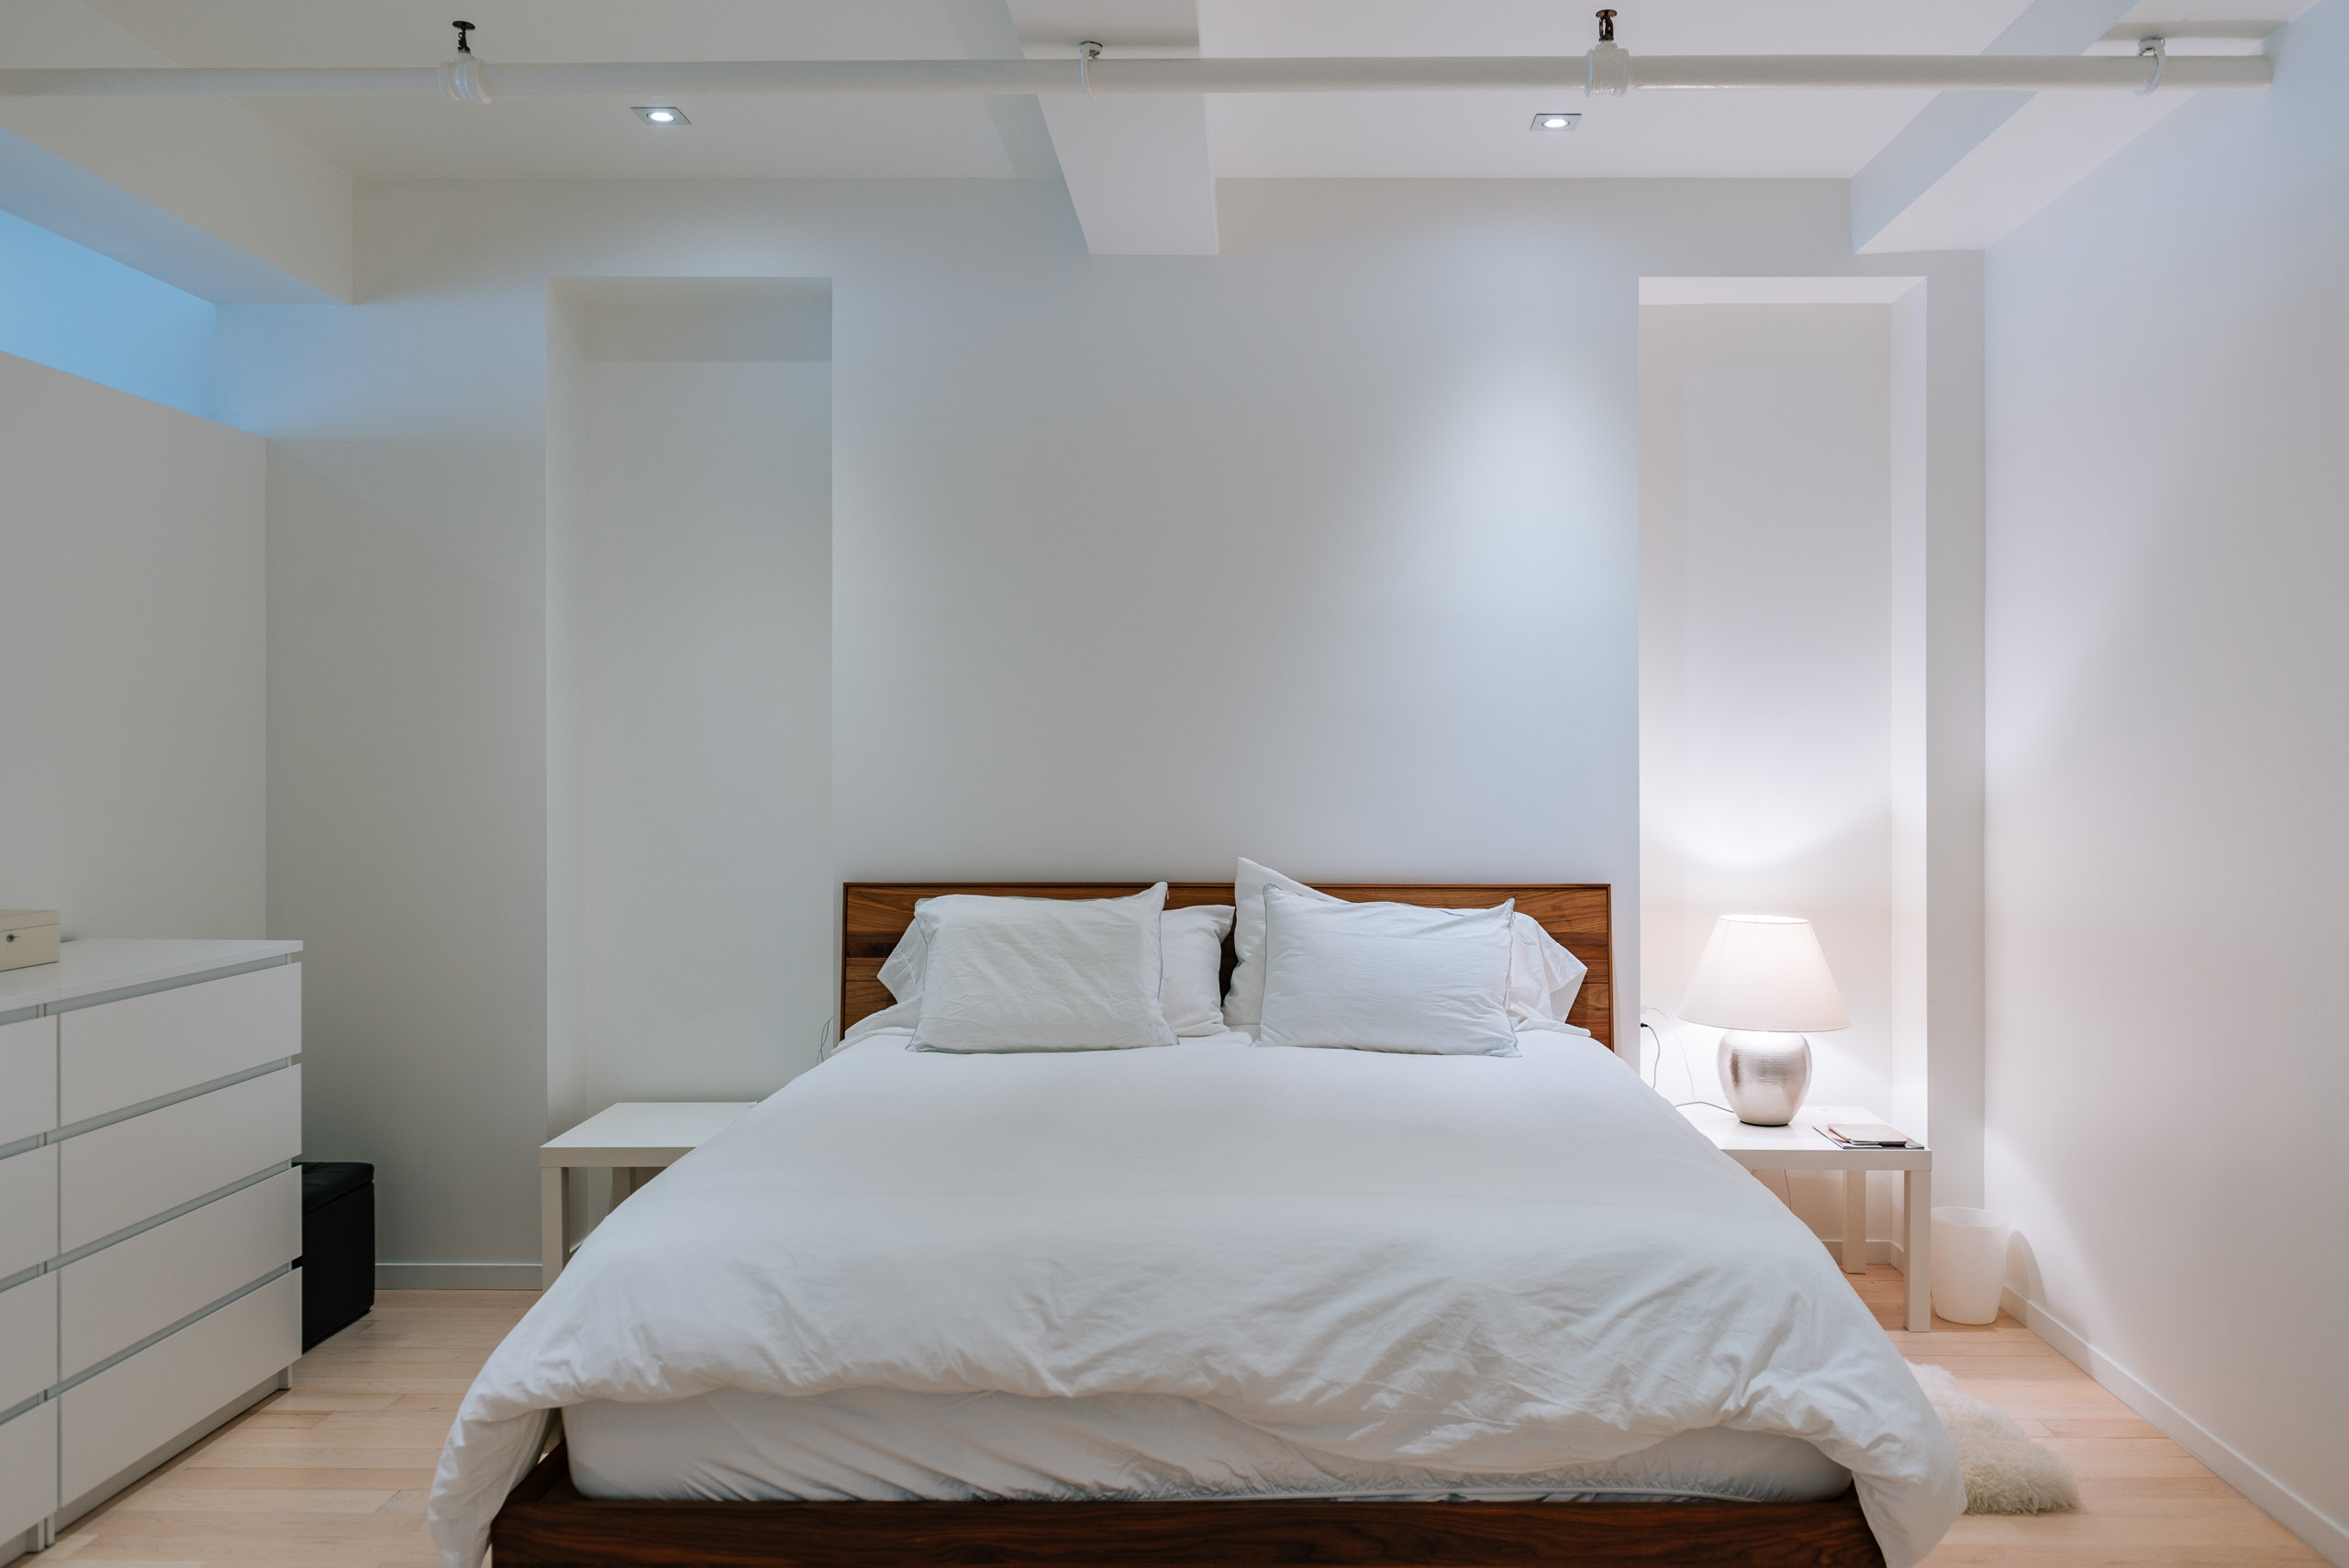 We kept our king-sized bed from Room & Board, a prized possession.
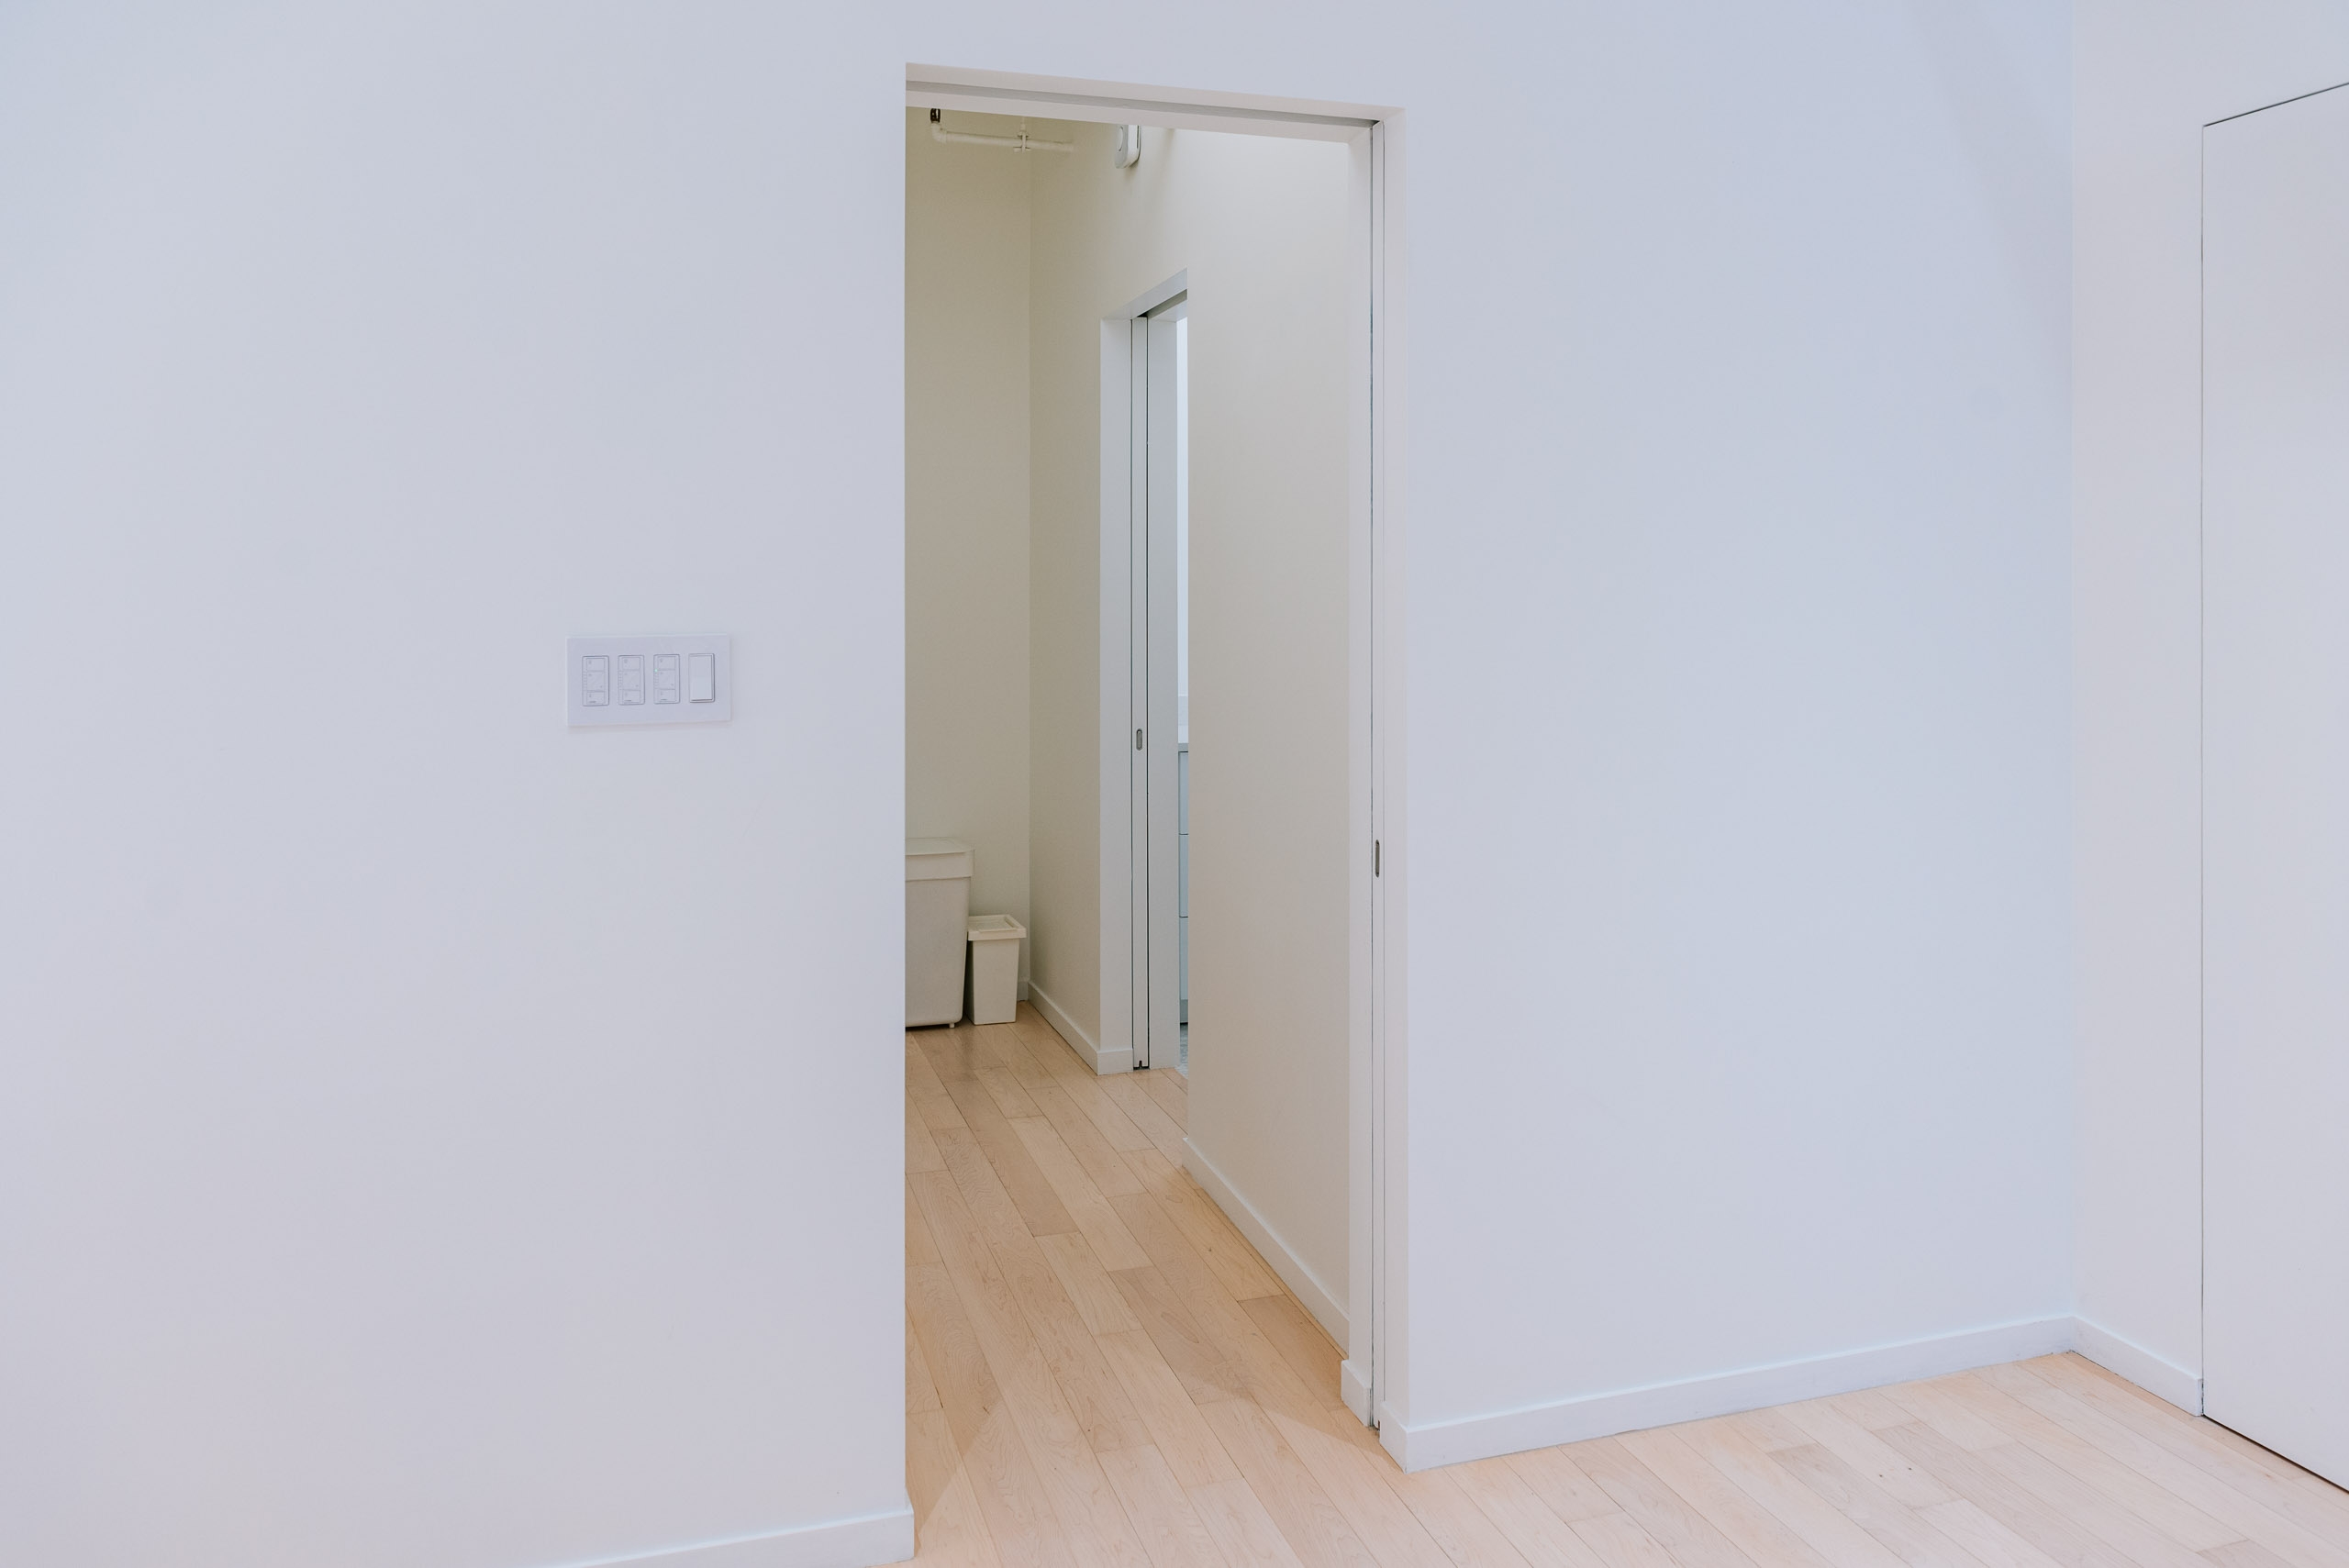
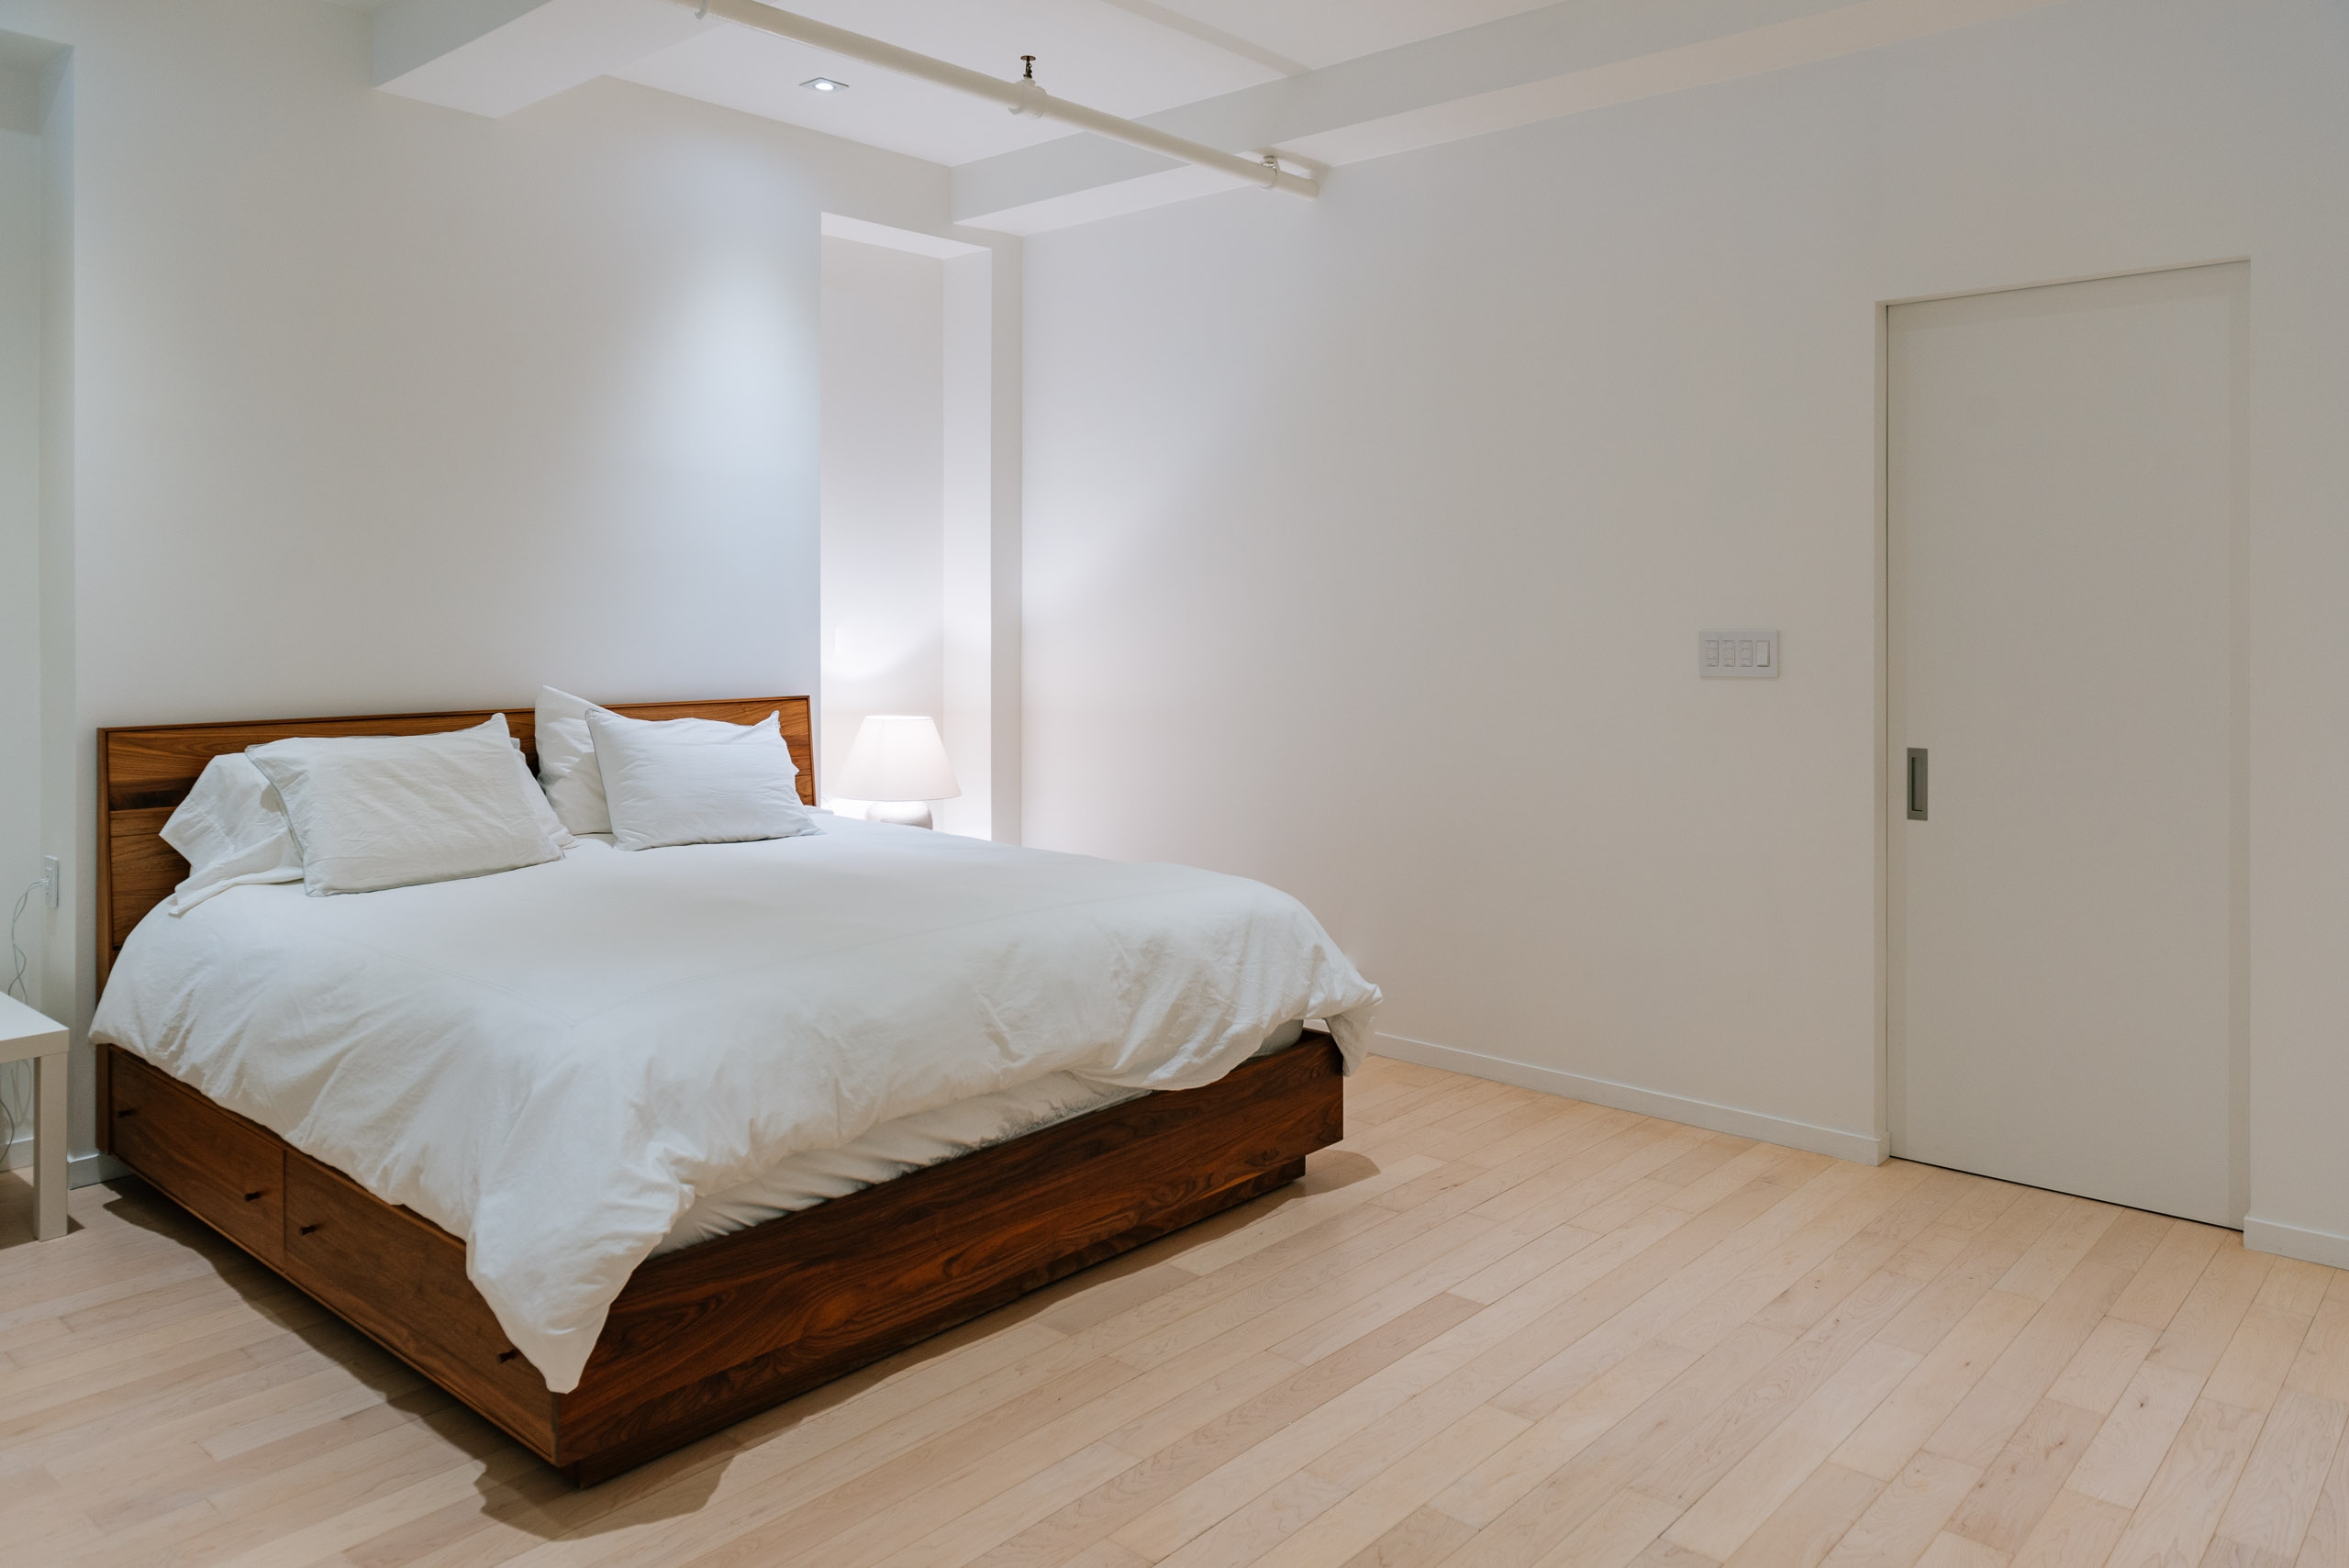 The pocket door leads to the master bathroom & laundry room.
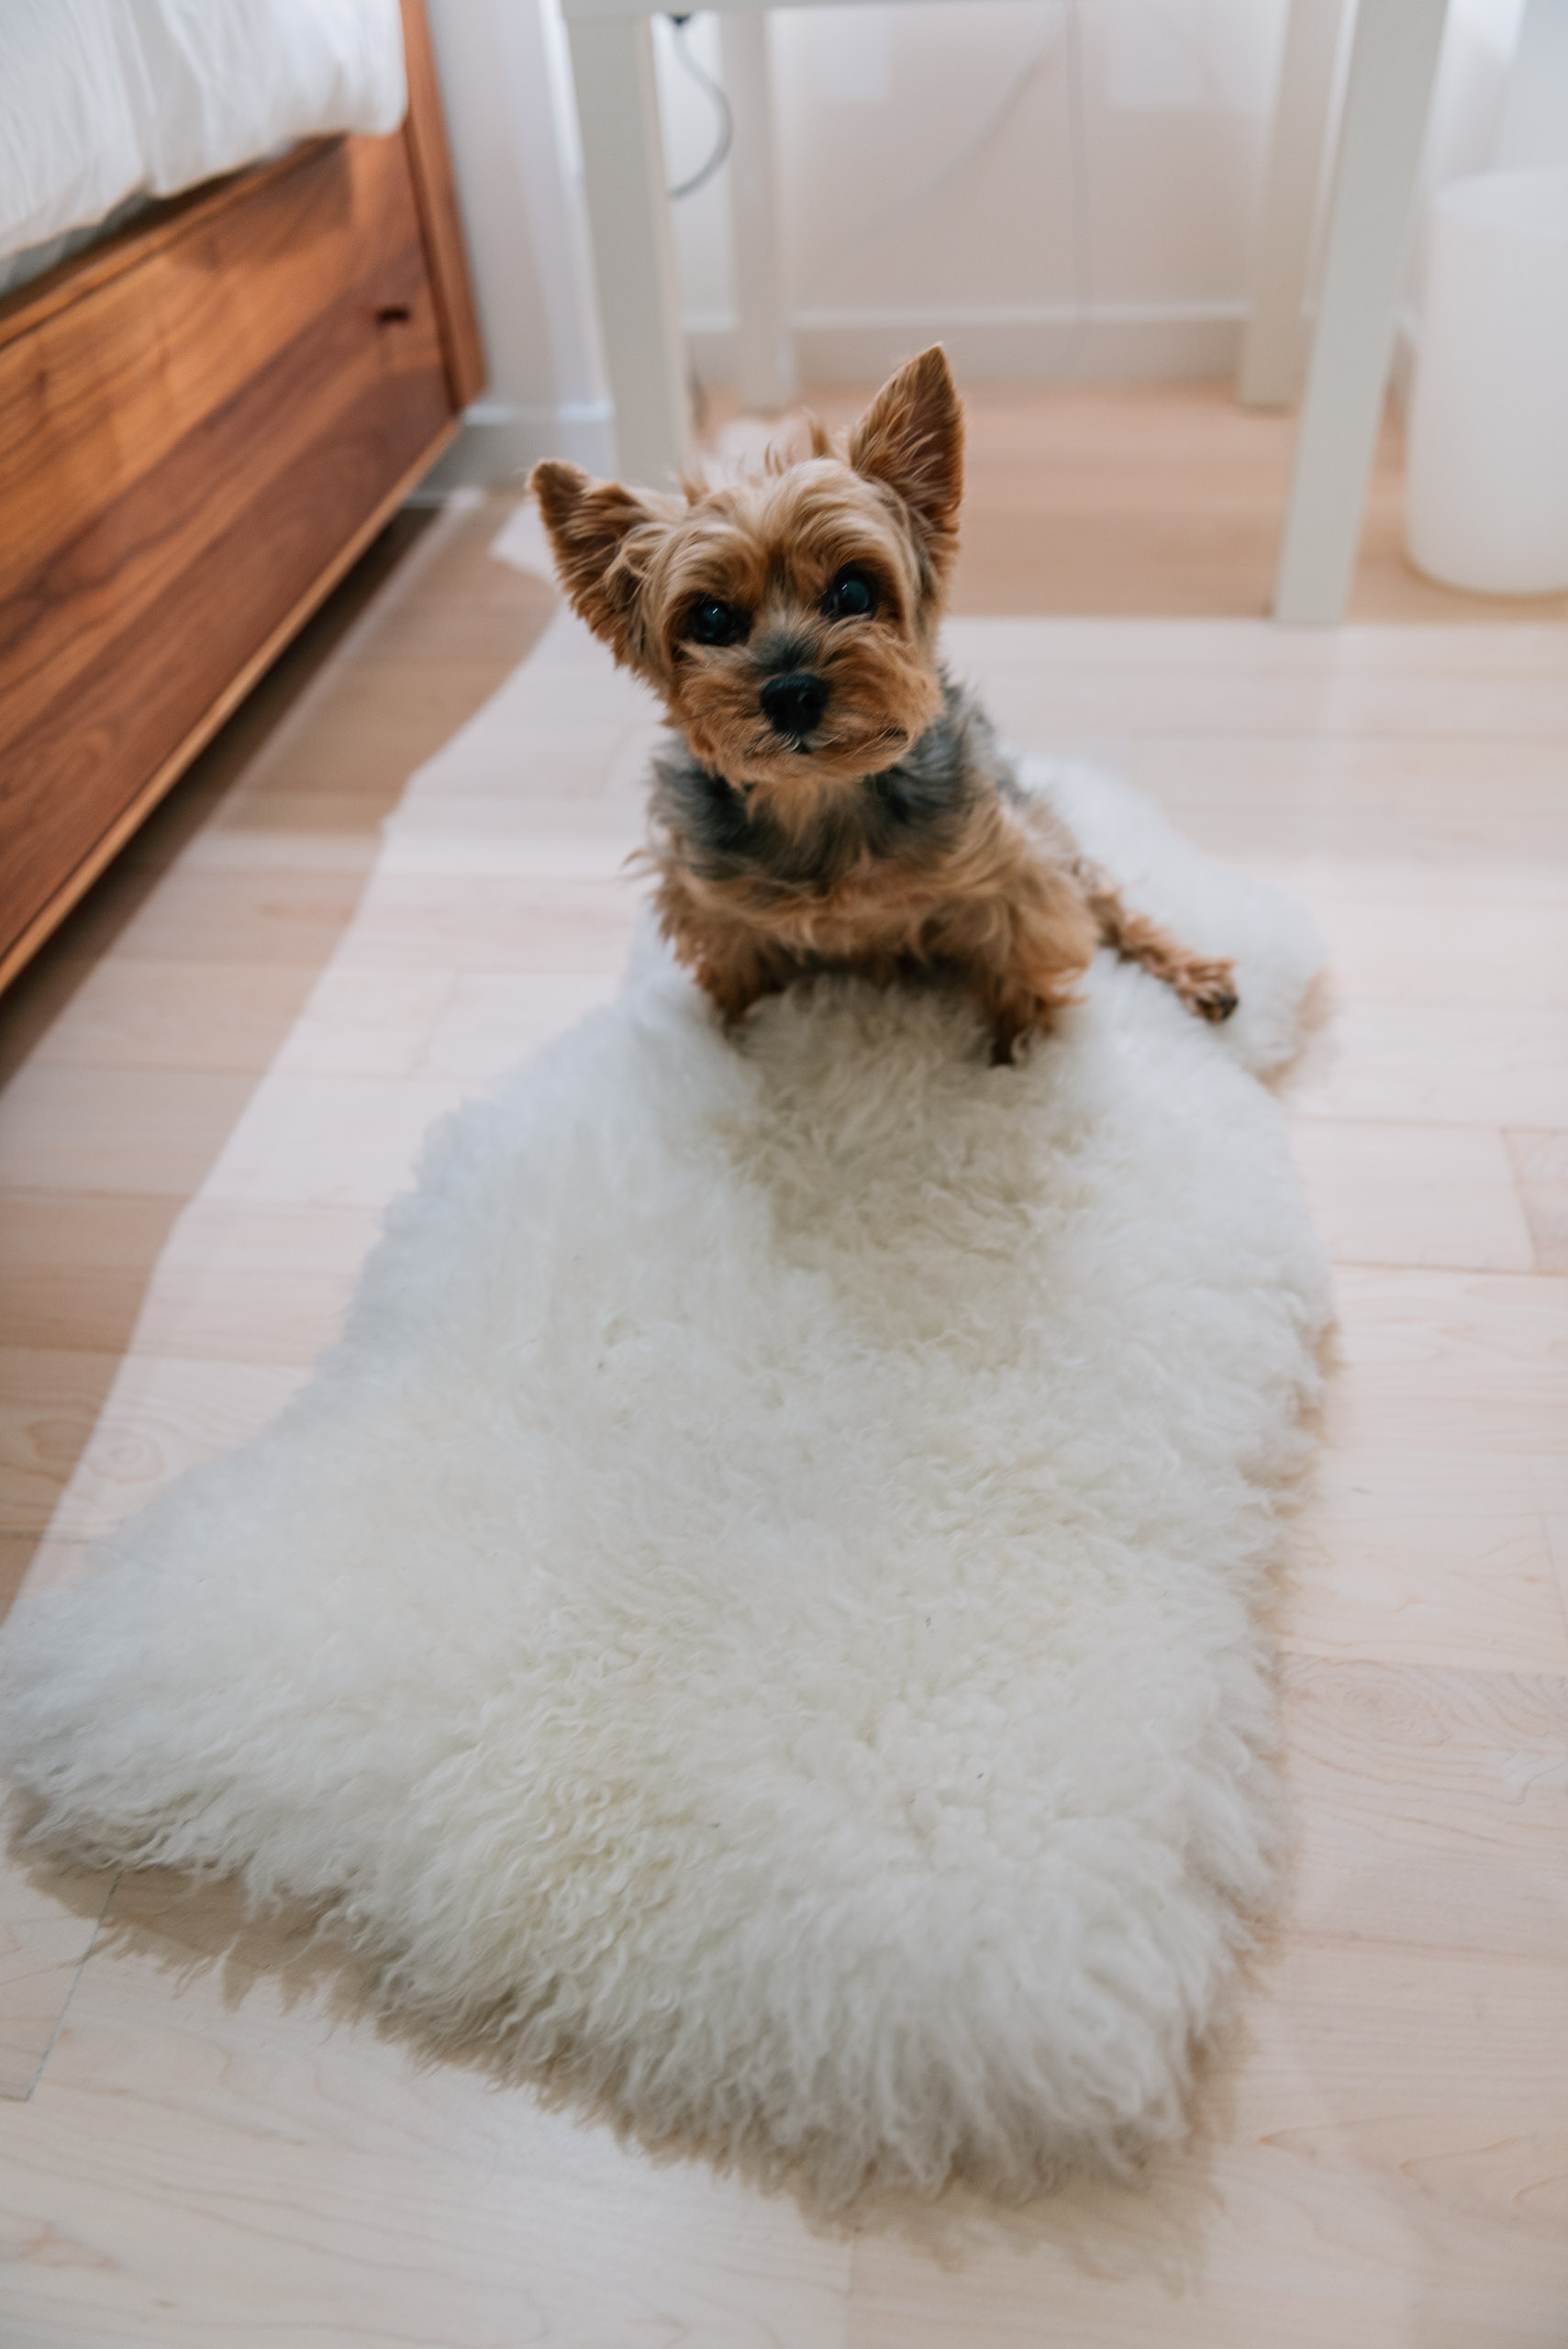 Suki is spotted lounging on the bedroom rug.
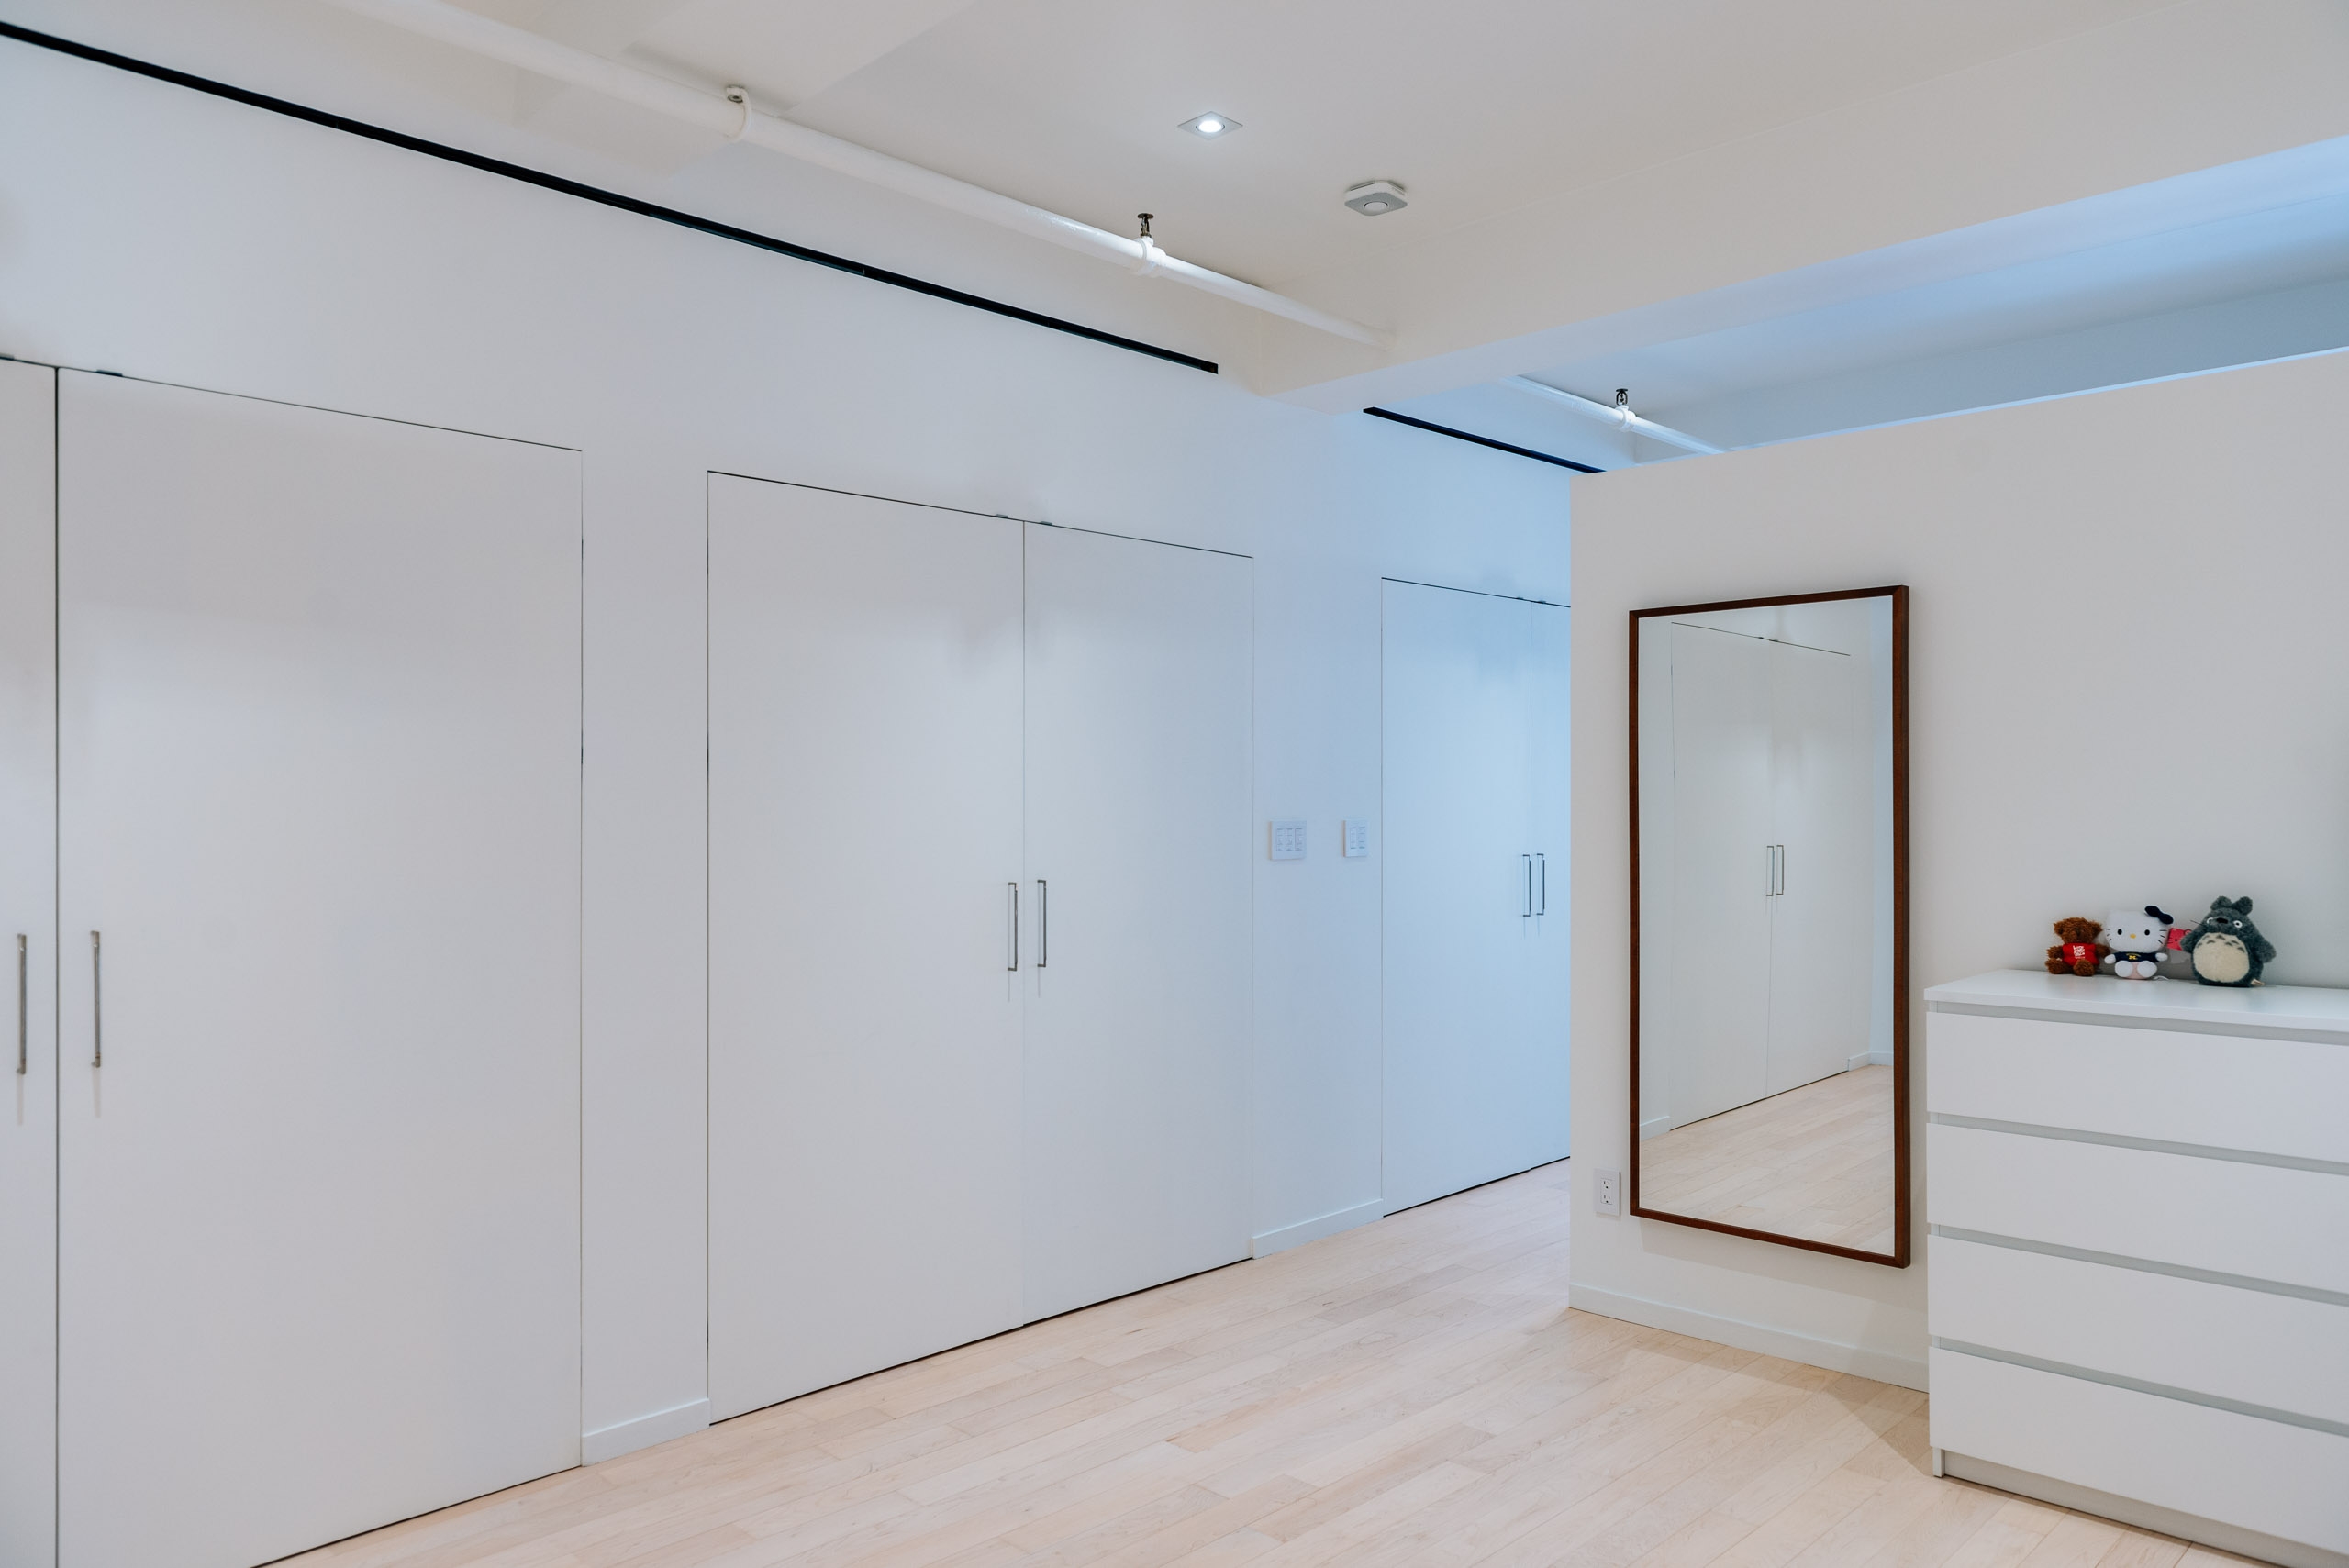 Looking back toward the living room, the wall of closets is framed by linear diffusers. Points for spotting Totoro and Hello Kitty.
 The master bathroom on the left is not yet renovated. We built a laundry room on the right.
 A view into the laundry room.
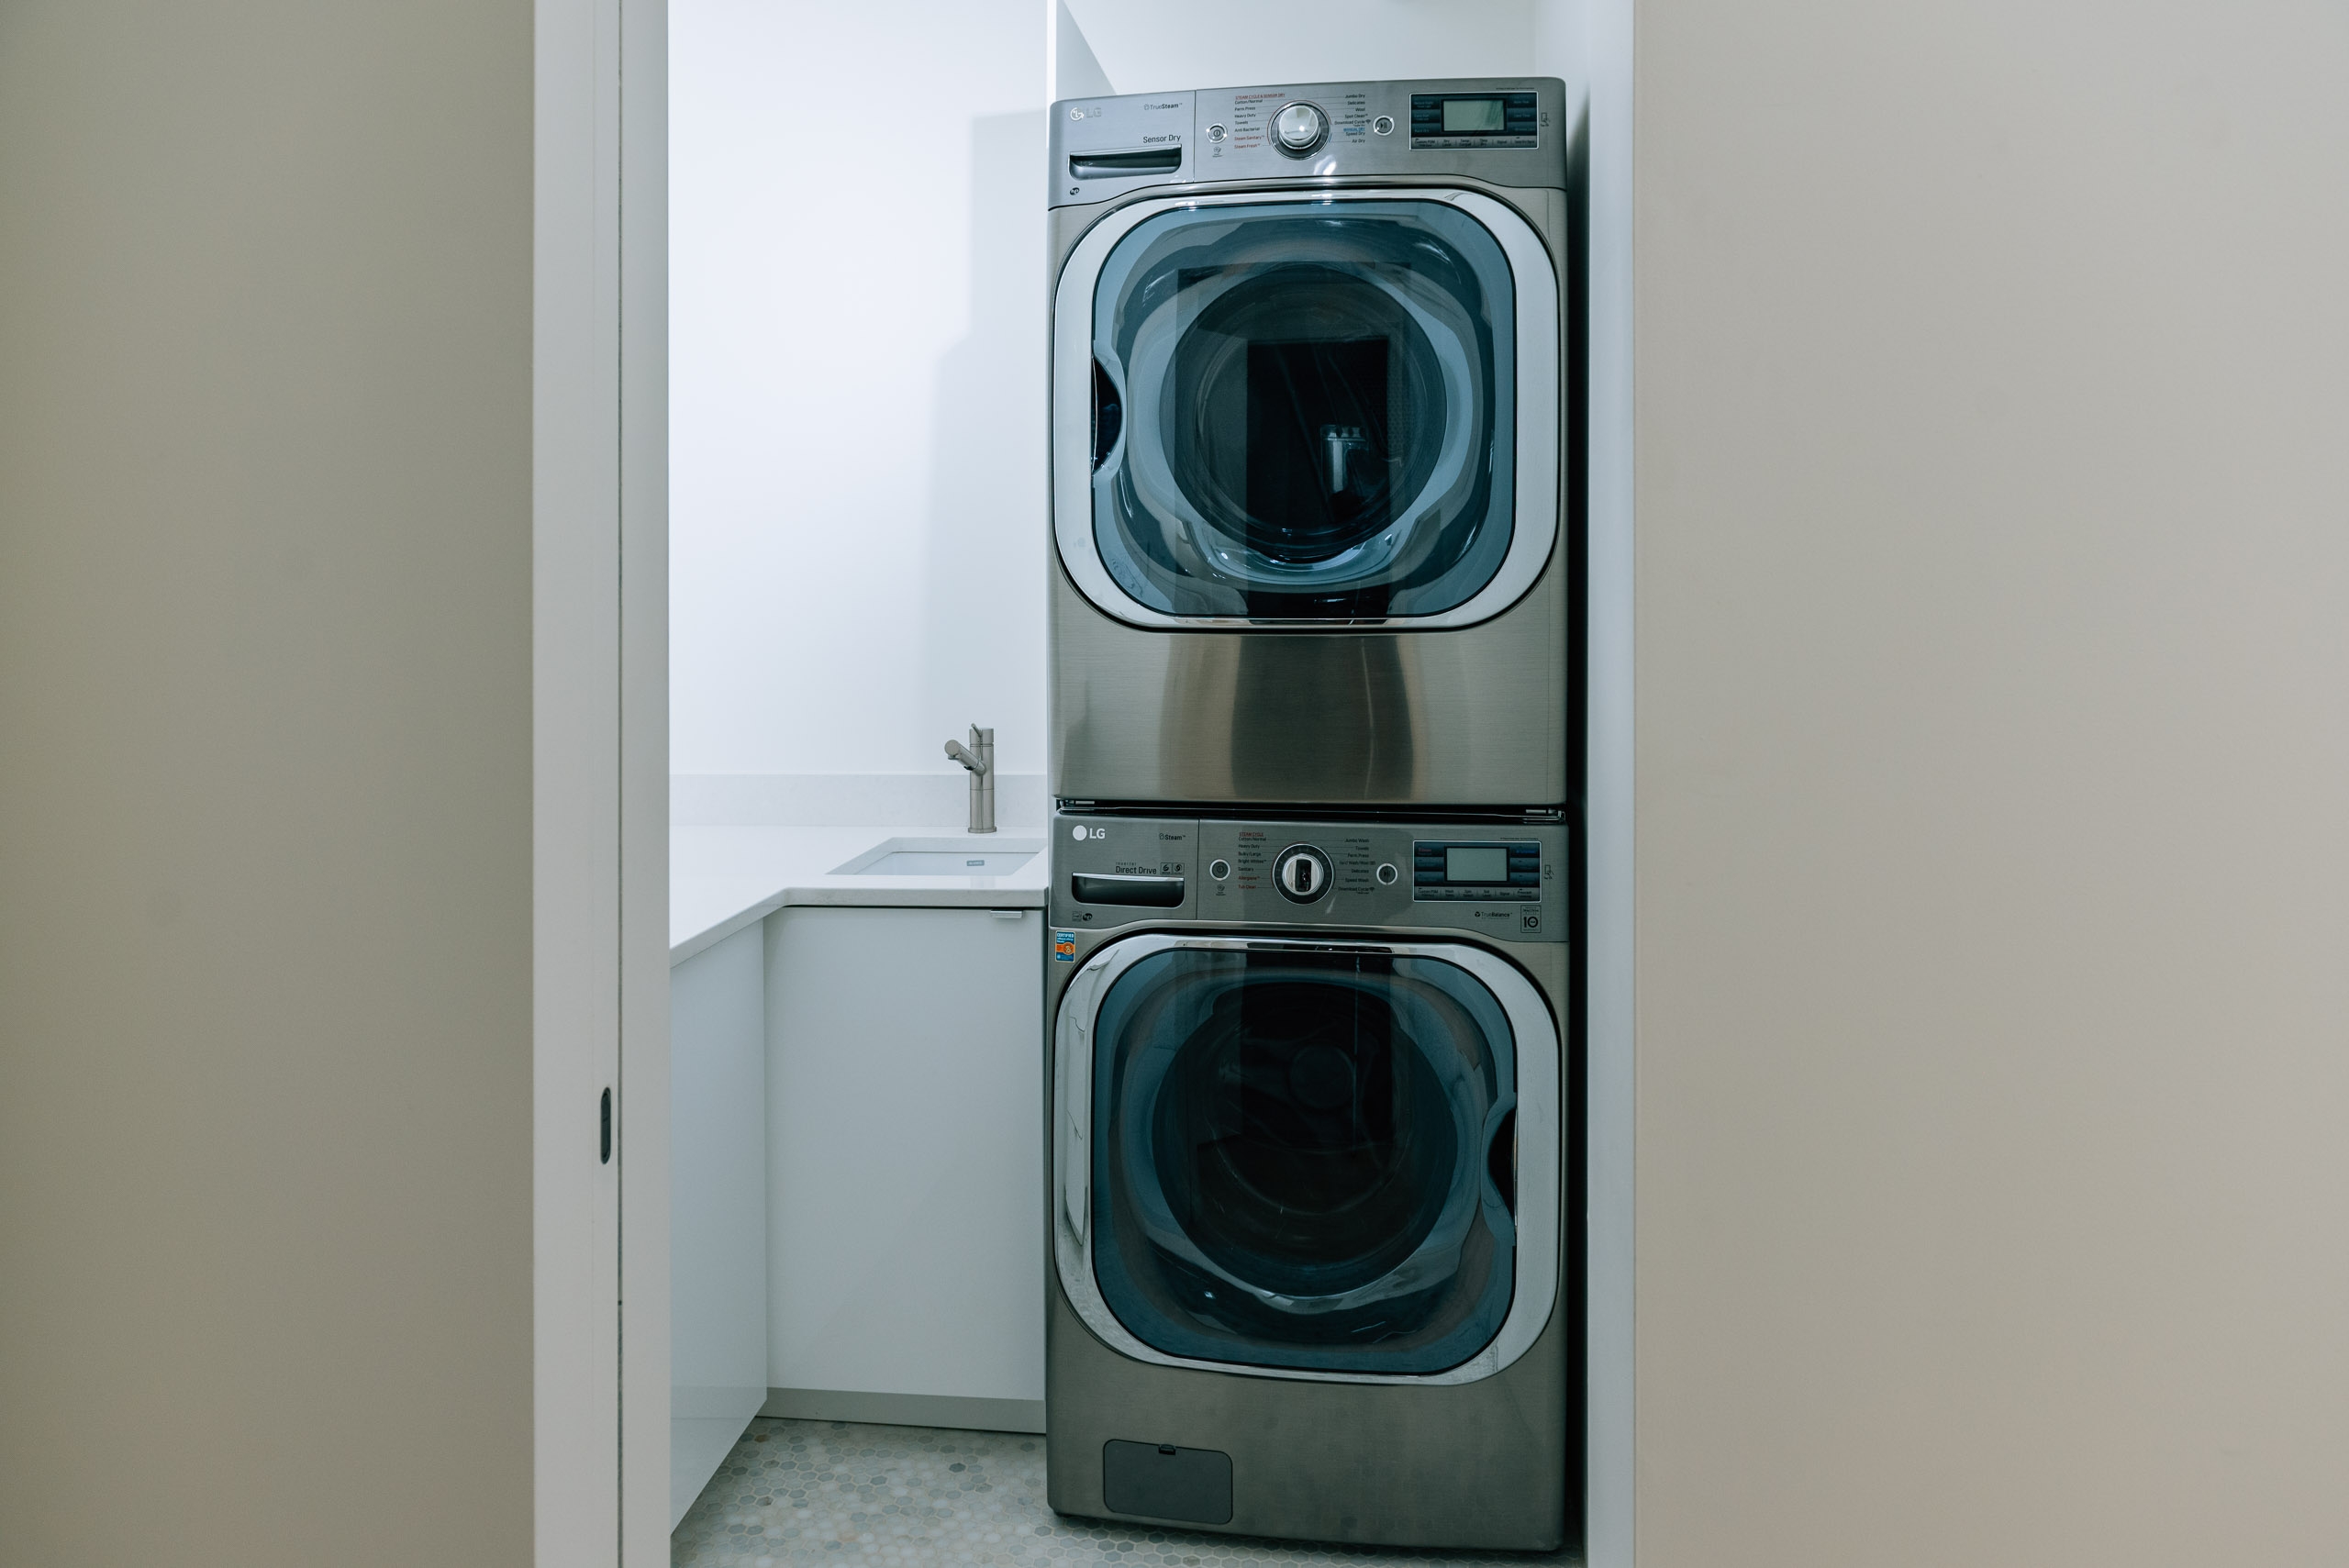 Our pride and joy: a big-ass laundry center with a hand-wash sink.
 We splurged for a Home Depot marble mosaic floor, offset by IKEA kitchen cabinets.
All of the home systems are automated via Wink, the brains of which is the Wink app and the Relay smart home controller. We have 34 overhead dimmable LED light fixtures, 4 Dropcam security cameras, 1 Quirky Outlink outlet, 1 Quirky Tapt switch, 12 Lutron light switches, 6 Lutron motorized blinds, 2 Quirky Tripper door sensors, 4 GE Link connected bulbs, 1 Osram tunable white balance LED, a Nest thermostat and 4 Nest Protect smoke detectors all interconnected via Wink. I will admit that I have more patience for these systems than Jessica, but the home automation features are truly useful. I just wish Wink could turn off my Sonos music when I leave the house.
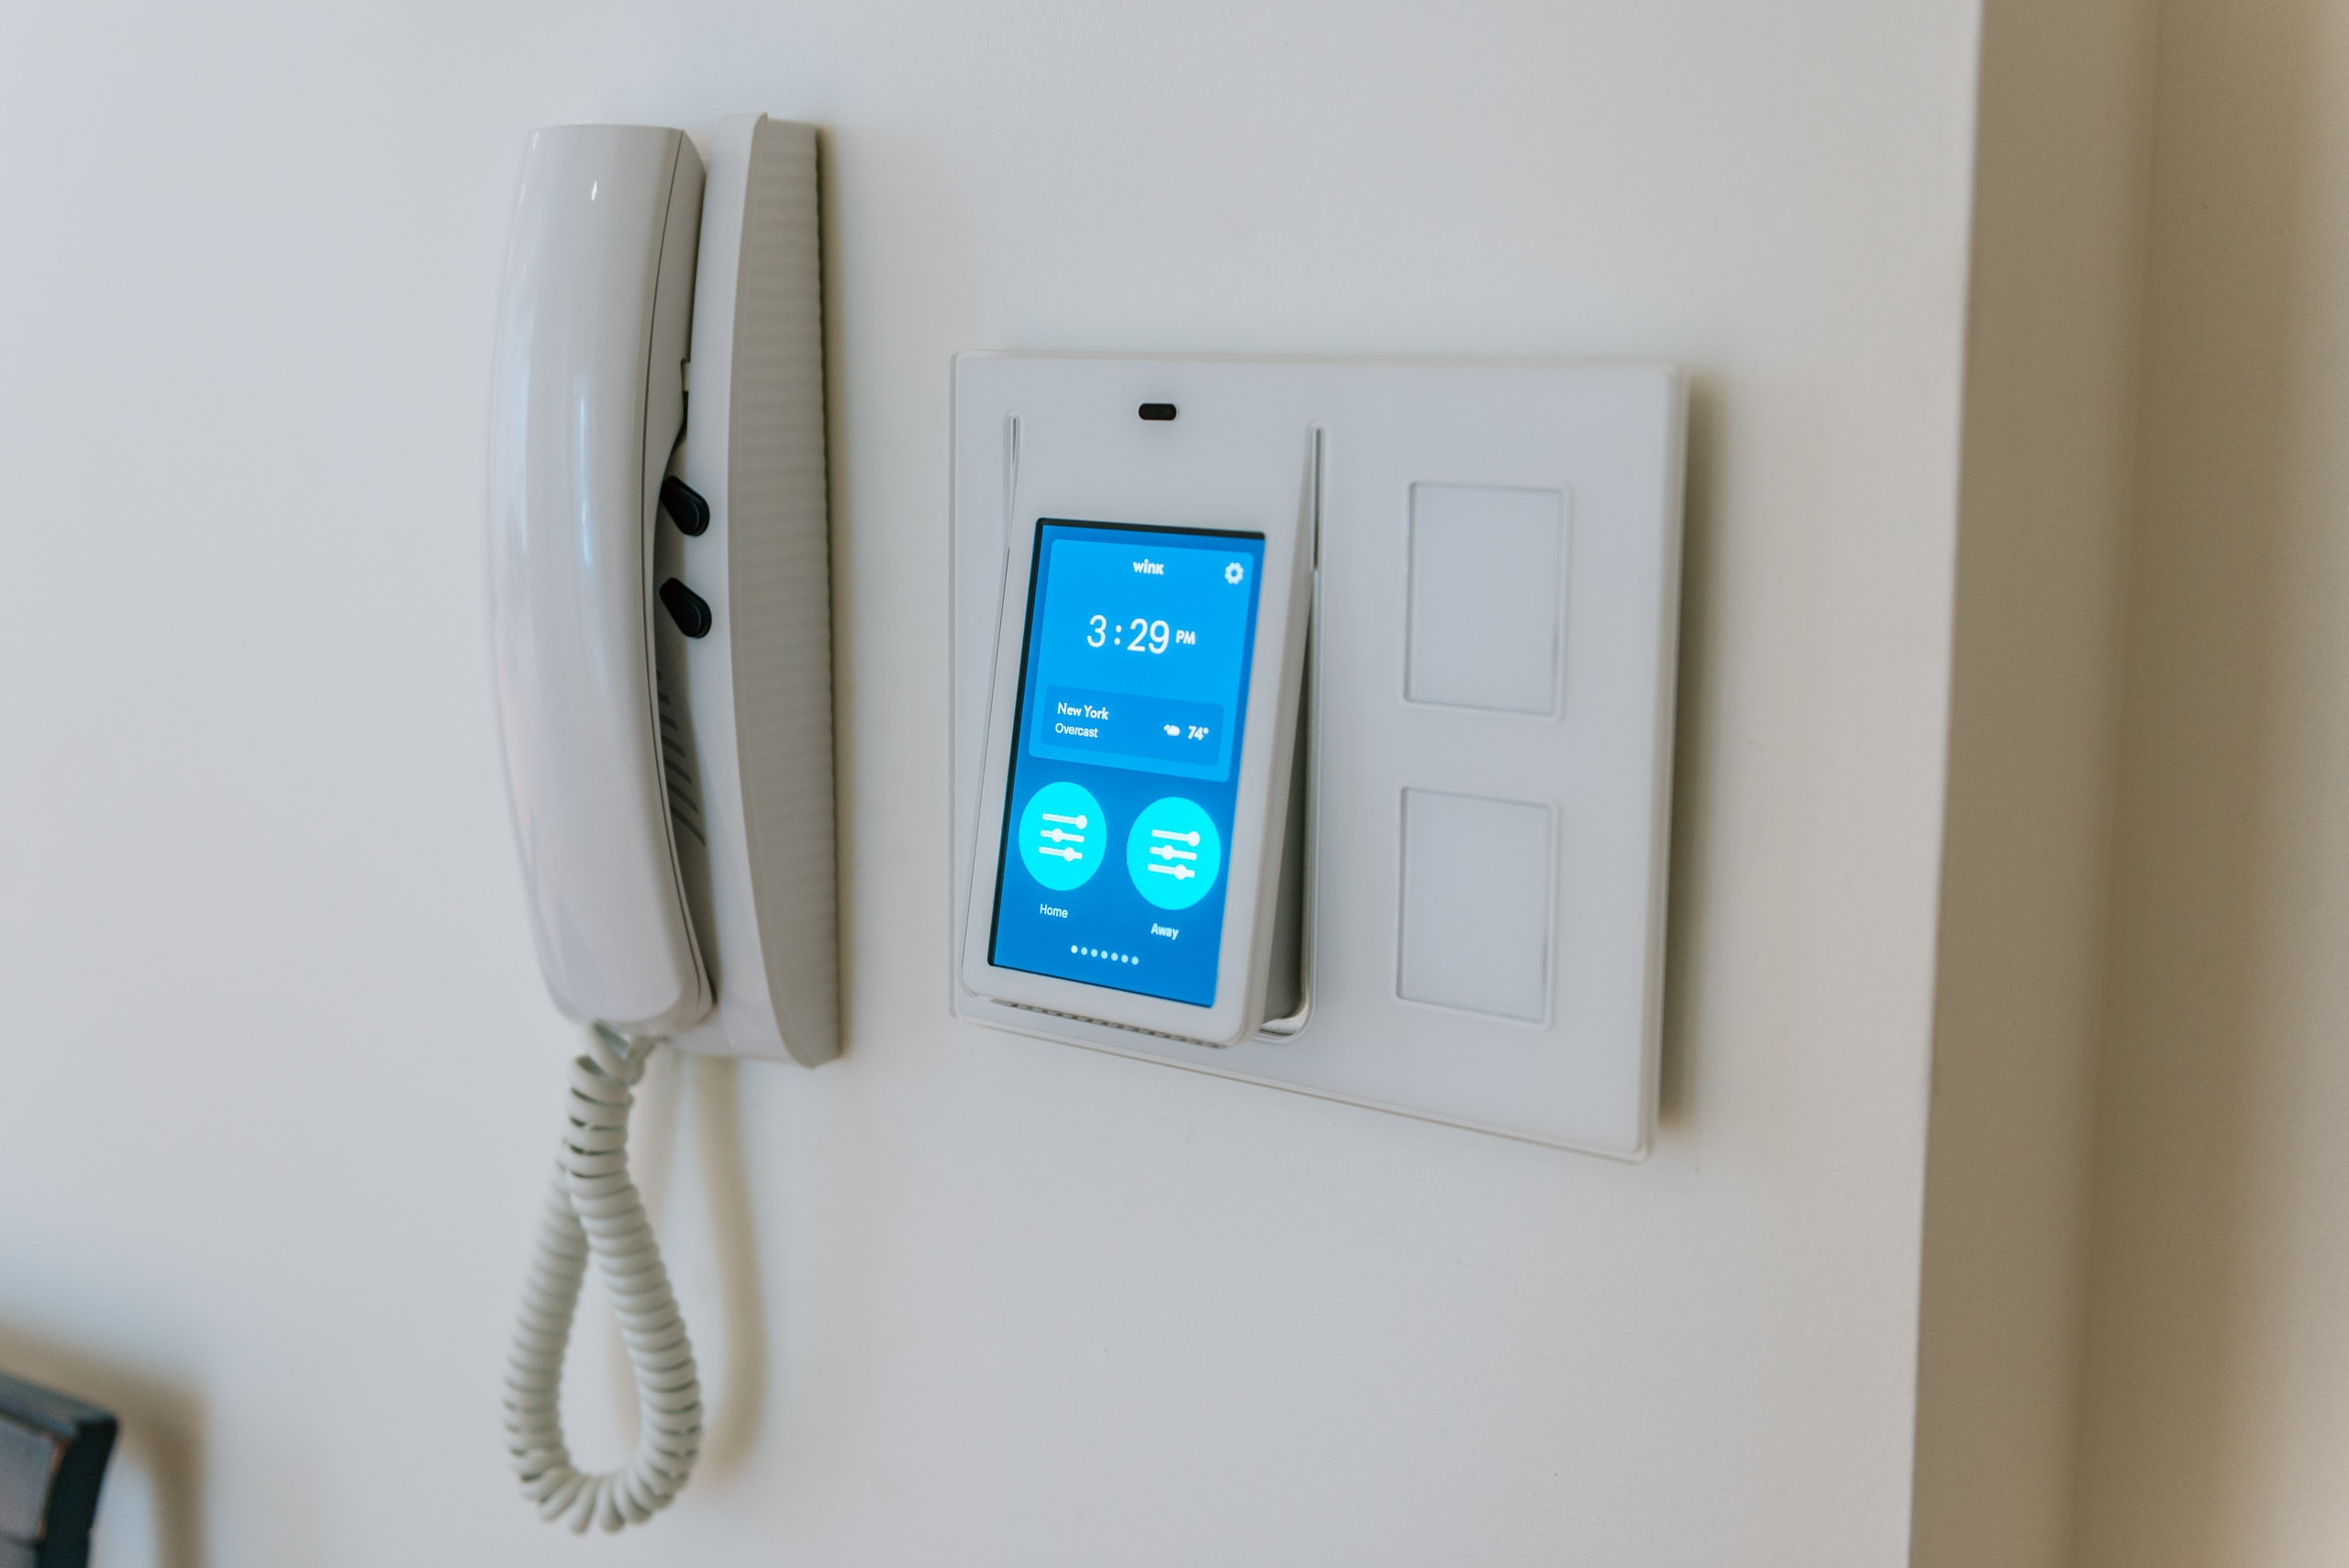 Wink Relay circa 2014. Building intercom circa 1965.
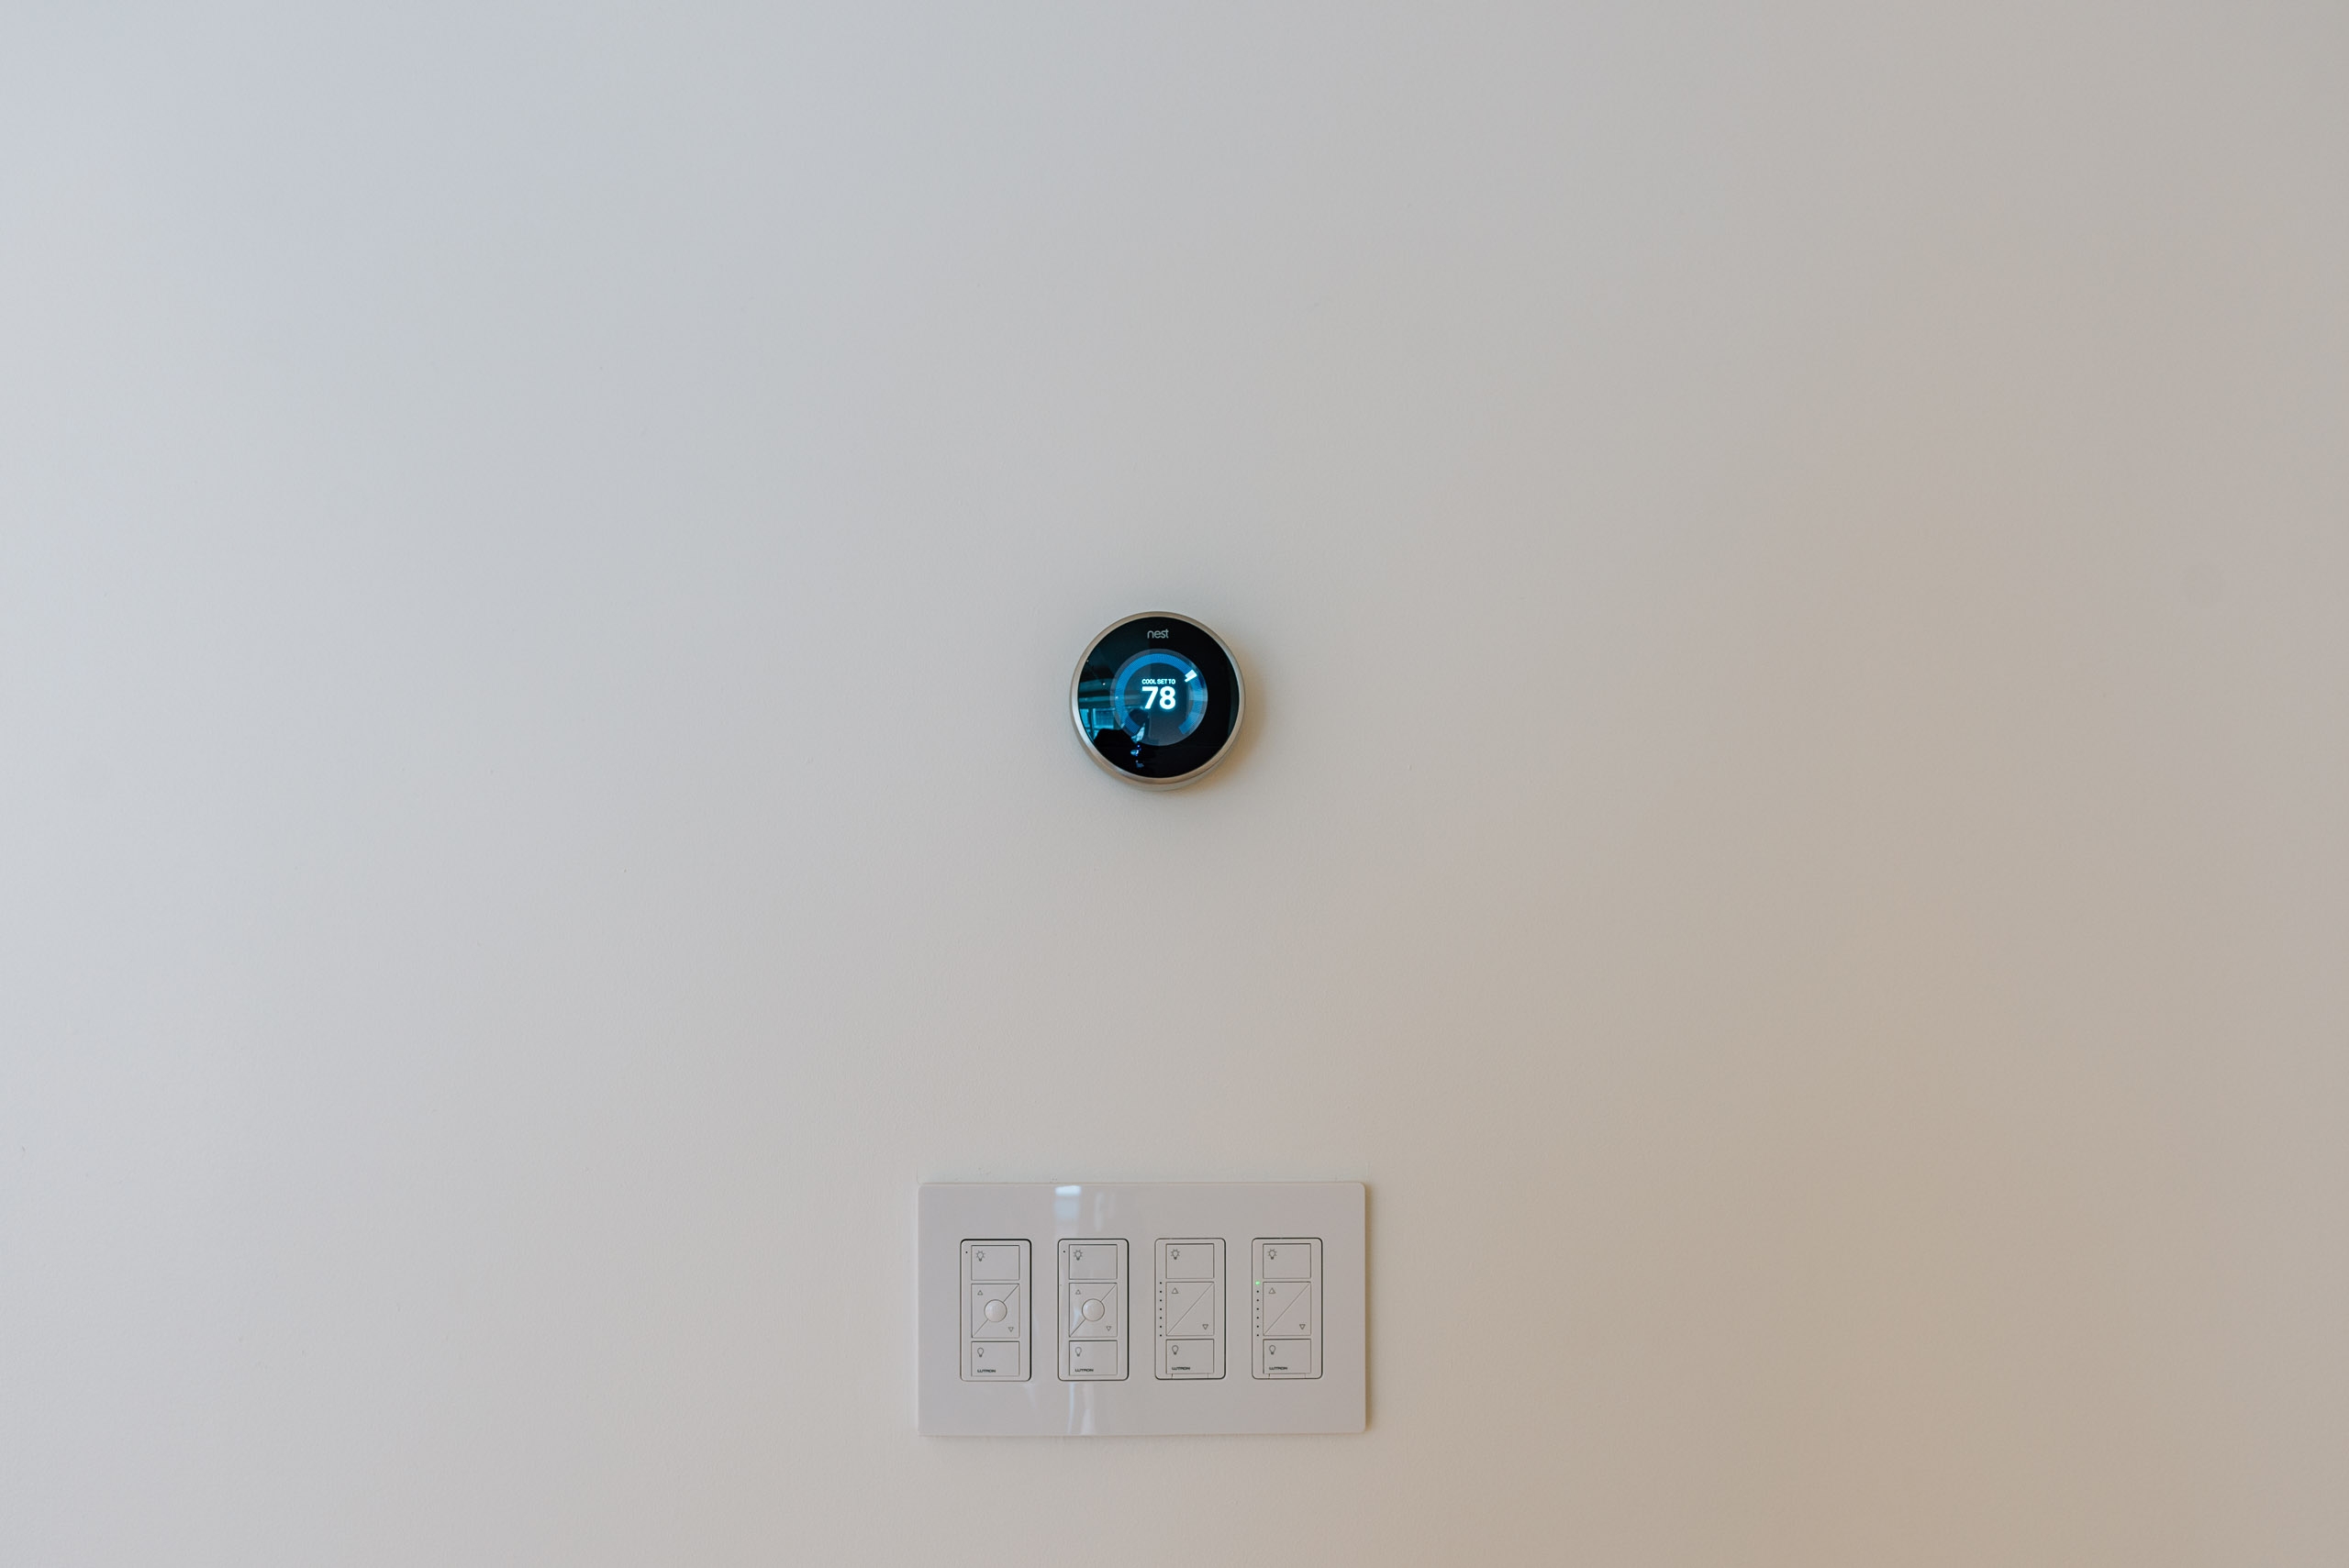 Nest learning thermostat, two Lutron Caseta zigbee switches and two Lutron Pico remotes.
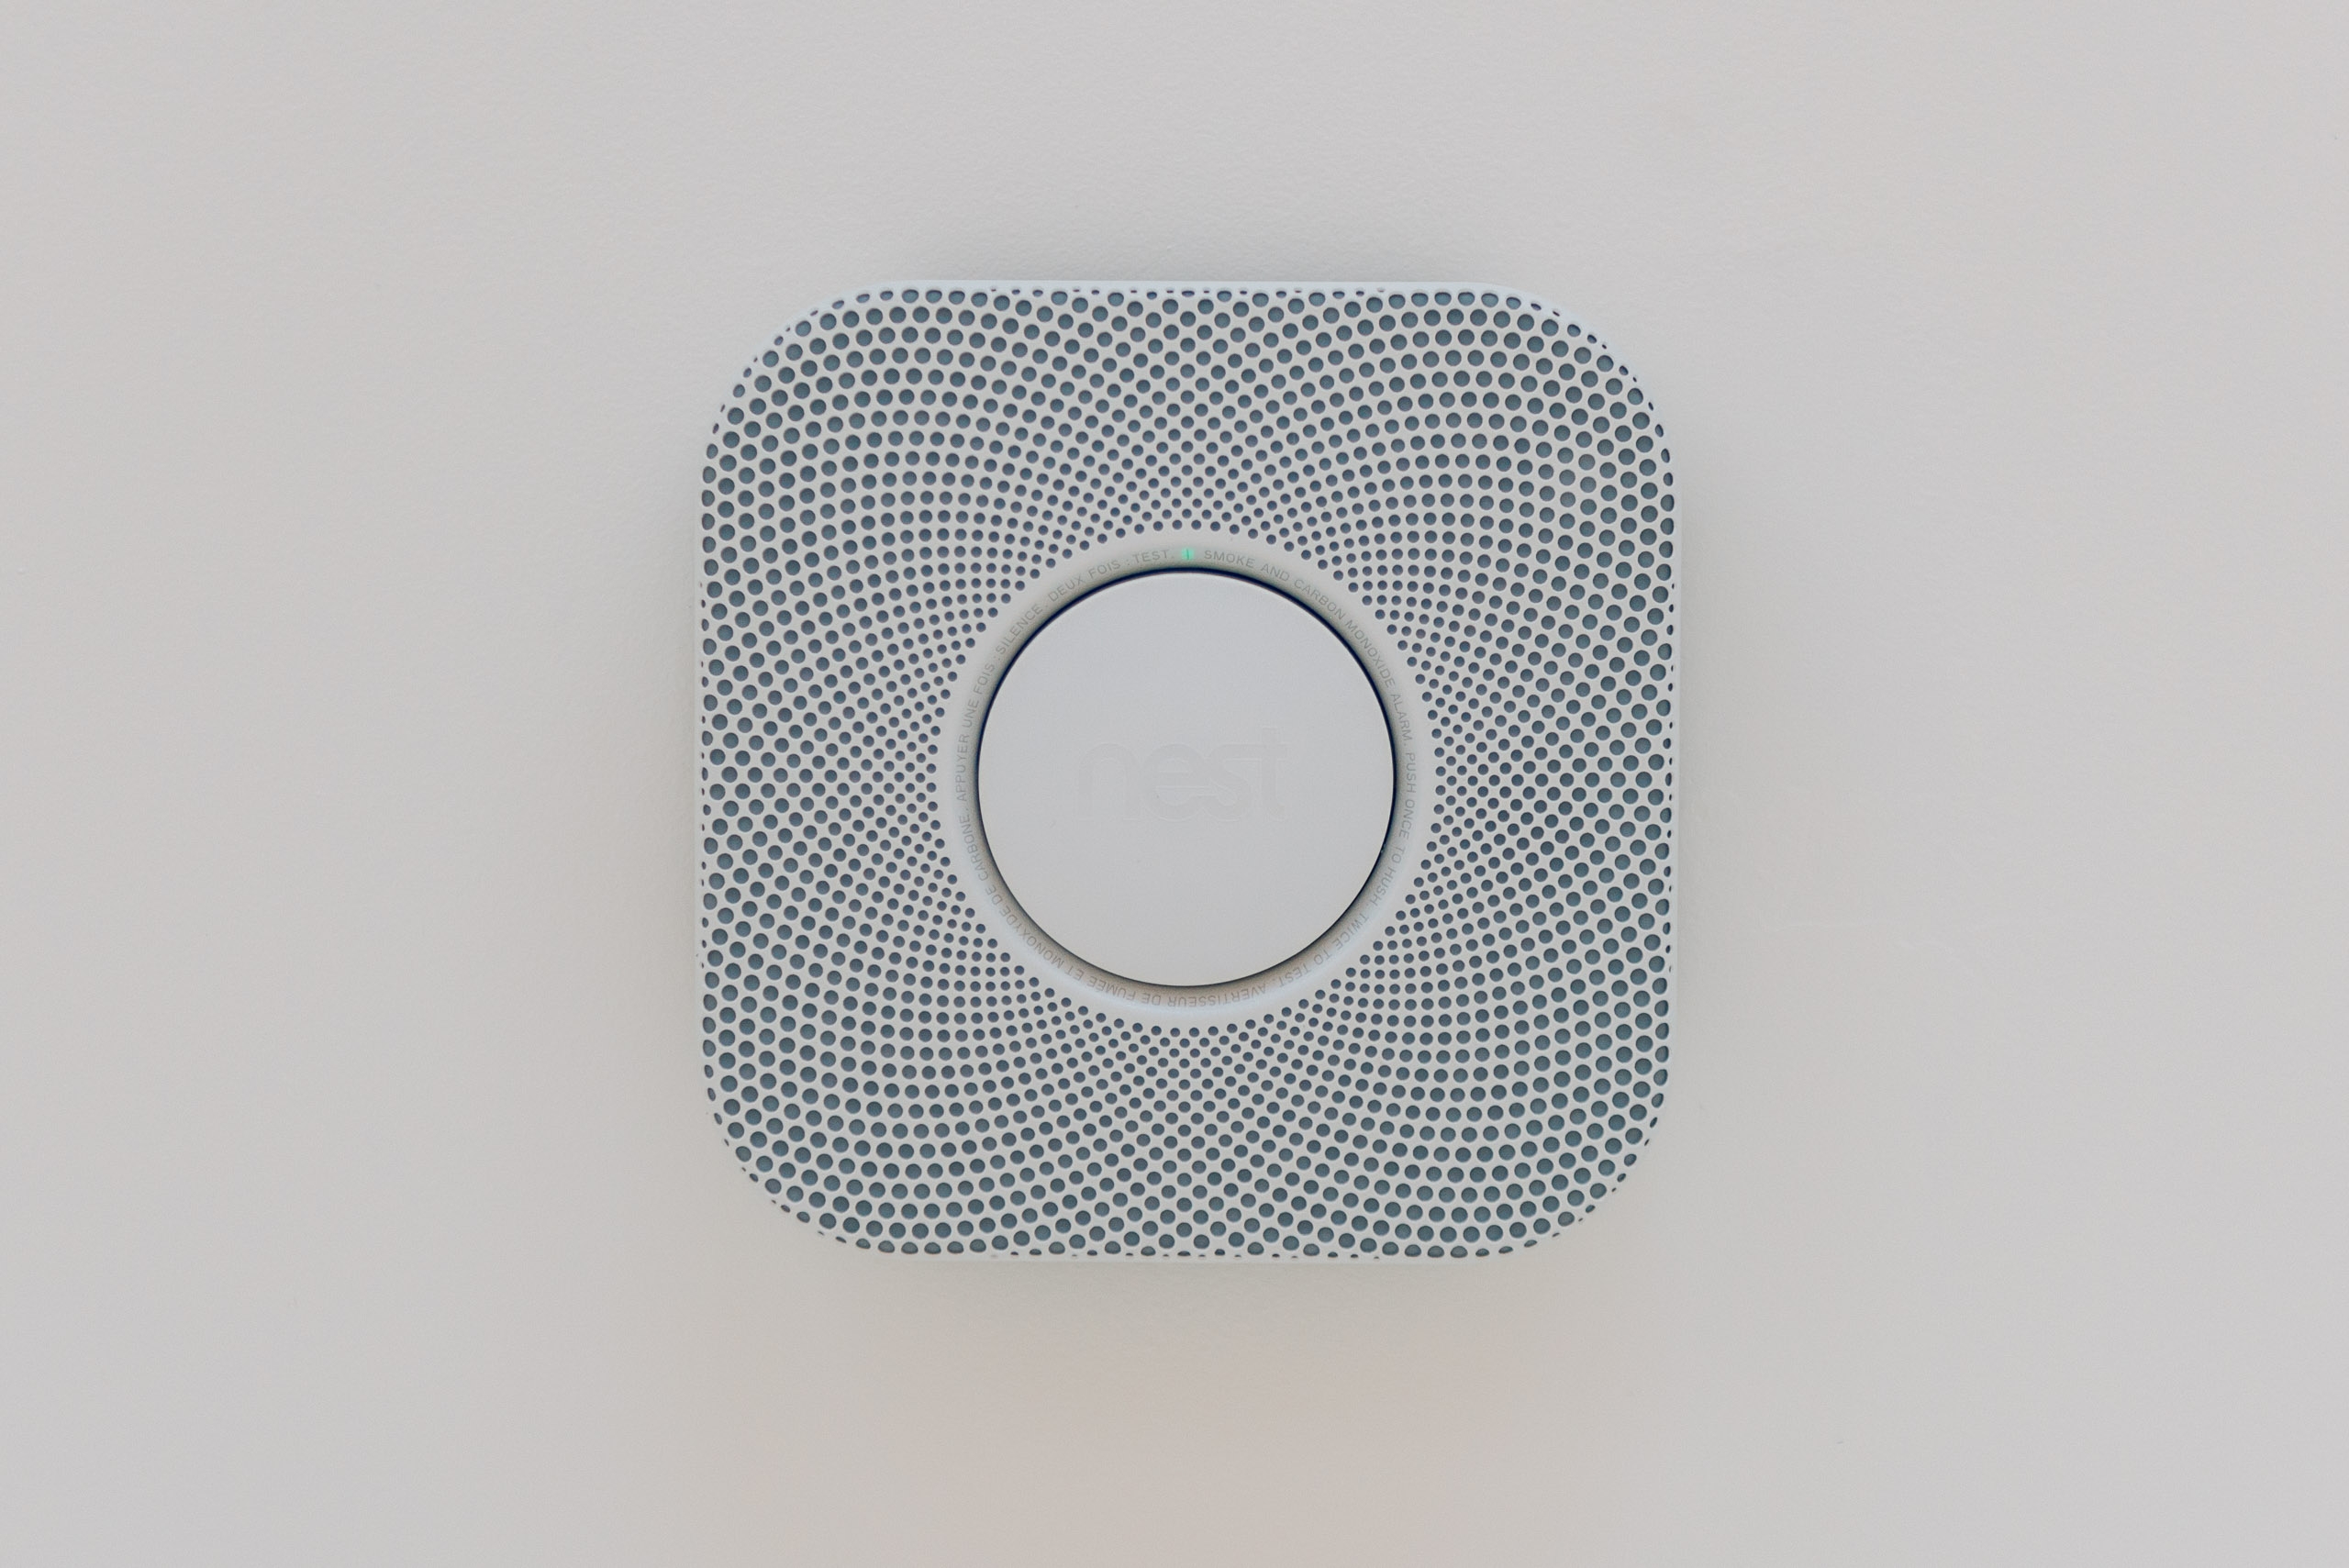 The Nest Protect connected smoke detectors are nice, but not as fun or interactive as I hoped.
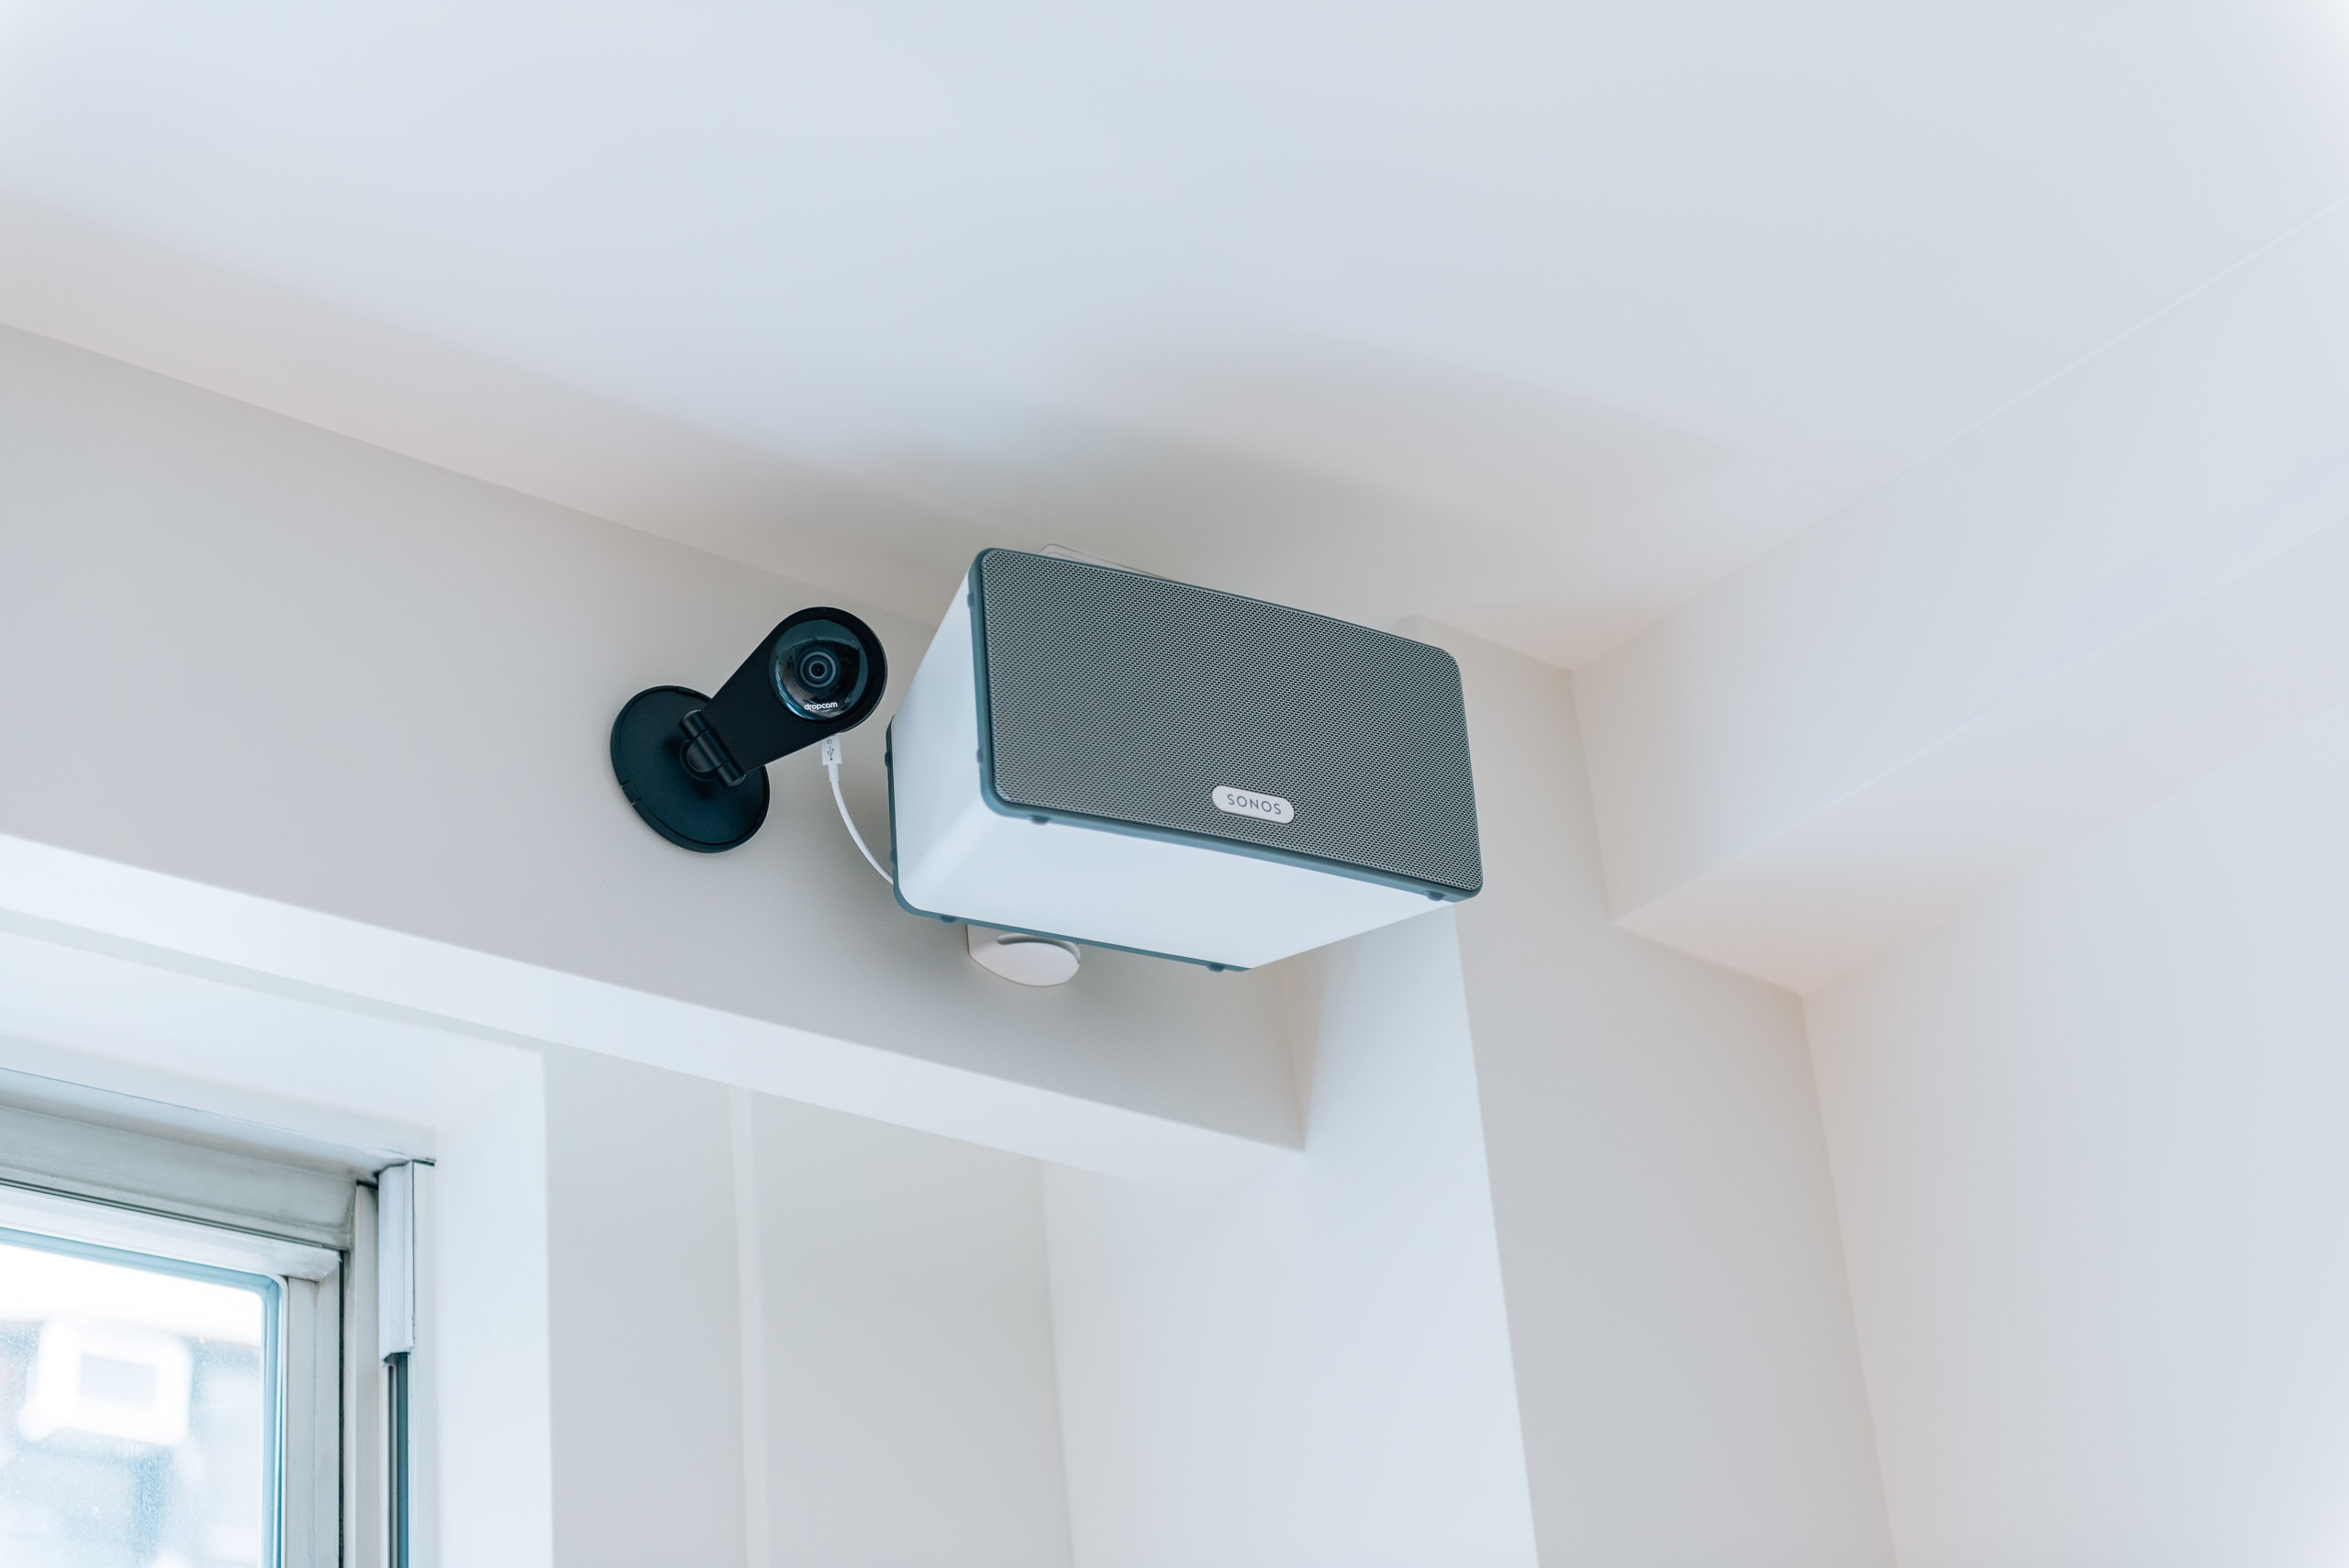 This Sonos system is incredible. The Dropcam keeps an eye on Suki when we're out of the house.
We've been asked numerous times if this whole process has been worth it. It was not our intent to do a big renovation project when we started looking around at real estate last summer. We saw a lot of properties, some newer and some older. We were definitely drawn to the character and workmanship of the older buildings, but intimidated by all the downside of cost, maintenance and potential complications. In the end, I think we got a good value, even after the renovations, and the apartment is shaping up to be exactly what we wanted. Its been a stressful experience, but a fun one. I would definitely do it again, and I feel a lot smarter about what to expect and how to go about it.
We'll post more updates as things evolve, but taking a thankful break for a bit to enjoy the place and start saving up again for future phases. An early purchase will be a guest bed for the office/guest room, and we already have our first confirmed guest (Jen Vedock, see you in September!). Watch your email for a housewarming invite sometime in July.