An NYC Apartment Renovation - Update
March 16, 2015
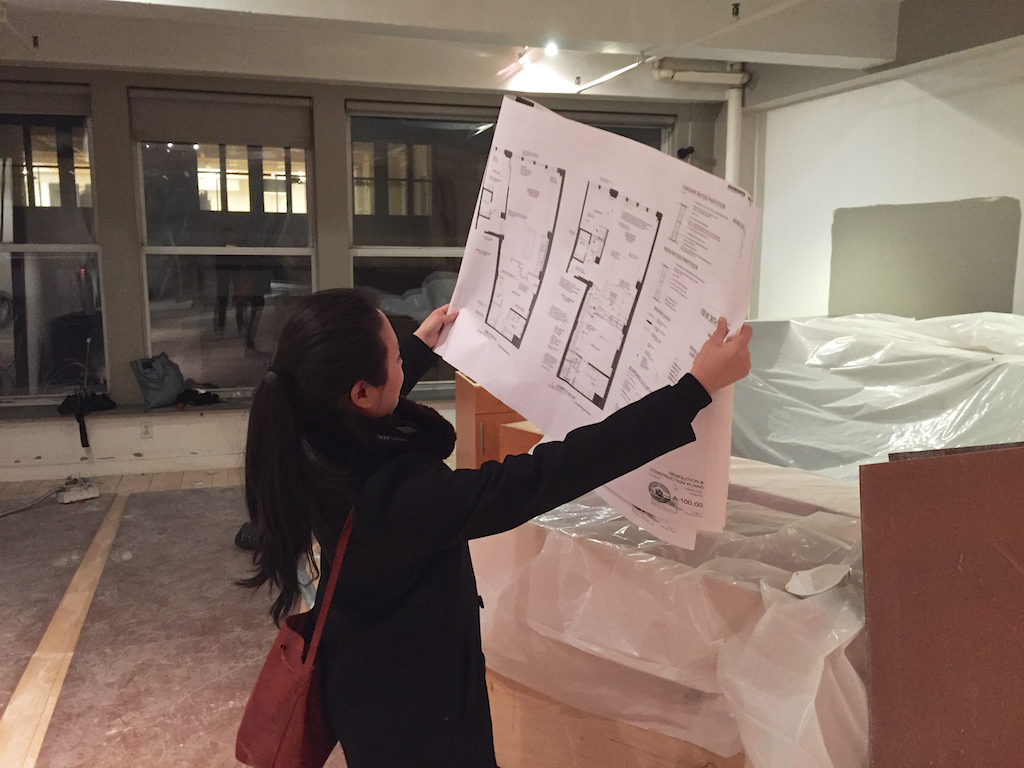
We're now about a week into the construction project and thought we'd share an update. Week one was mostly demolition, though framing for the new floor plan is well underway. By popular demand, I've included a before & after floor plan at the bottom of this post; be sure to click to enlarge to see the whole plan.
This wasn't intended to be a gut renovation (famous last words), but the more we got into it the more that made sense. There can be a lot of surprises peering inside the walls of a 100 year-old building, but fortunately most of the surprise have gone our way. That the building isn't square wasn't a surprise, but the width of the apartment is about 4 inches greater at the windows than in the back. By opening the walls and re-aligning around a common center point, we can get the interior construction much squarer. At this point in the project, only two original interior walls remain. We'll see if they make it through the week.
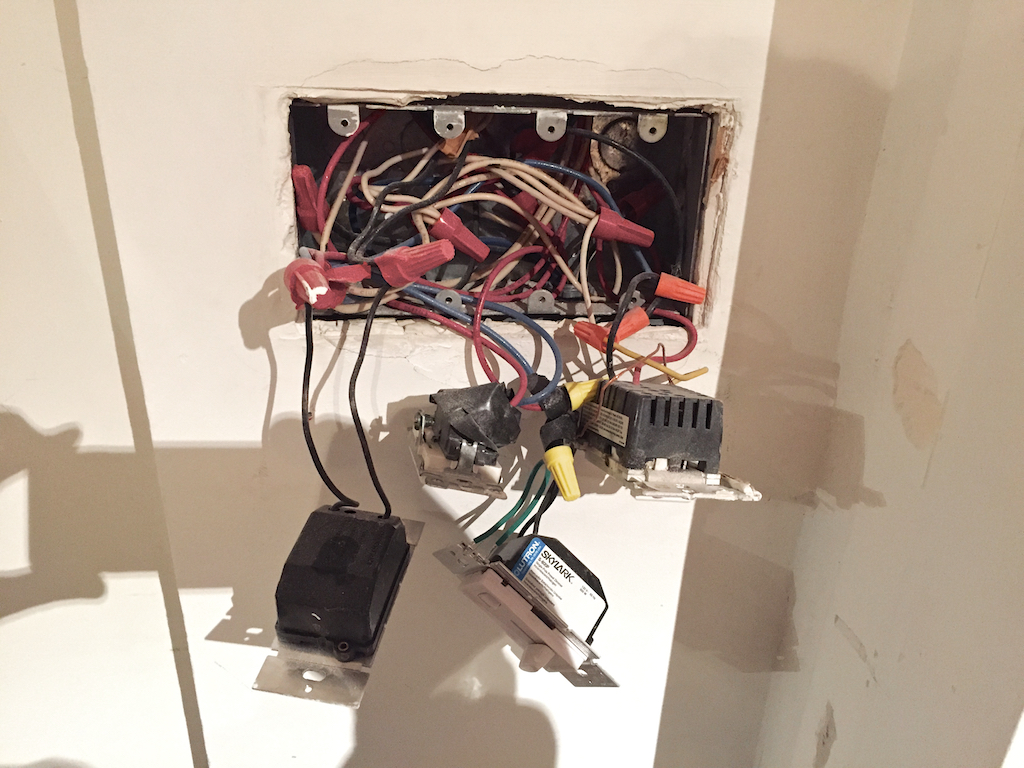
We installed a few Dropcams to monitor progress, but with all the electrical work, the crew keeps necessarily cutting the power. The cameras should be back online later this week. Nevertheless, a fun timelapse video is also included below.
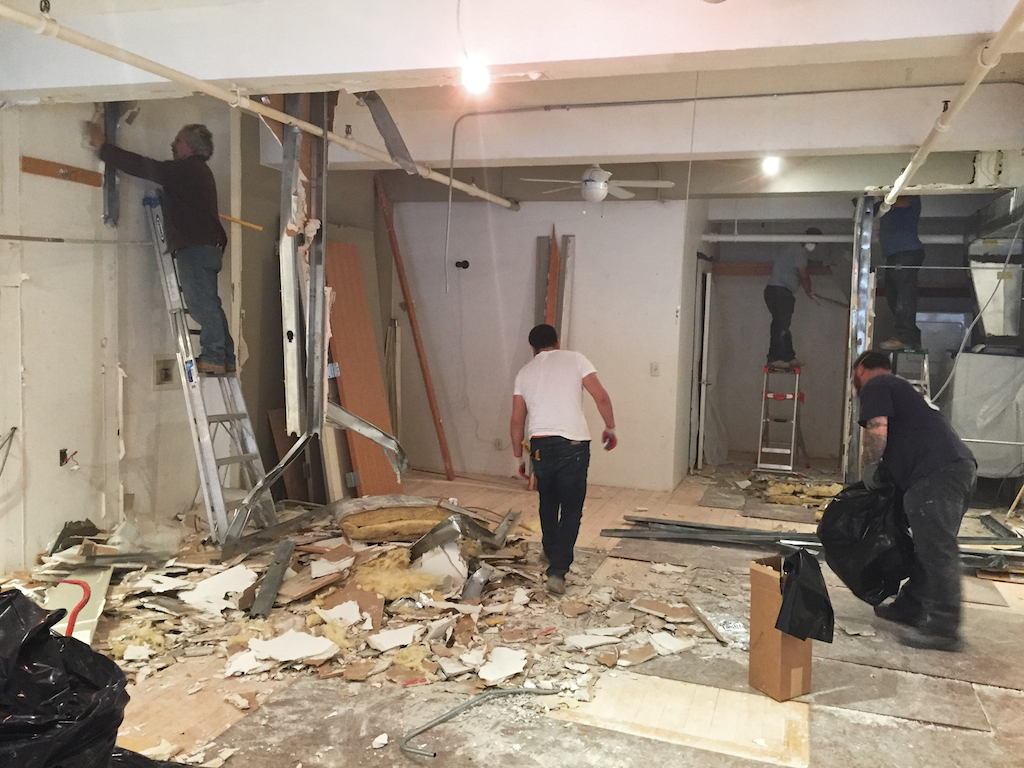 Demolition on day 1
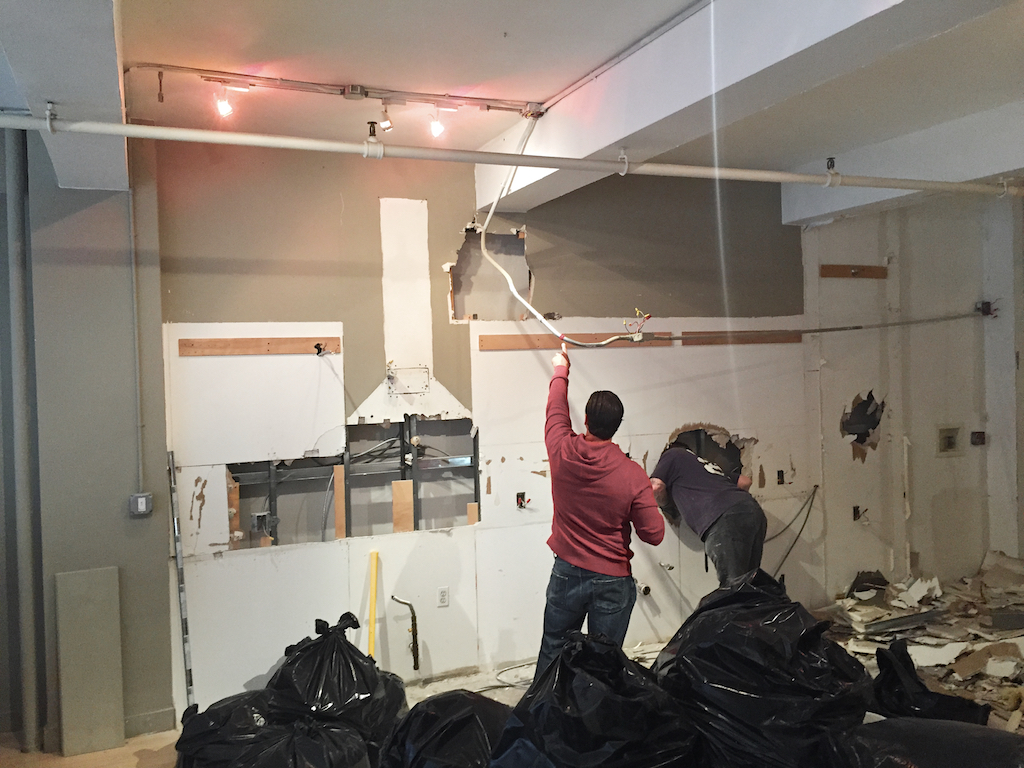 Removing the old kitchen
 Opening the wall between the living room and front bedroom
The demolition largely consisted of removing the kitchen, the walls between the kitchen and bedroom, bedroom closets, mechanical room and the wall between the front bedroom and living room.
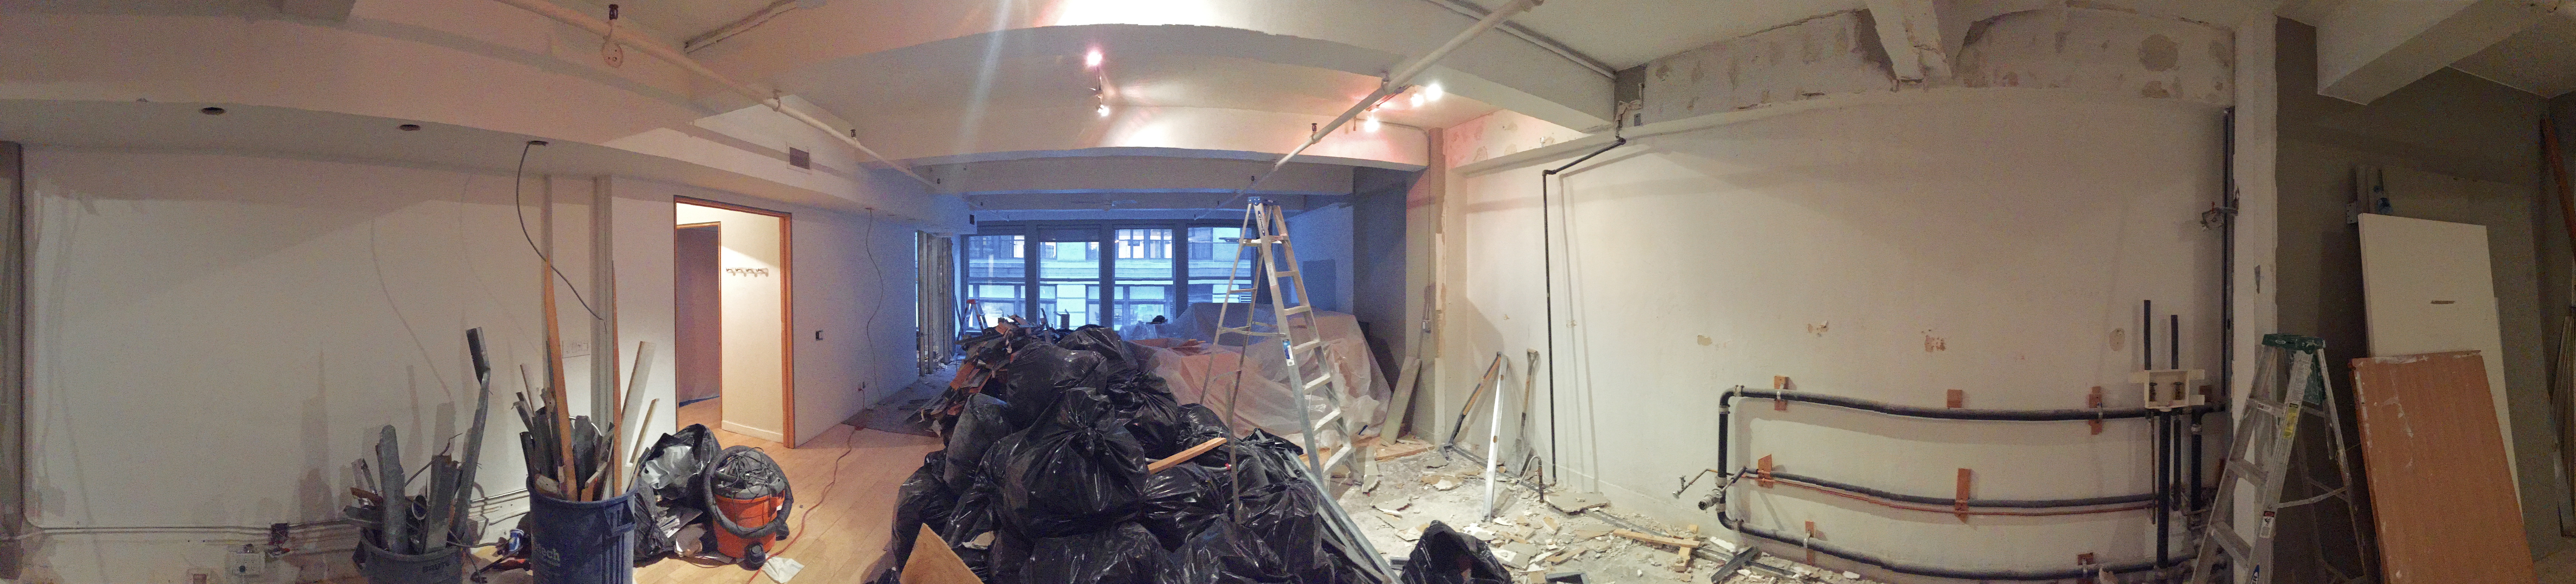 A panorama of destruction (click to enlarge)
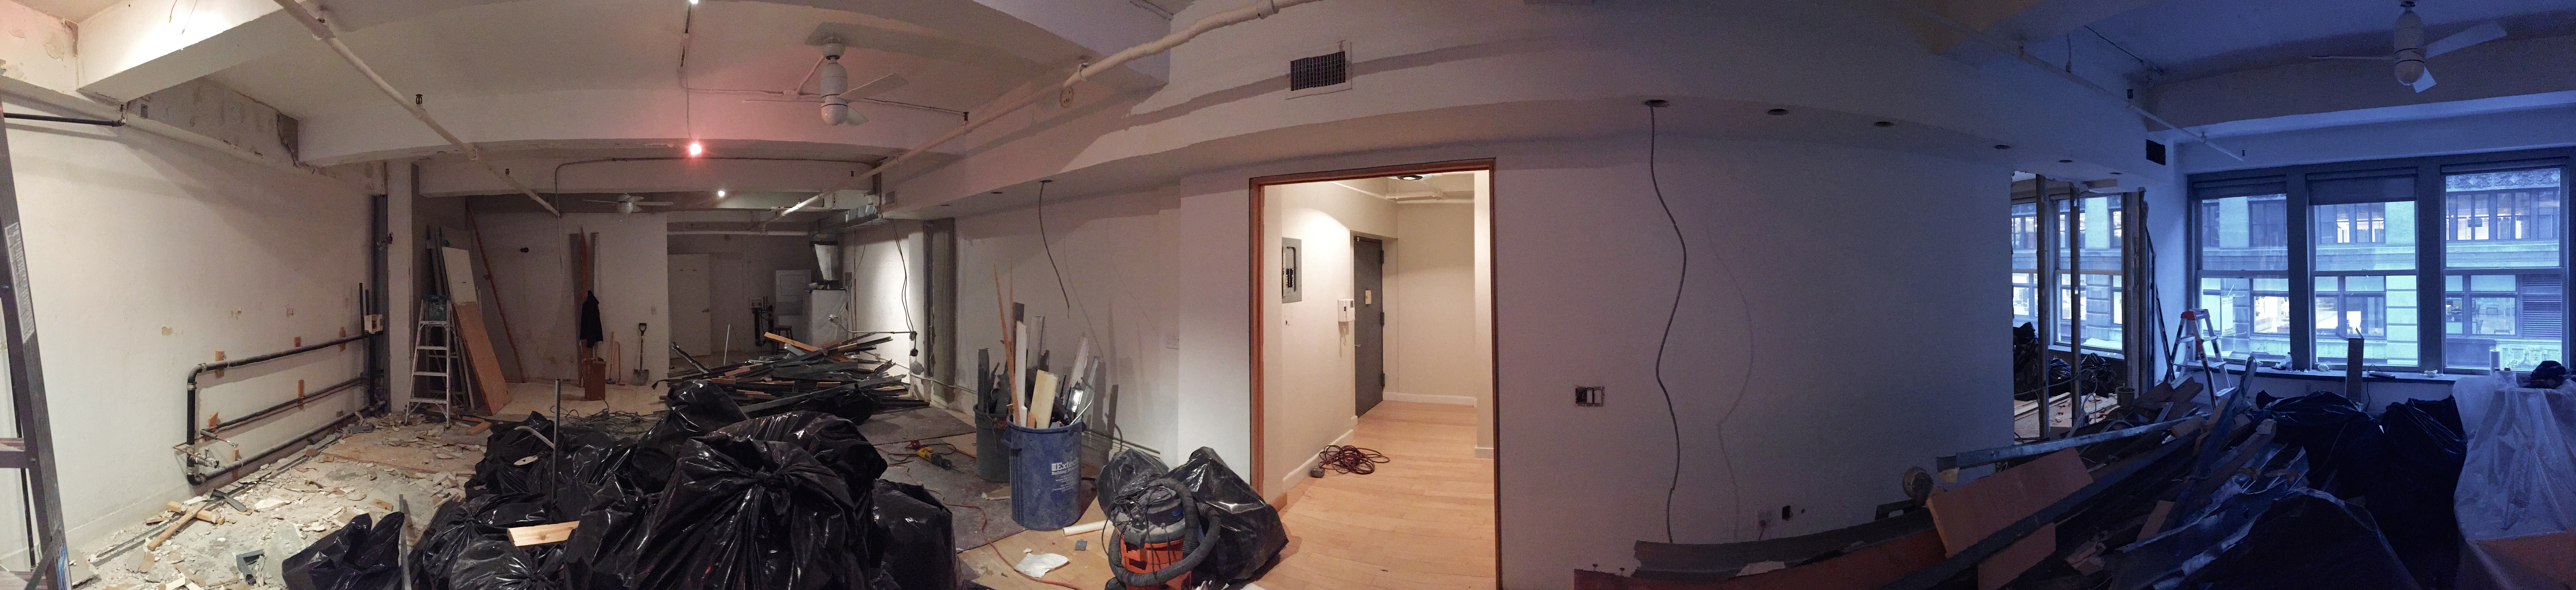 A panorama of destruction part 2 (click to enlarge)
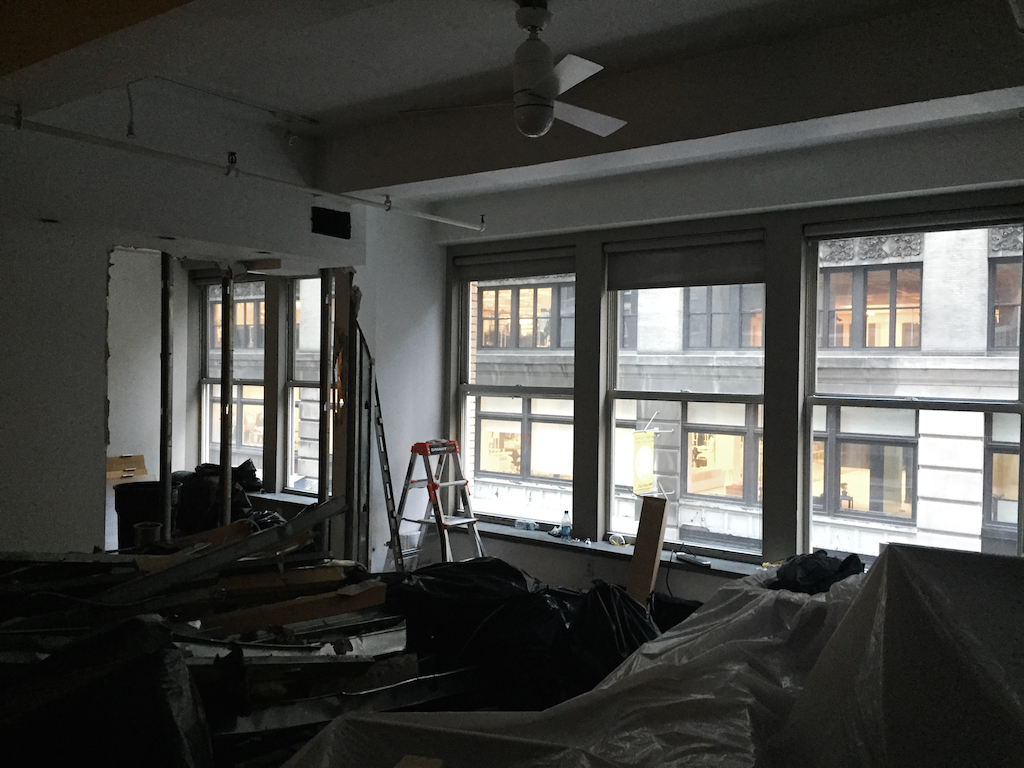
 At this point, its hard to imagine this ever looking nice again
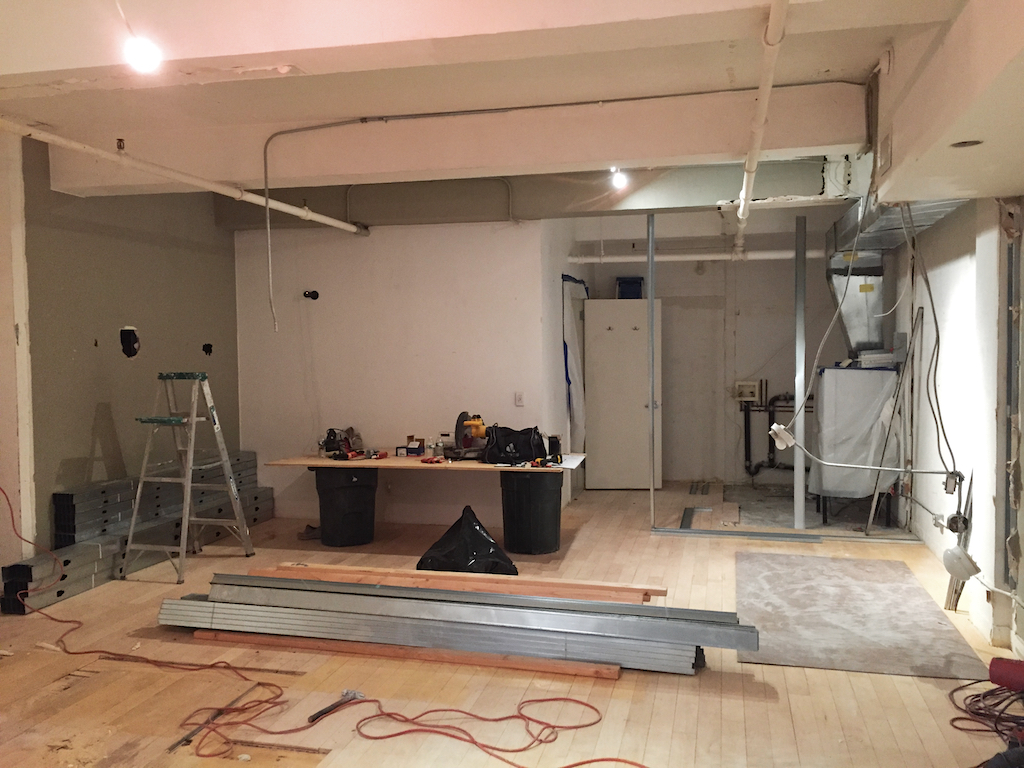 Once all the garbage is removed, the space looks spacious and ready for the next phase
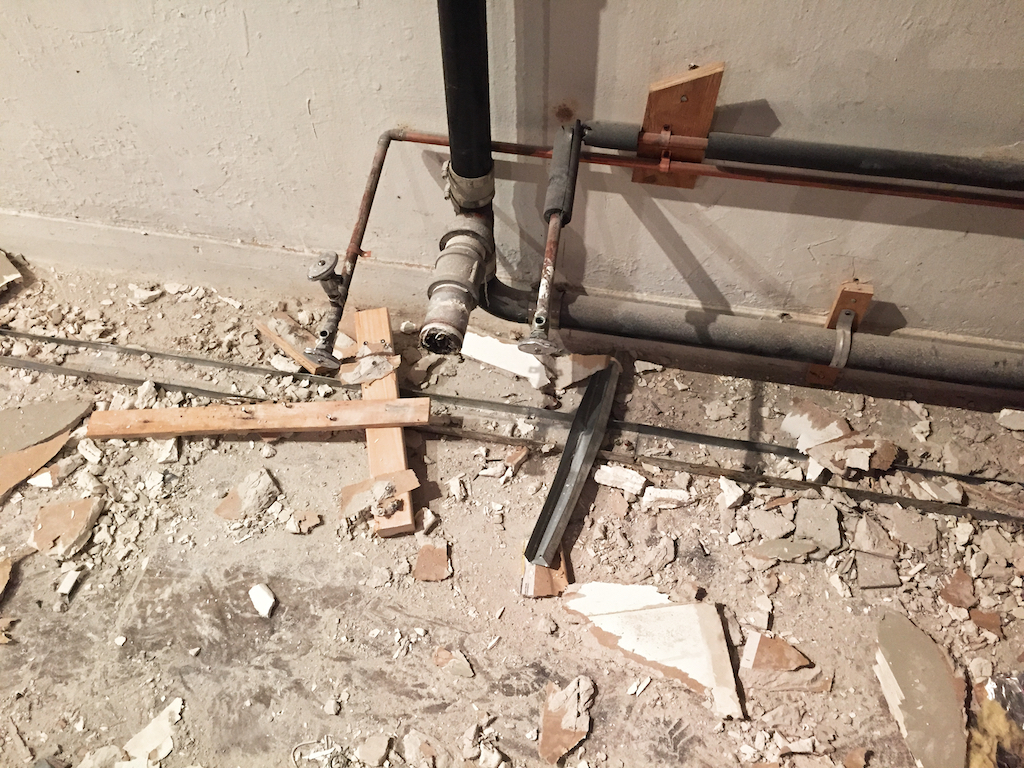
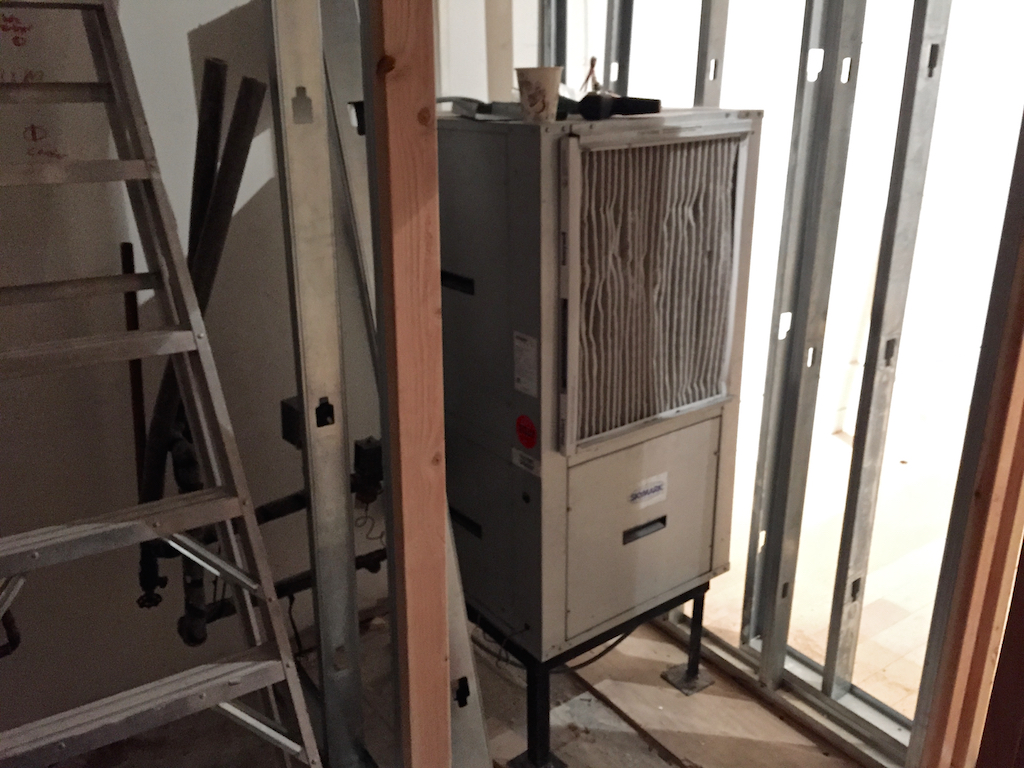
One of the biggest unknowns was what lies behind the kitchen wall. Our intent is to build a full-wall pantry, but we feared the building's risers for plumbing, gas and ventilation might be behind the old kitchen. Fortunately, the wall is free of obstacles. The pipes shown are for the removed appliances, and will be redirected to the new kitchen location.
 A stroke of good luck
 Look ma, no walls!
 Its all going according to plan
Since its hard to find a level or plumb surface in an old building, the framing crew uses a laser level to project a perfectly level line to guide their framing. This is a vast improvement over those blue chalk lines I learned to use in wood shop.
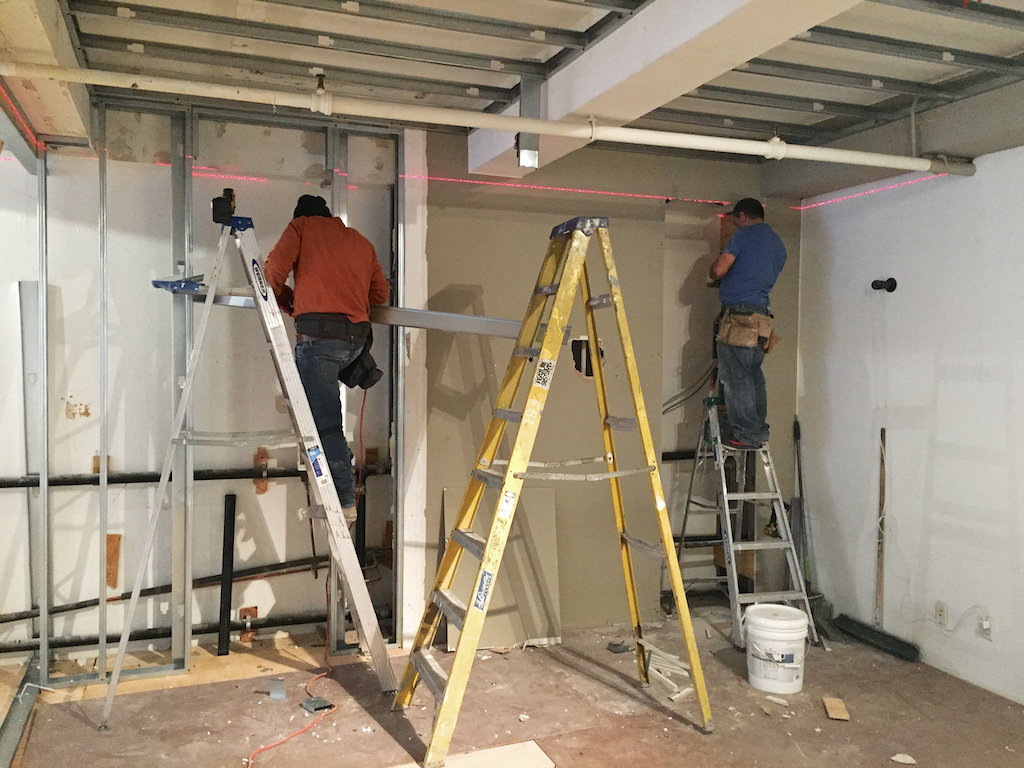 Frickin' laser beams
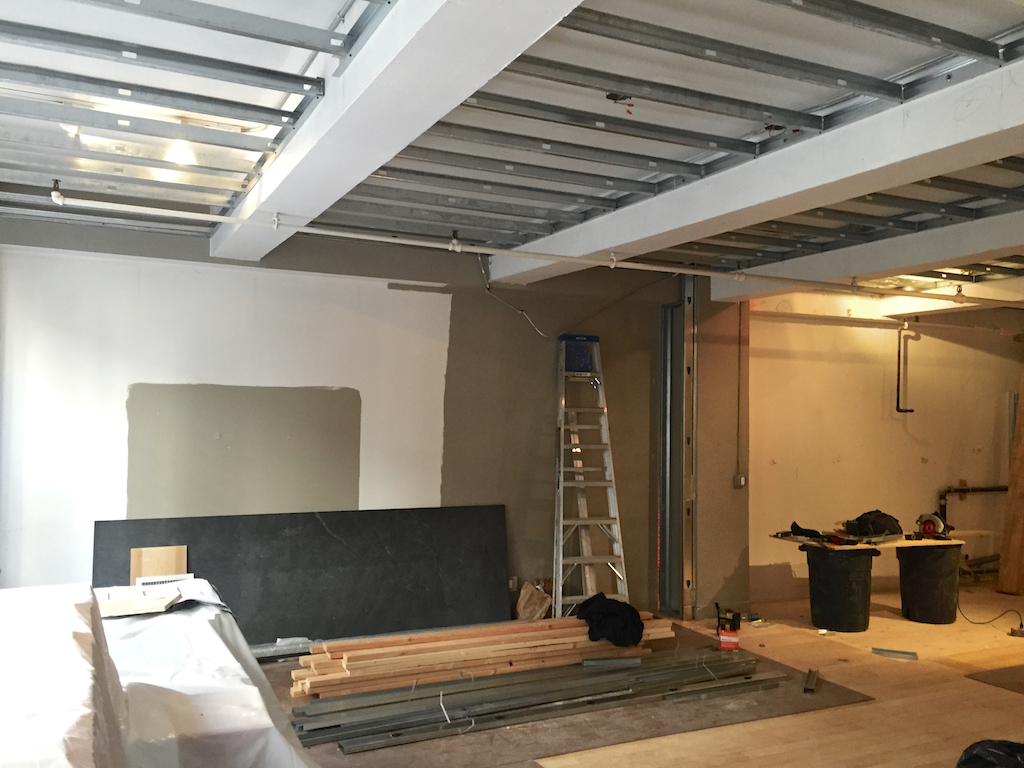 The new drop ceiling is framed. 33 recessed LED lights will be installed overhead
 The new kitchen wall is framed with a transom window into the bedroom
 Do not touch
Our first major mishap. The moving wall was framed according to the plan, but a foot too low based on an assumed location of the overhead beam. It took about a day's worth of analysis to reconfigure the header location, and to re-install the moving wall track flush with the overhead beam. This led us to demolish the entirety of the office wall and overhead soffit, but will give us more room and straight lines when done. A worthwhile diversion.
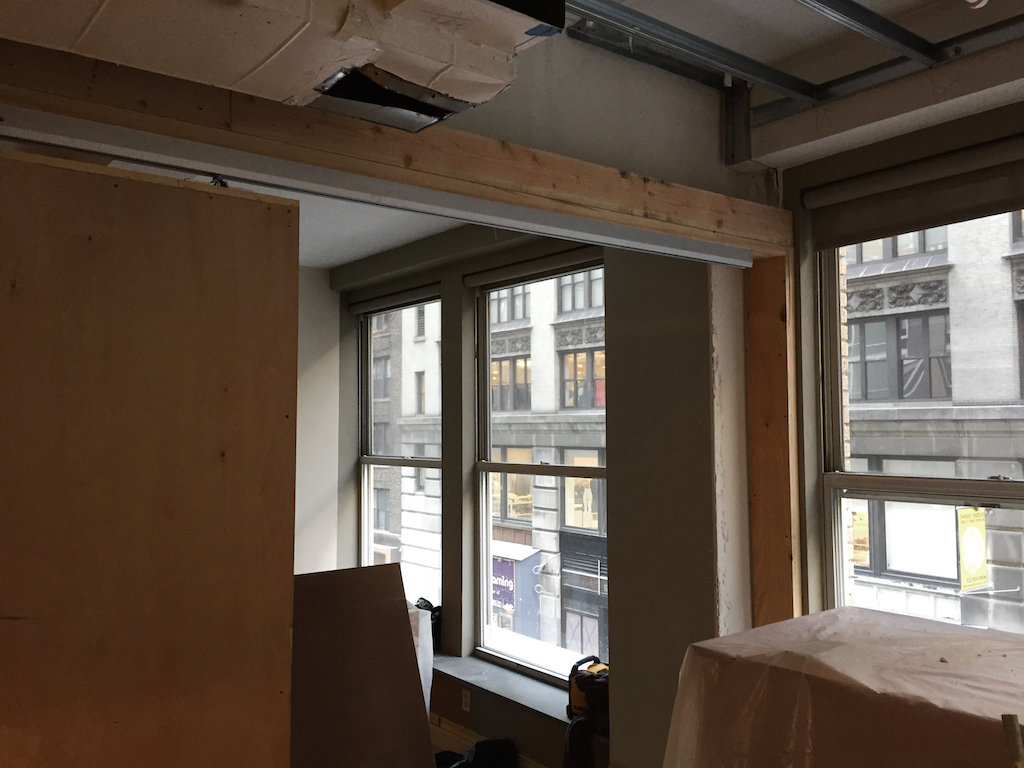 Lower than necessary
 With the wall removed, the new header is much higher
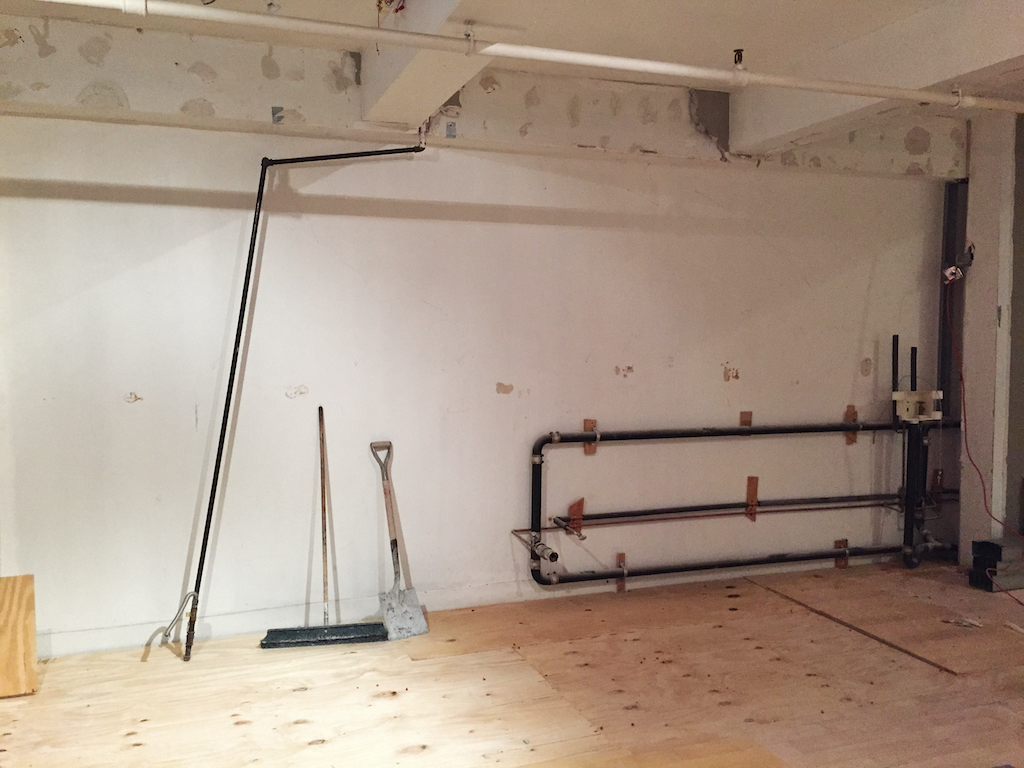
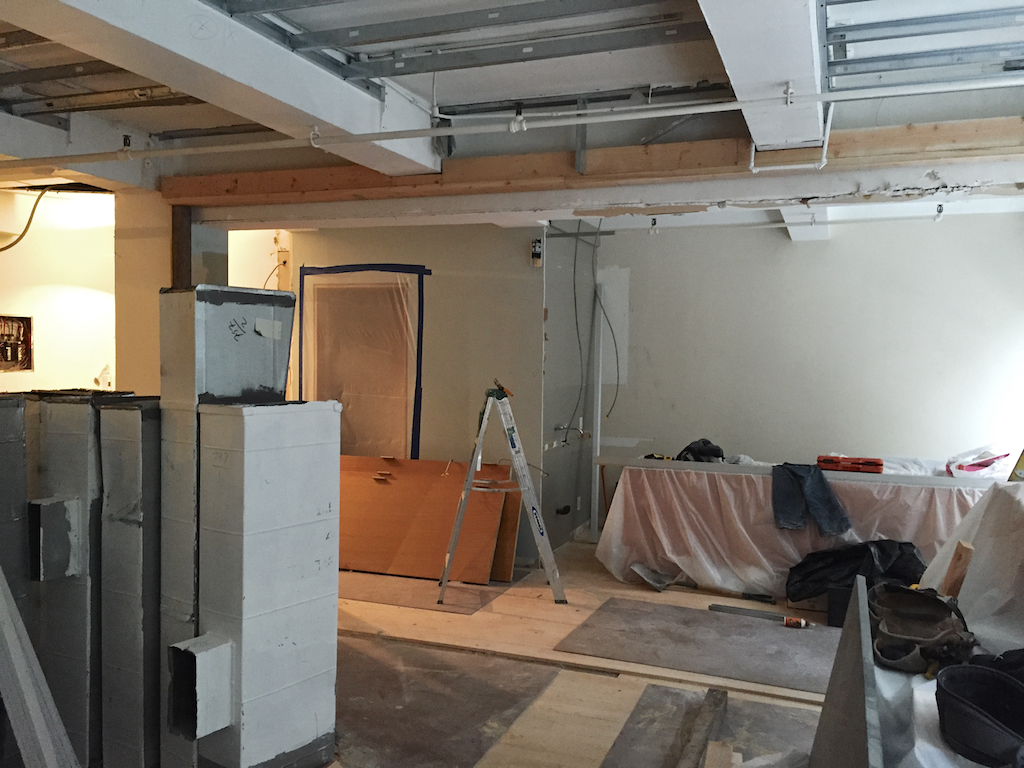
With all the walls removed, the place looks enormous. It would be tempting to abandon all walls and keep it wide open, but that's not terribly practical and would made resale a challenge. We did the grown up thing and decided to proceed with the planned walls.
 No walls, no soffit
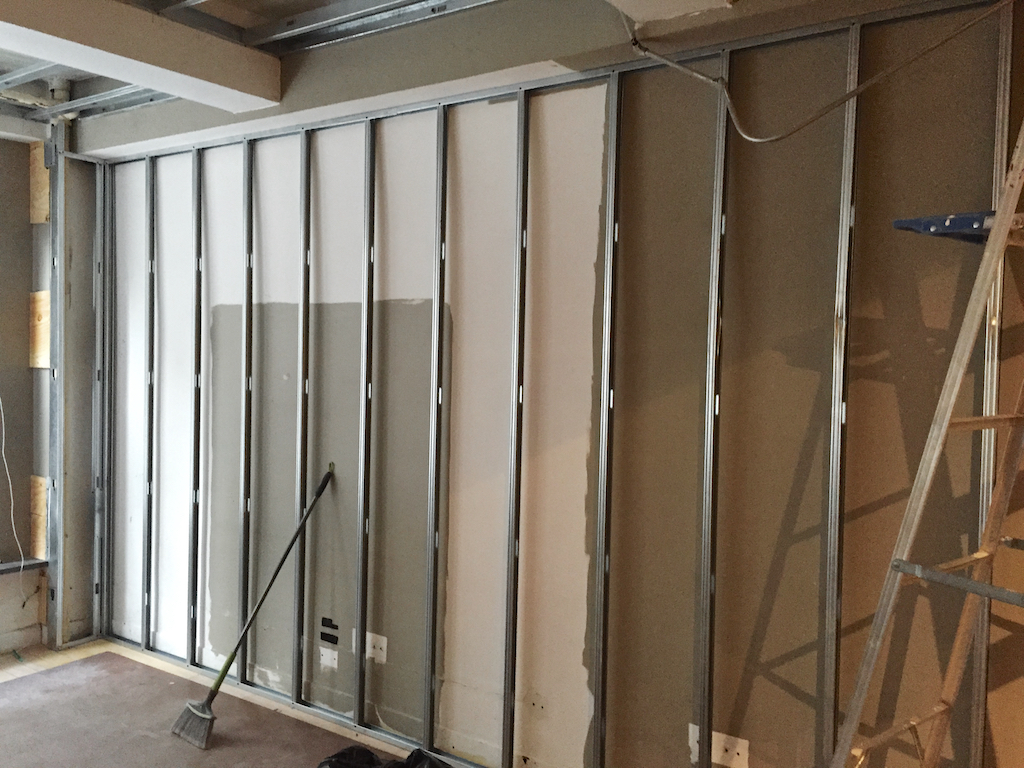 Framing the new living room wall
 The new laundry and mechanical room takes shape
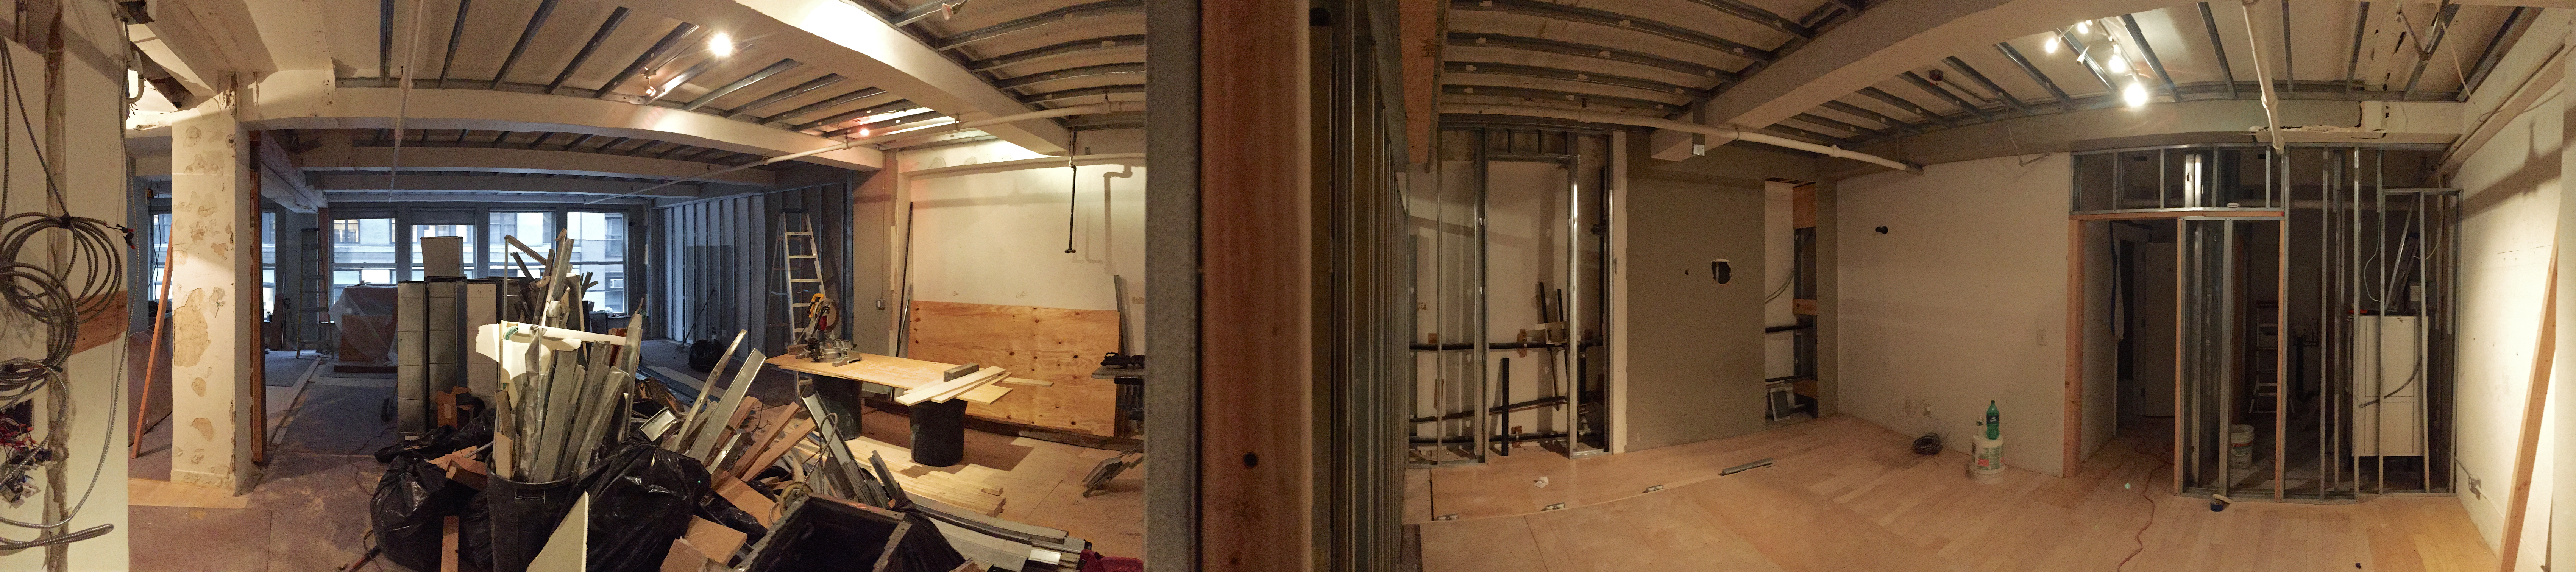 Panorama of the scene after one week (click to enlarge)
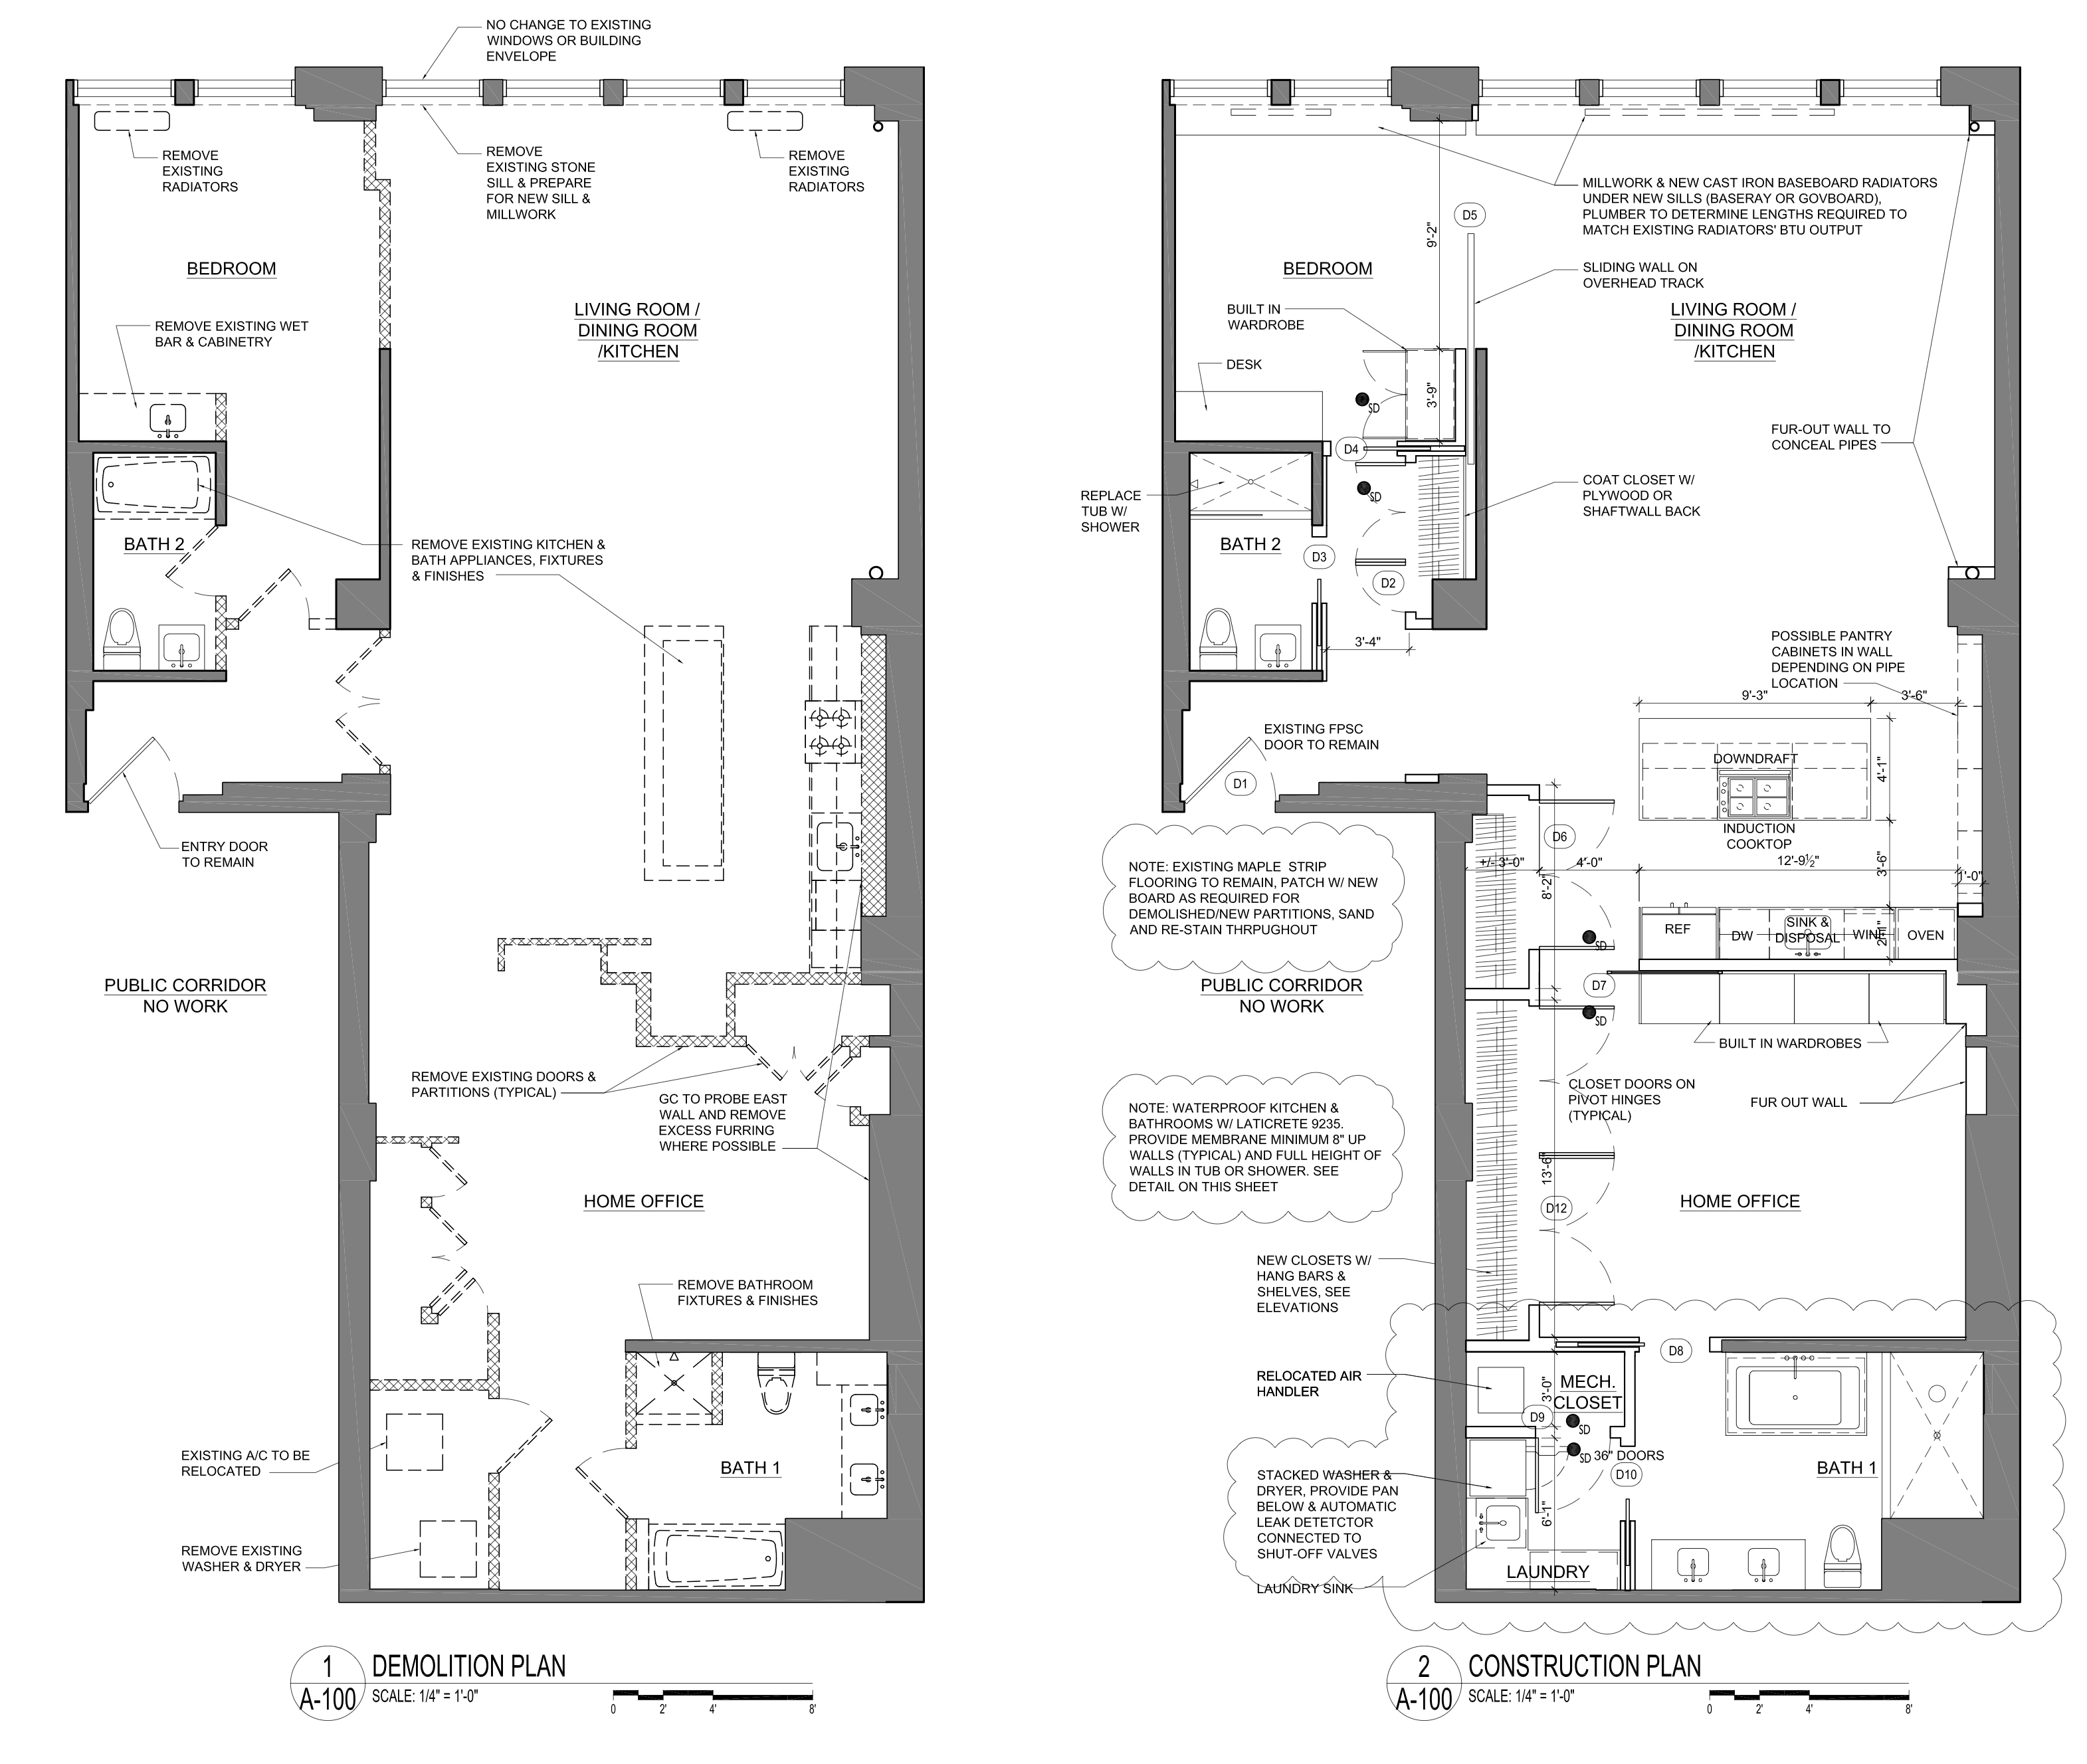 The before & after floor plan (click to enlarge)
This music never gets old